How to make the Alice Bodice
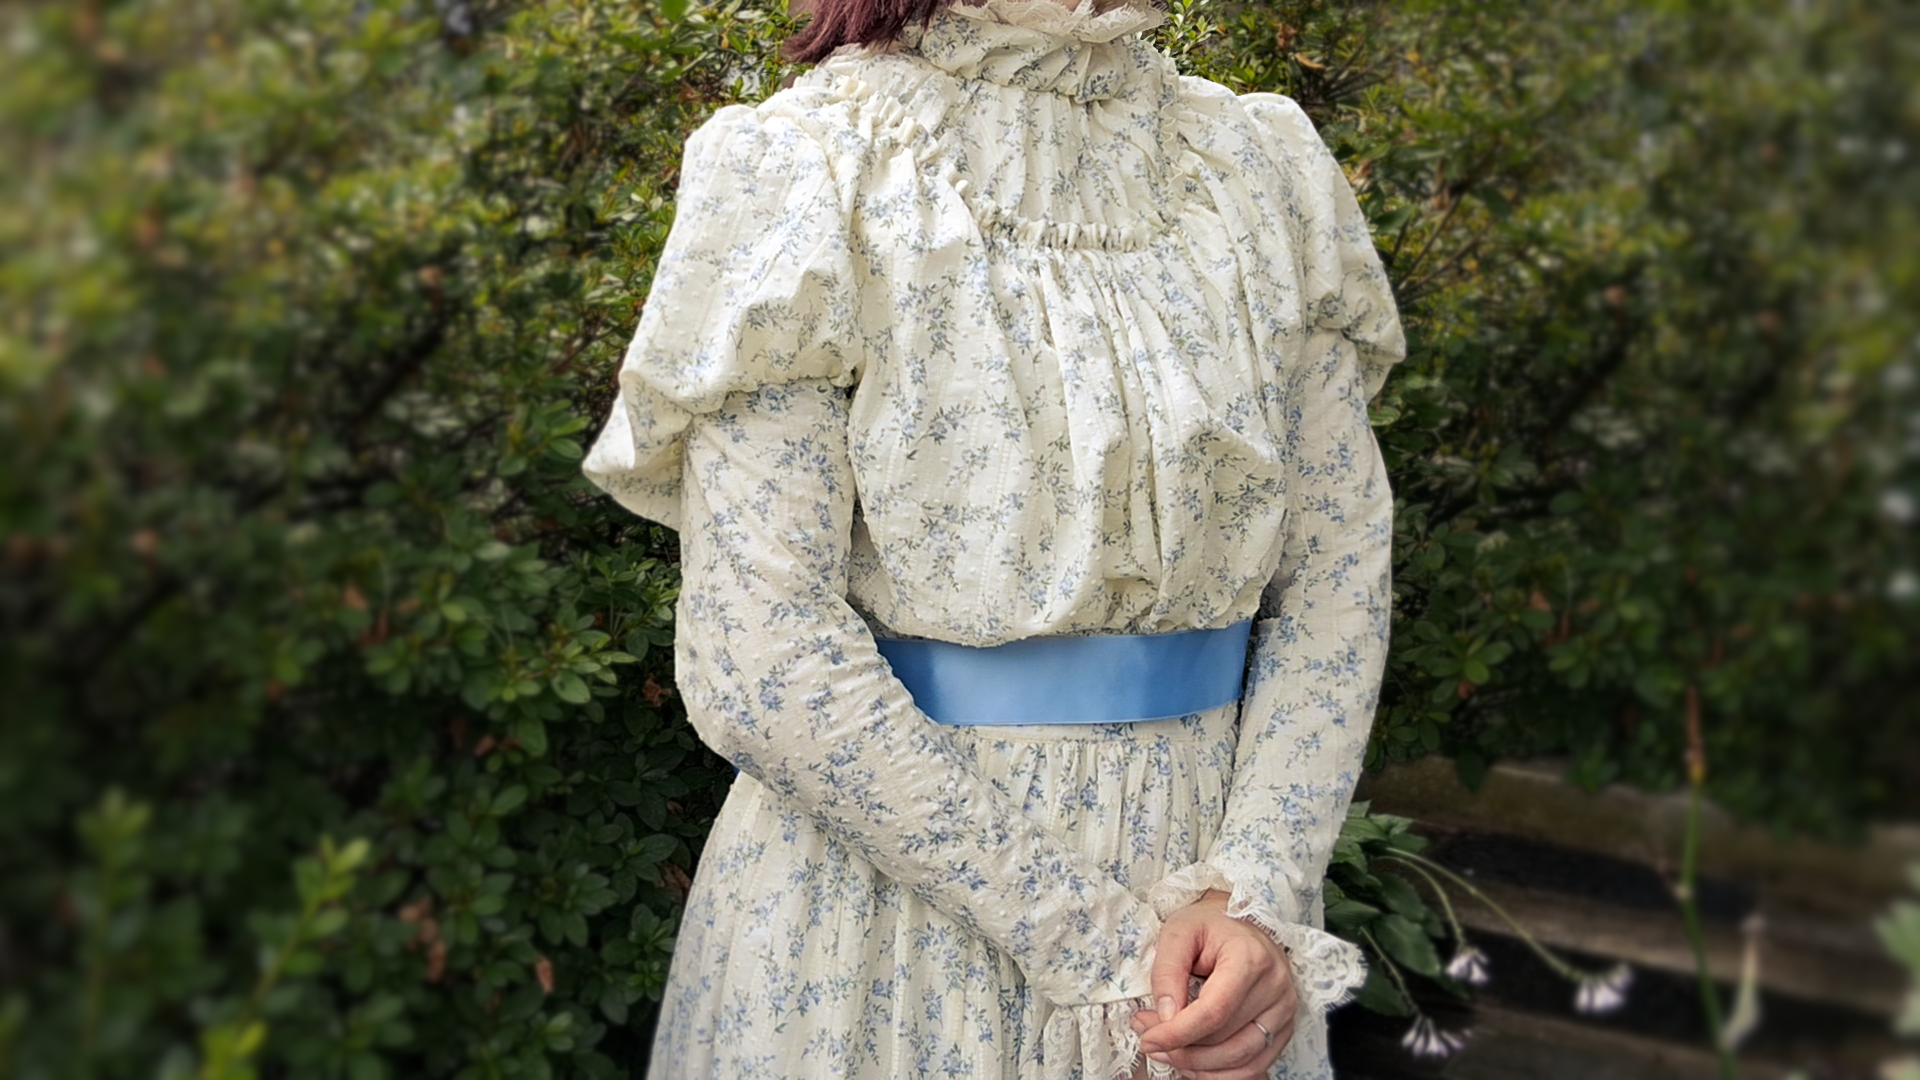
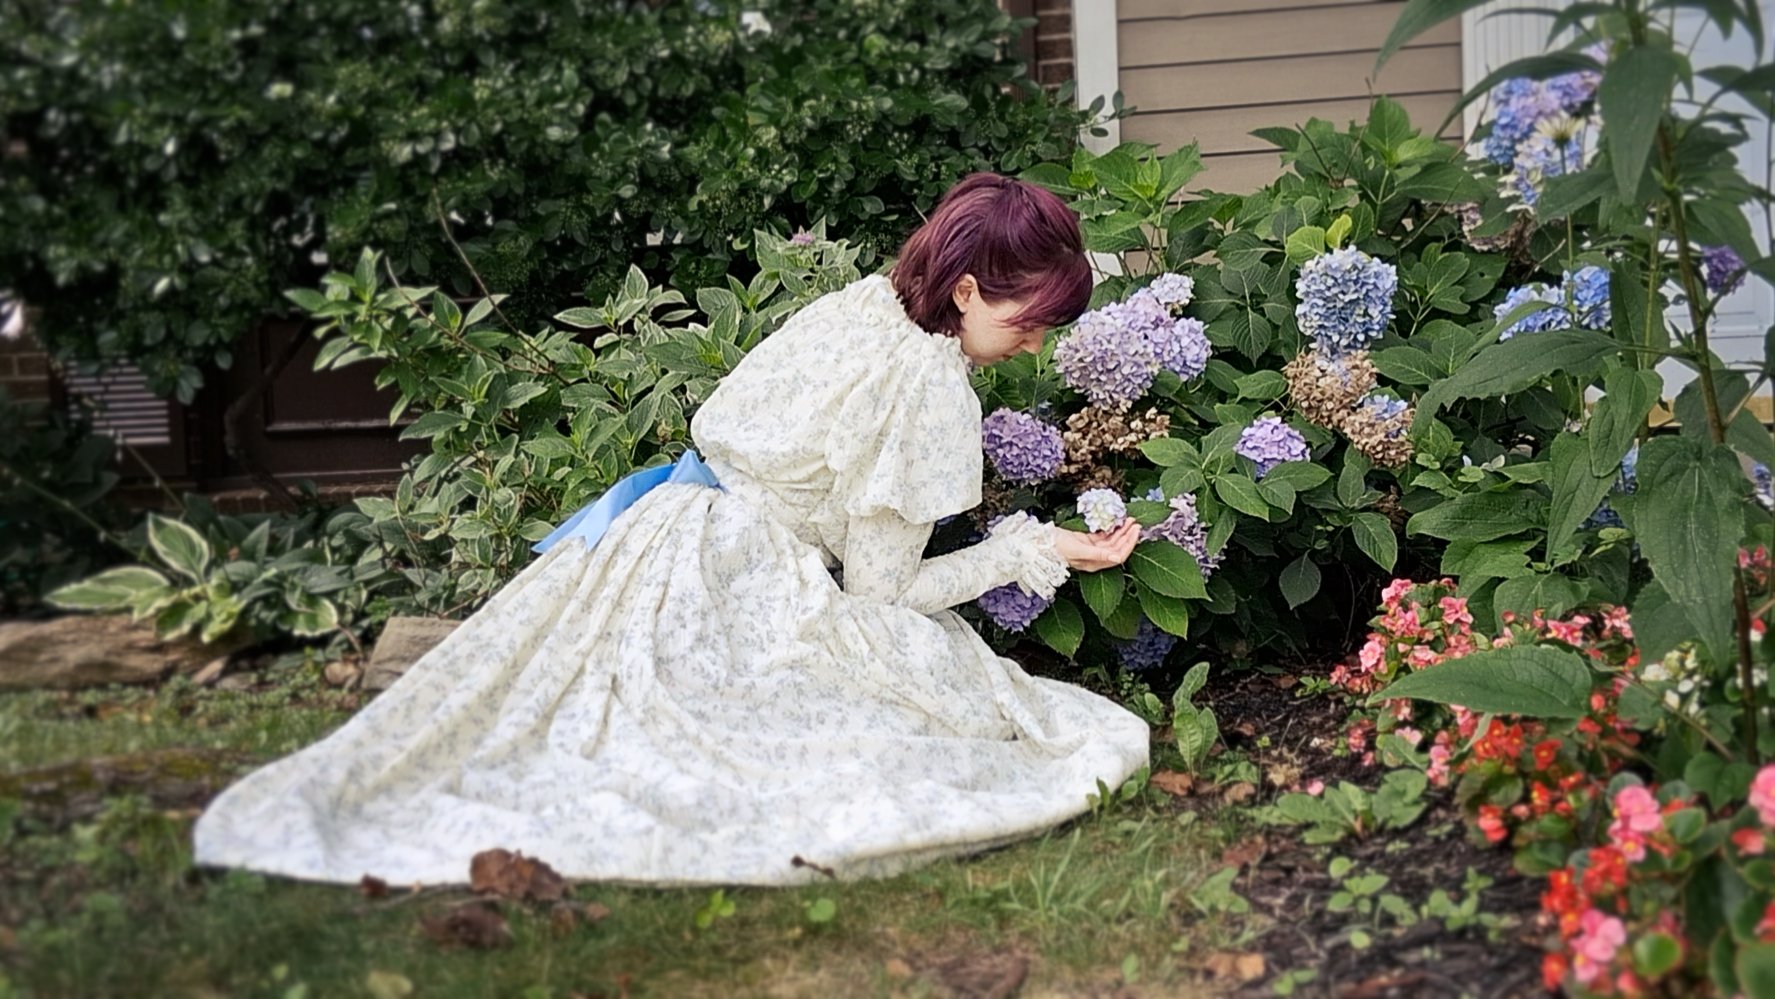
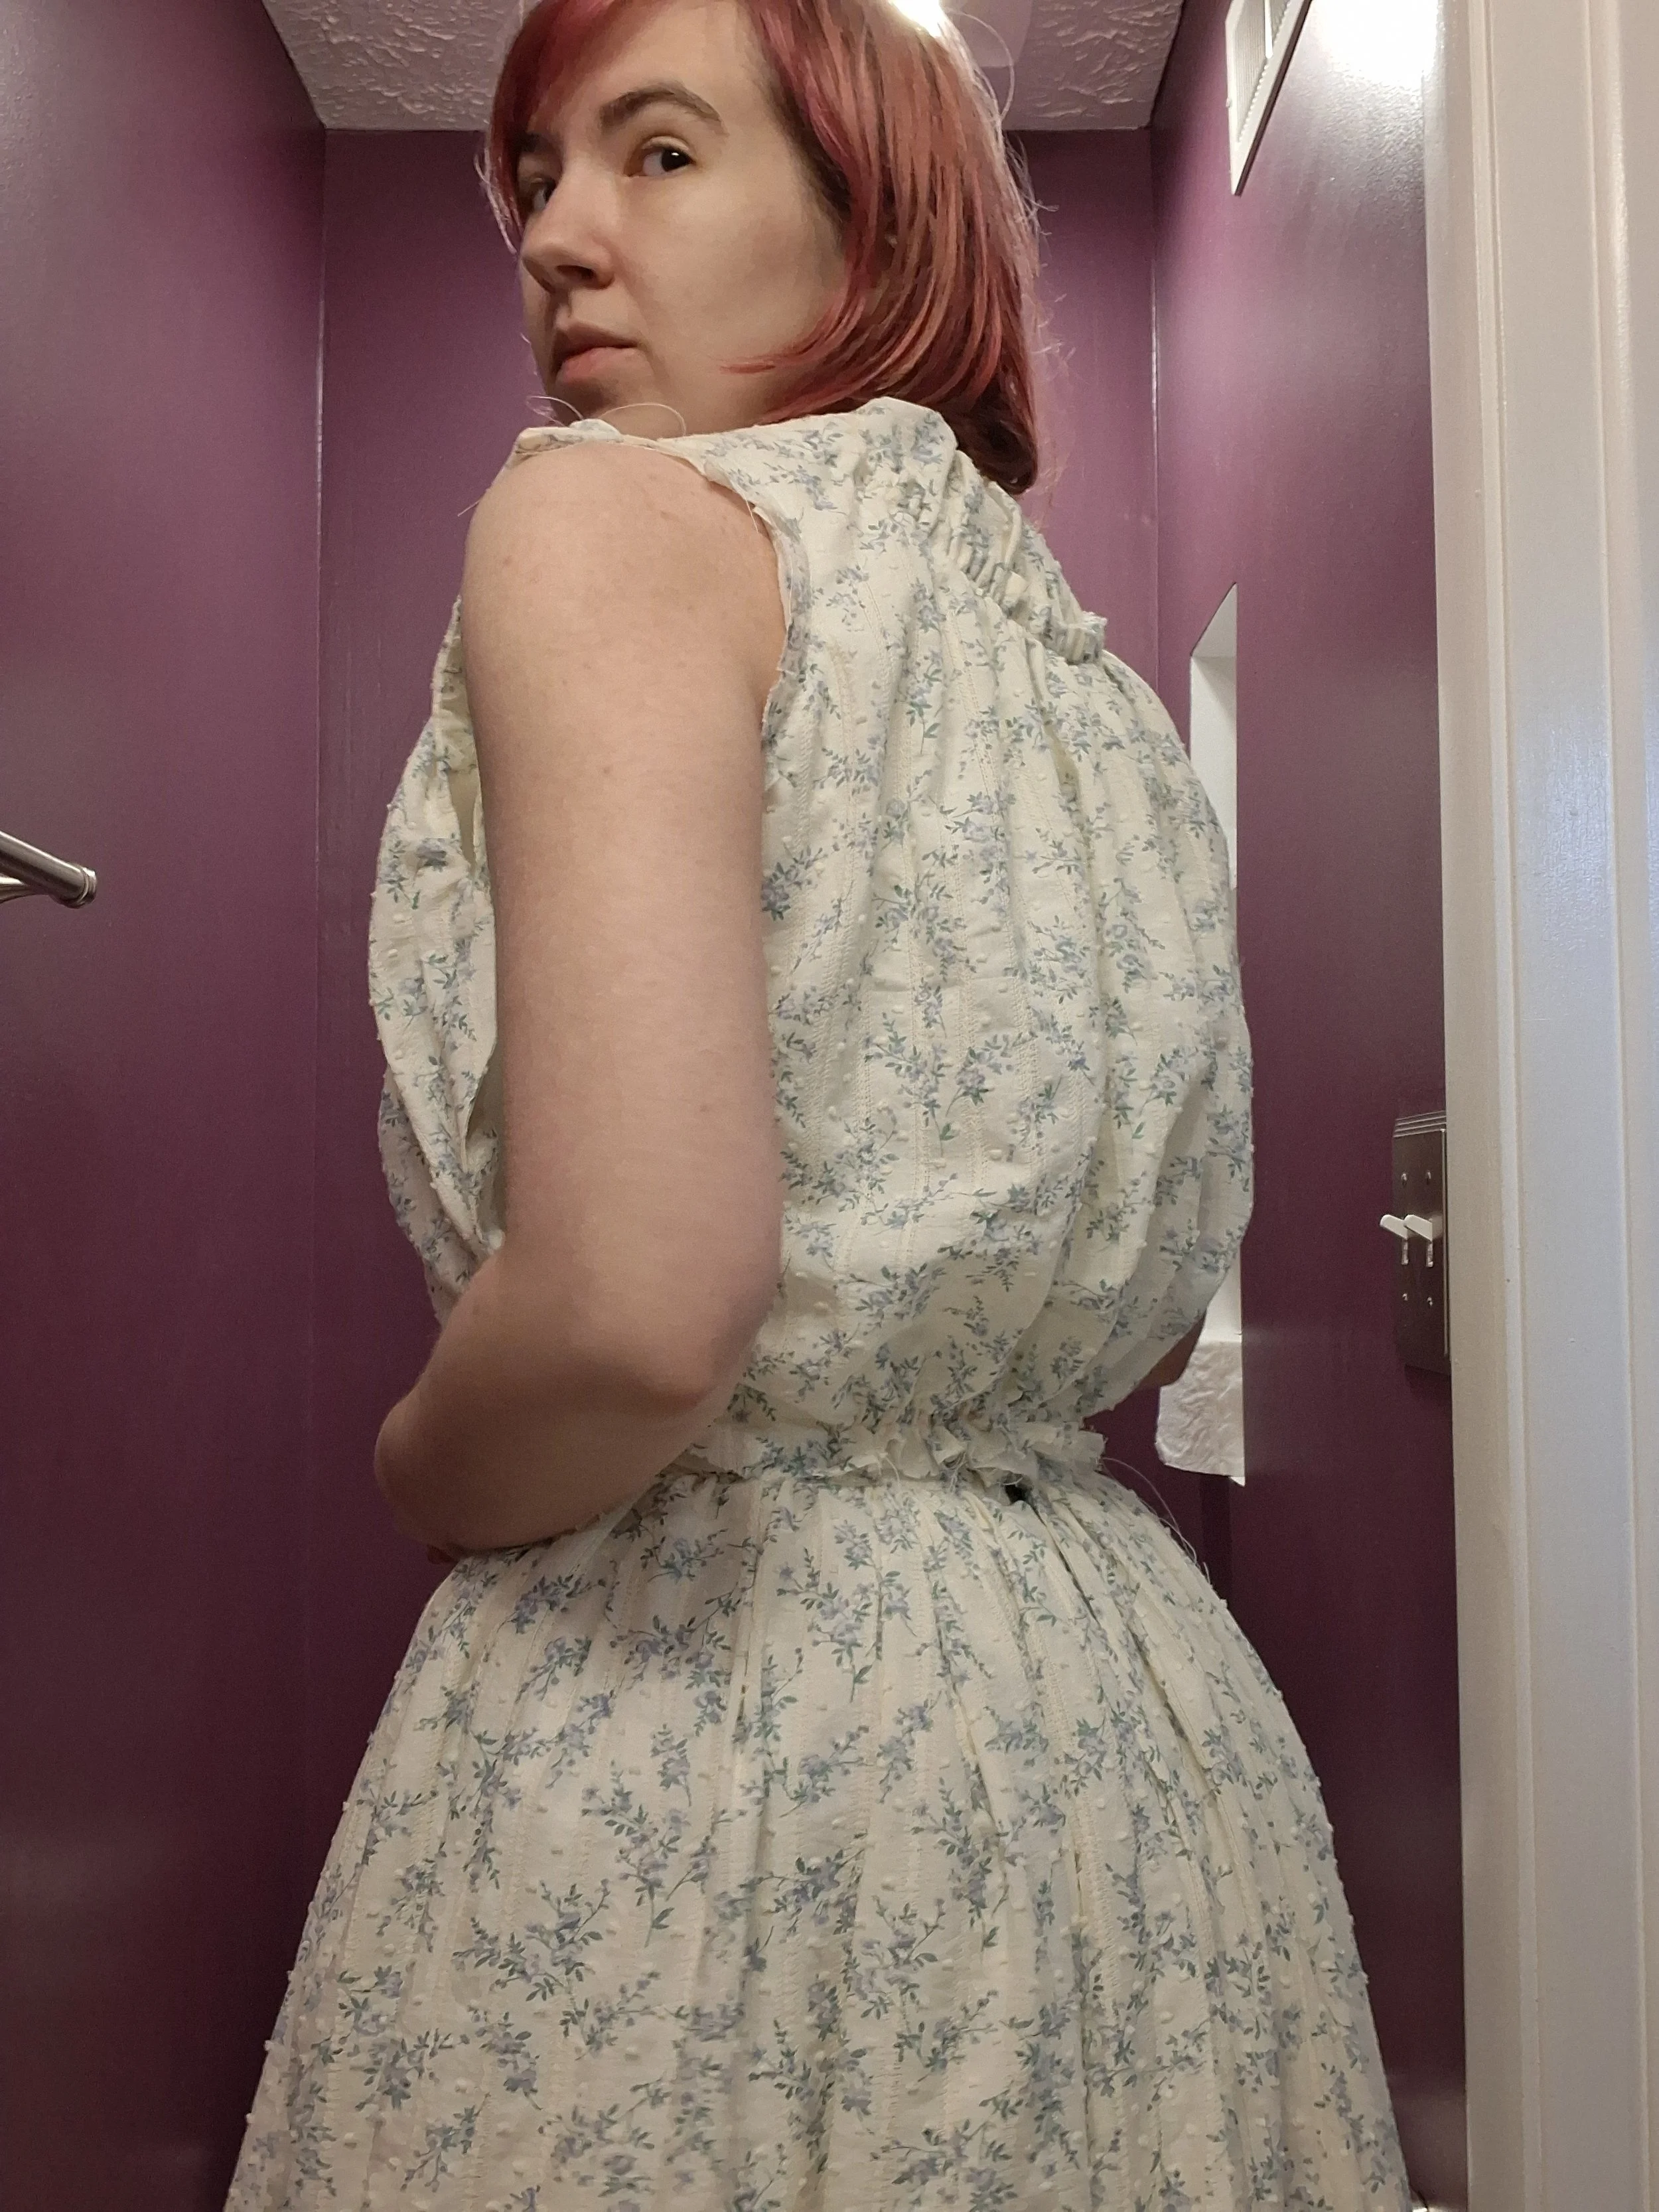
This soft, almost cloudy bodice is the second (and most complex) piece for The Alice Dress, an 1897 graduation gown originally sewn by my great-great-grandmother and her classmates.
In this tutorial, I’ll guide you through each step. This is surprisingly complex, but hopefully I’ll be able to help you through the process!

Step 1: Bodice Pattern Pieces
Have all your 1890s underpinnings ready before making a mock-up: chemise, corset, corset cover, bust improver (optional)
Follow the link below to find: Alice Bodice.
Input your measurements
This and nearly all other patterns on Drafting Dynamically do NOT contain seam allowance. I recommend temporarily leaving 1” as your allowance unless otherwise stated.
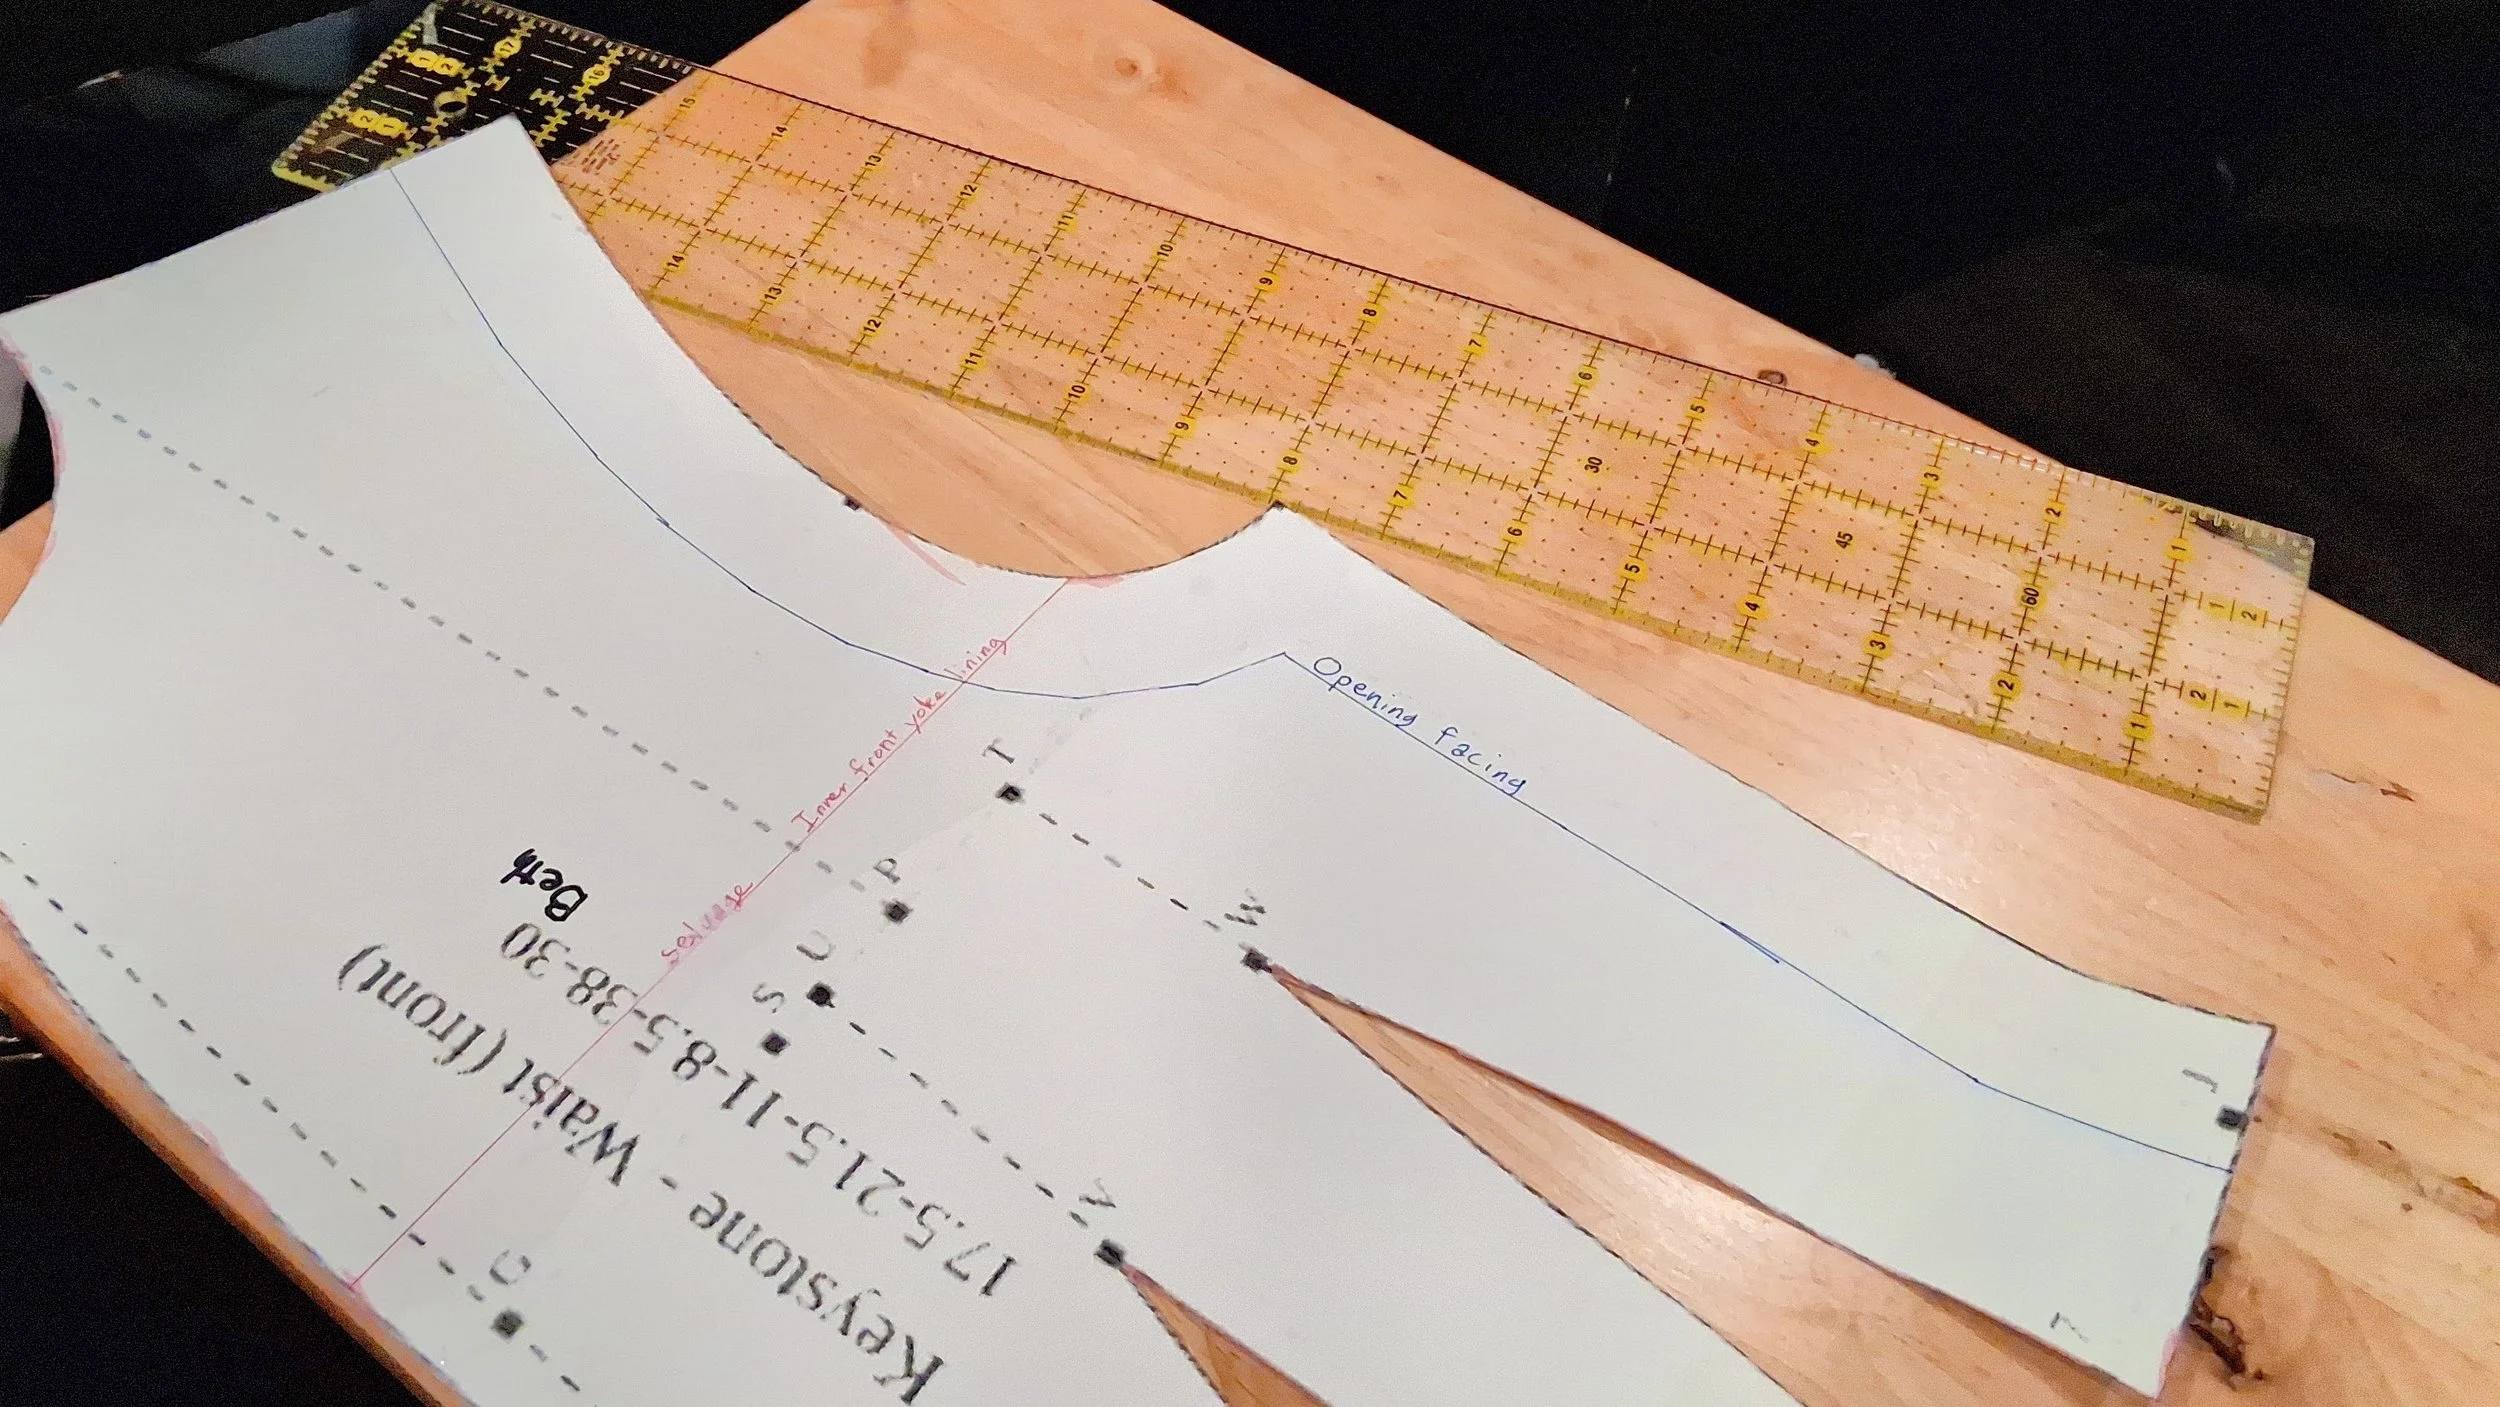
I recommend using the Keystone Waist for your mock-ups. The bodice lining and the Keystone Waist are nearly identical.
The lining pieces all should be out of a light but sturdy plain cotton. The front and back yokes and bodice pieces should be out of your outer fabric.
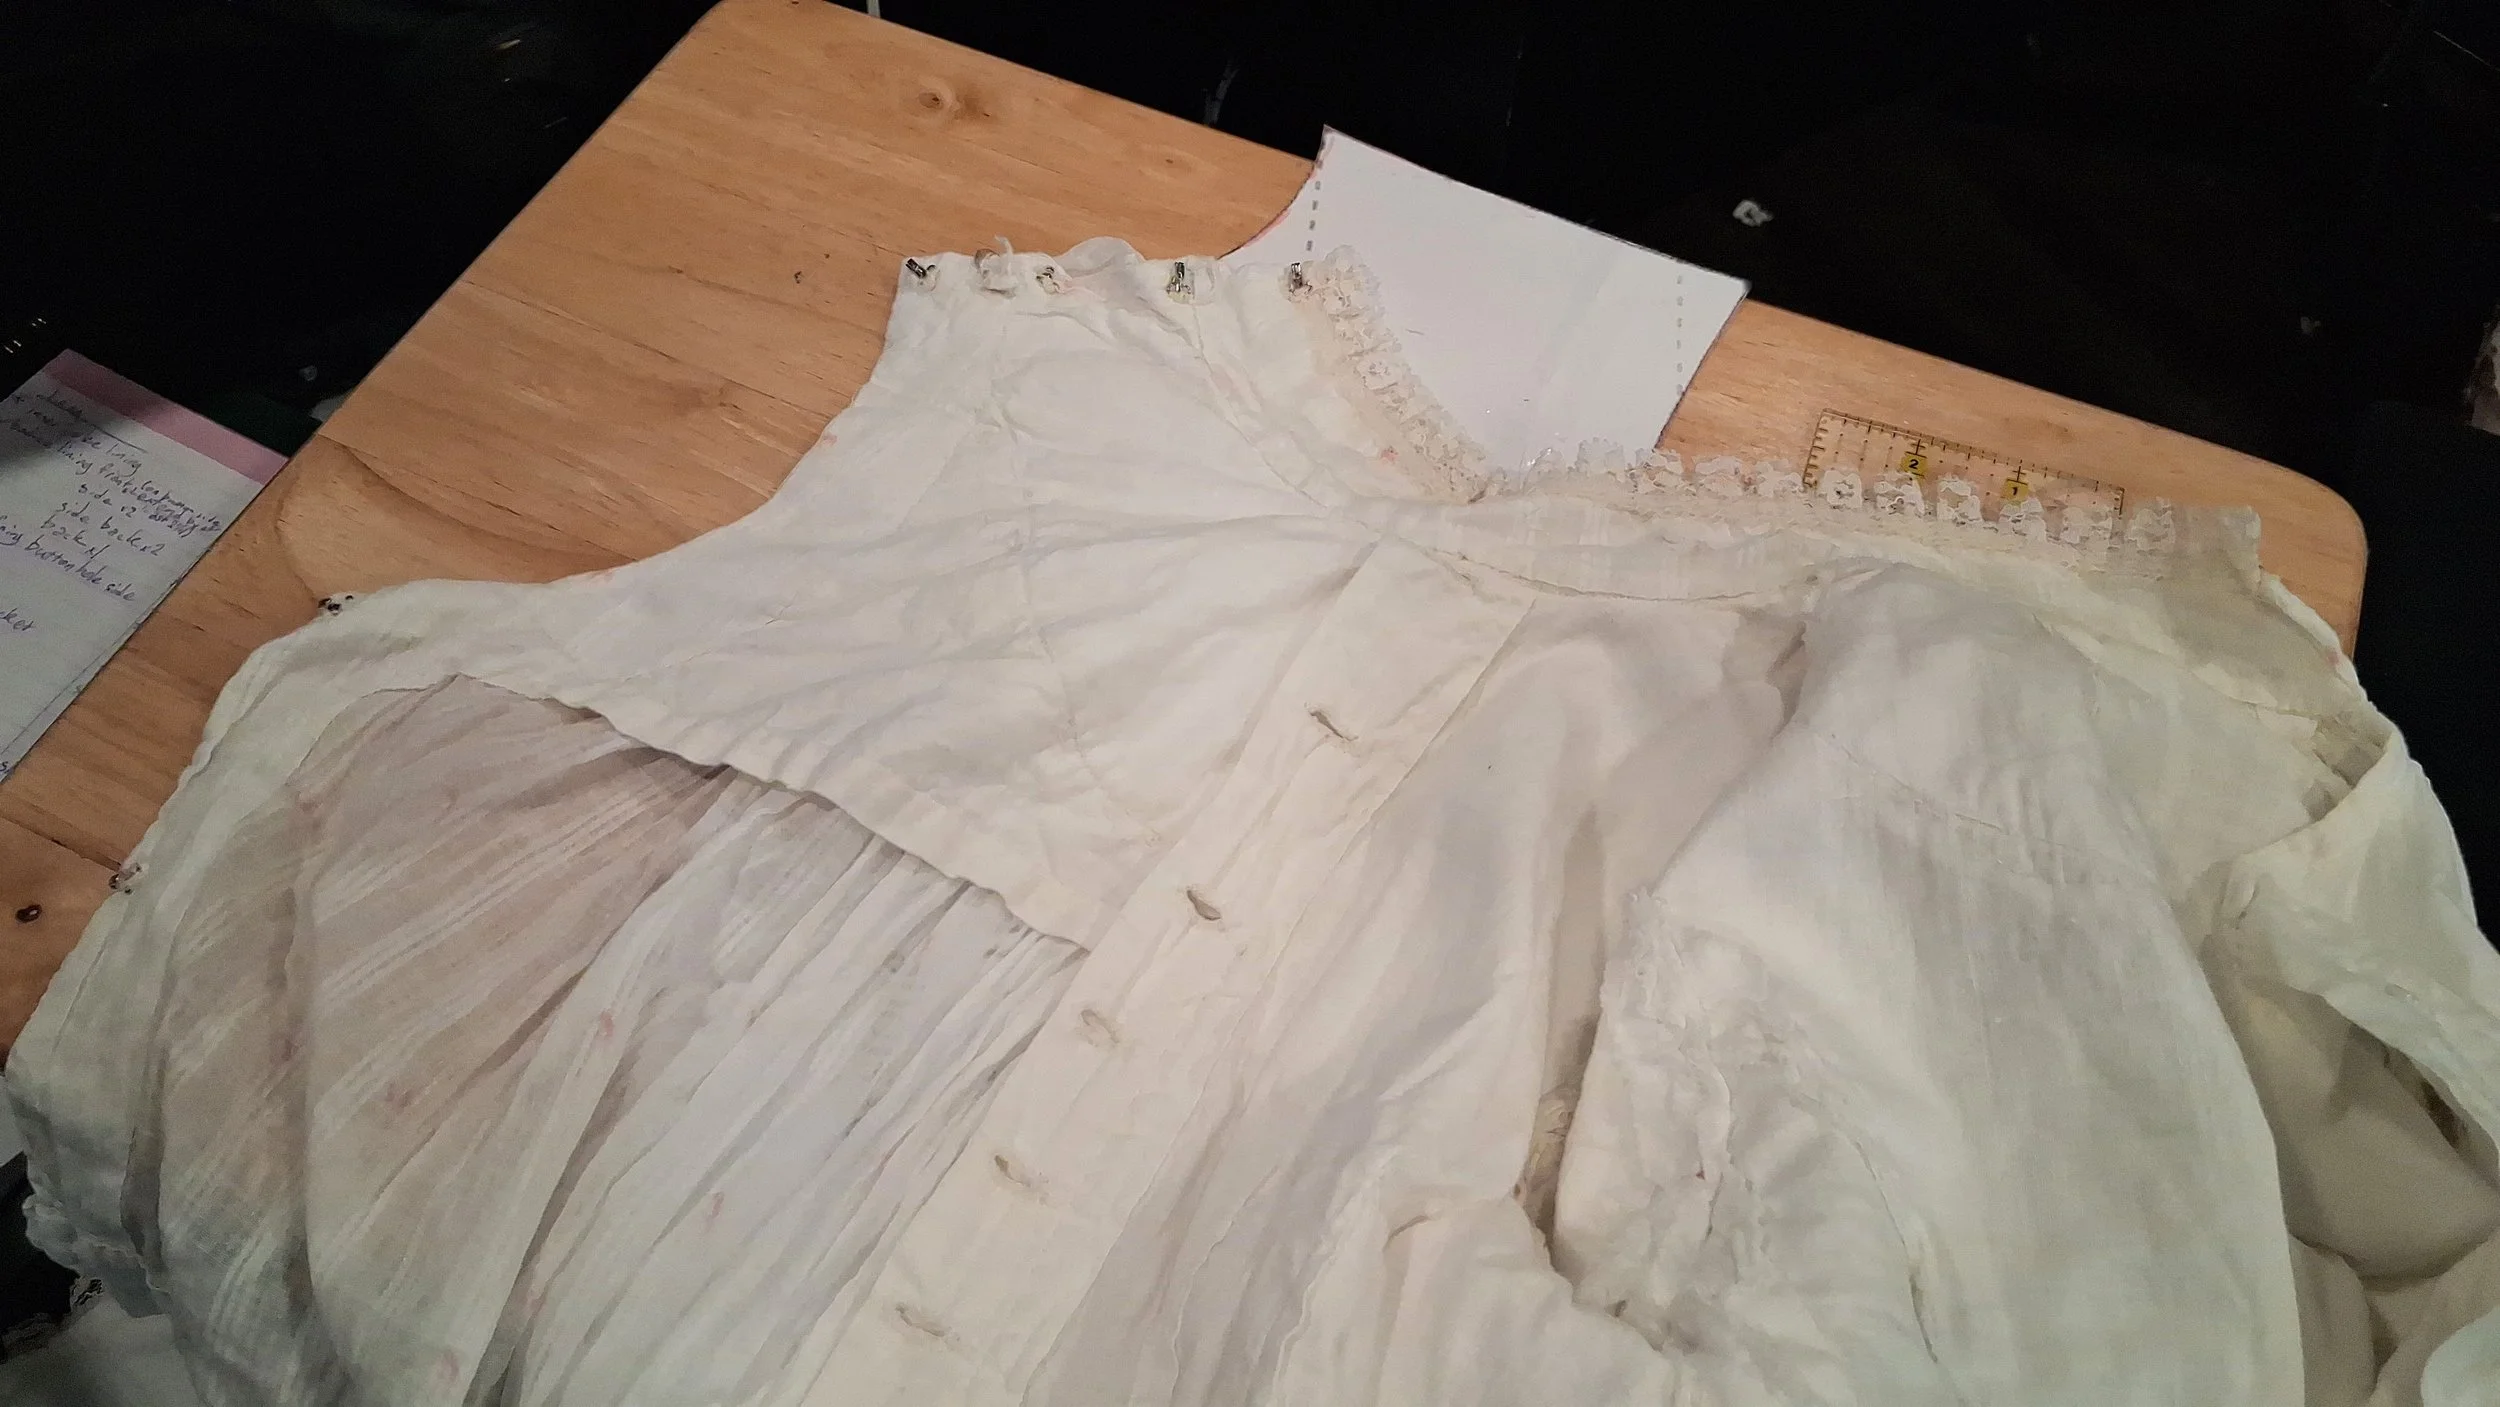
The Front Bodice Lining on both sides should have an extra 2” on the center front, (not including seam allowance) to allow for the button closure. On the original, this edge is on the selvage. The buttons are placed along the curved line of the center front.
The yokes and outer bodice pieces should be on the fold: Both yoke pieces and the back outer piece are oriented so that if the text is right-side-up, the center is the vertical line. The center line on the outer bodice is at an angle, however when you line it up with your fabric it should be straight up and down.
The outer edge of the front yoke pattern sometimes gets wonky. Part of the way from the shoulder to the center, it should get about ¼” narrower, then wider again. Smooth out the curve if necessary.
You can have the back piece of the lining on the fold as well, though it is NOT on the original dress.

Step 2: Sleeve Pattern Pieces
Follow the link below to find: Alice Sleeve
Input your measurements
All three parts (two slim sleeve pieces and one puff) will be made out of the outer fabric. The slim sleeve pieces should also be cut out of the lining fabric.
On the original, the stripes of the outer fabric are straightest at the elbow.
The Slim Sleeve pattern is a little odd: The inner Back piece is for the opposite side as the outer Front, since the shared inner elbow edge is a seam. While this doesn’t really matter while cutting, it can throw you off when labeling the sides and making sure you have the right piece. I’ll explain this again when we get to sewing the sleeves together.
There is no lining or support for the sleeve puff. Cut the puff on the fold on the large vertical line.

Note:
With short sleeve lengths, the curves can get a little distorted (see image). If this is the case, make sure you smooth out the curves. a little to more closely resemble the default curves.

Tape collar lining pieces together at center back
Cut mirrored side at shoulder, tape to other side so opening is at left shoulder
Step 3: Collar Pattern Pieces
Follow the link below to find: Alice Collar
Input your measurements
Now we start the pattern modifications.
There are several pieces of this bodice that either have patterns that need to be altered, or they are made from other pieces.
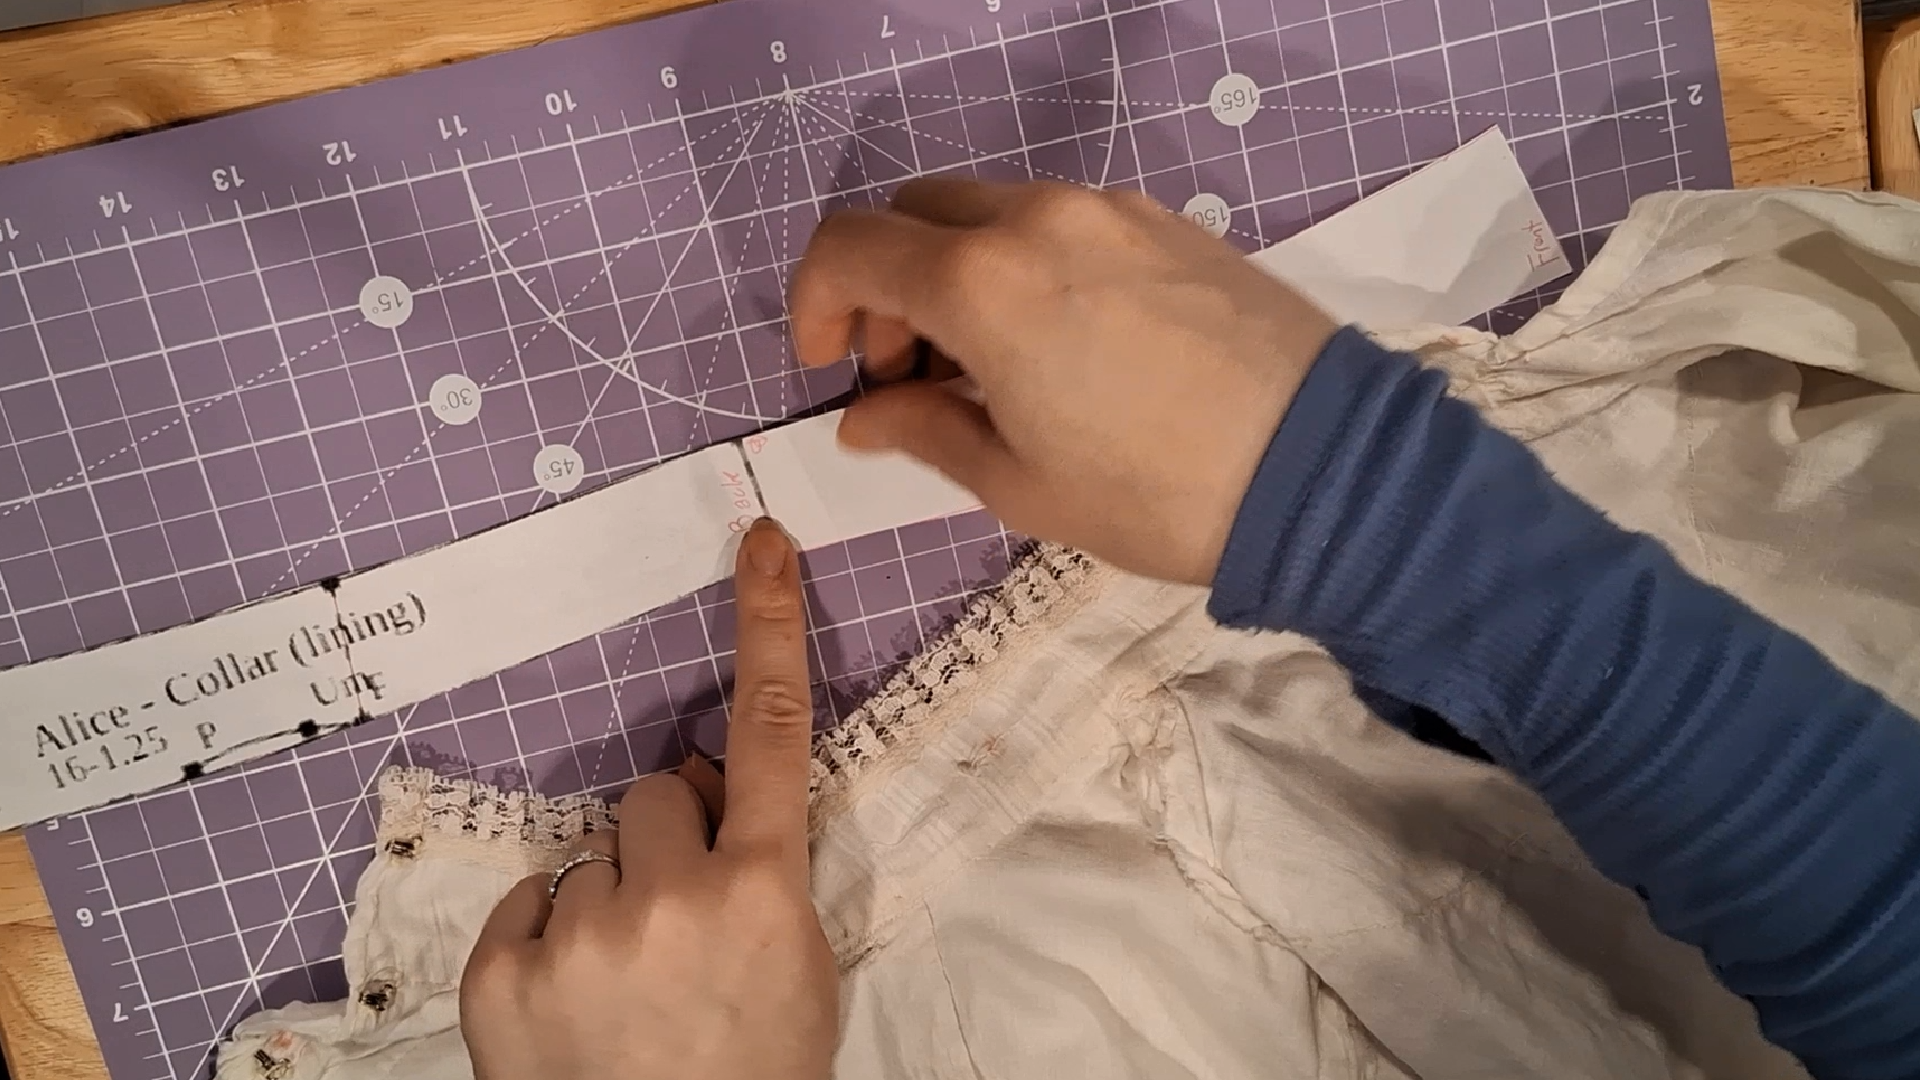
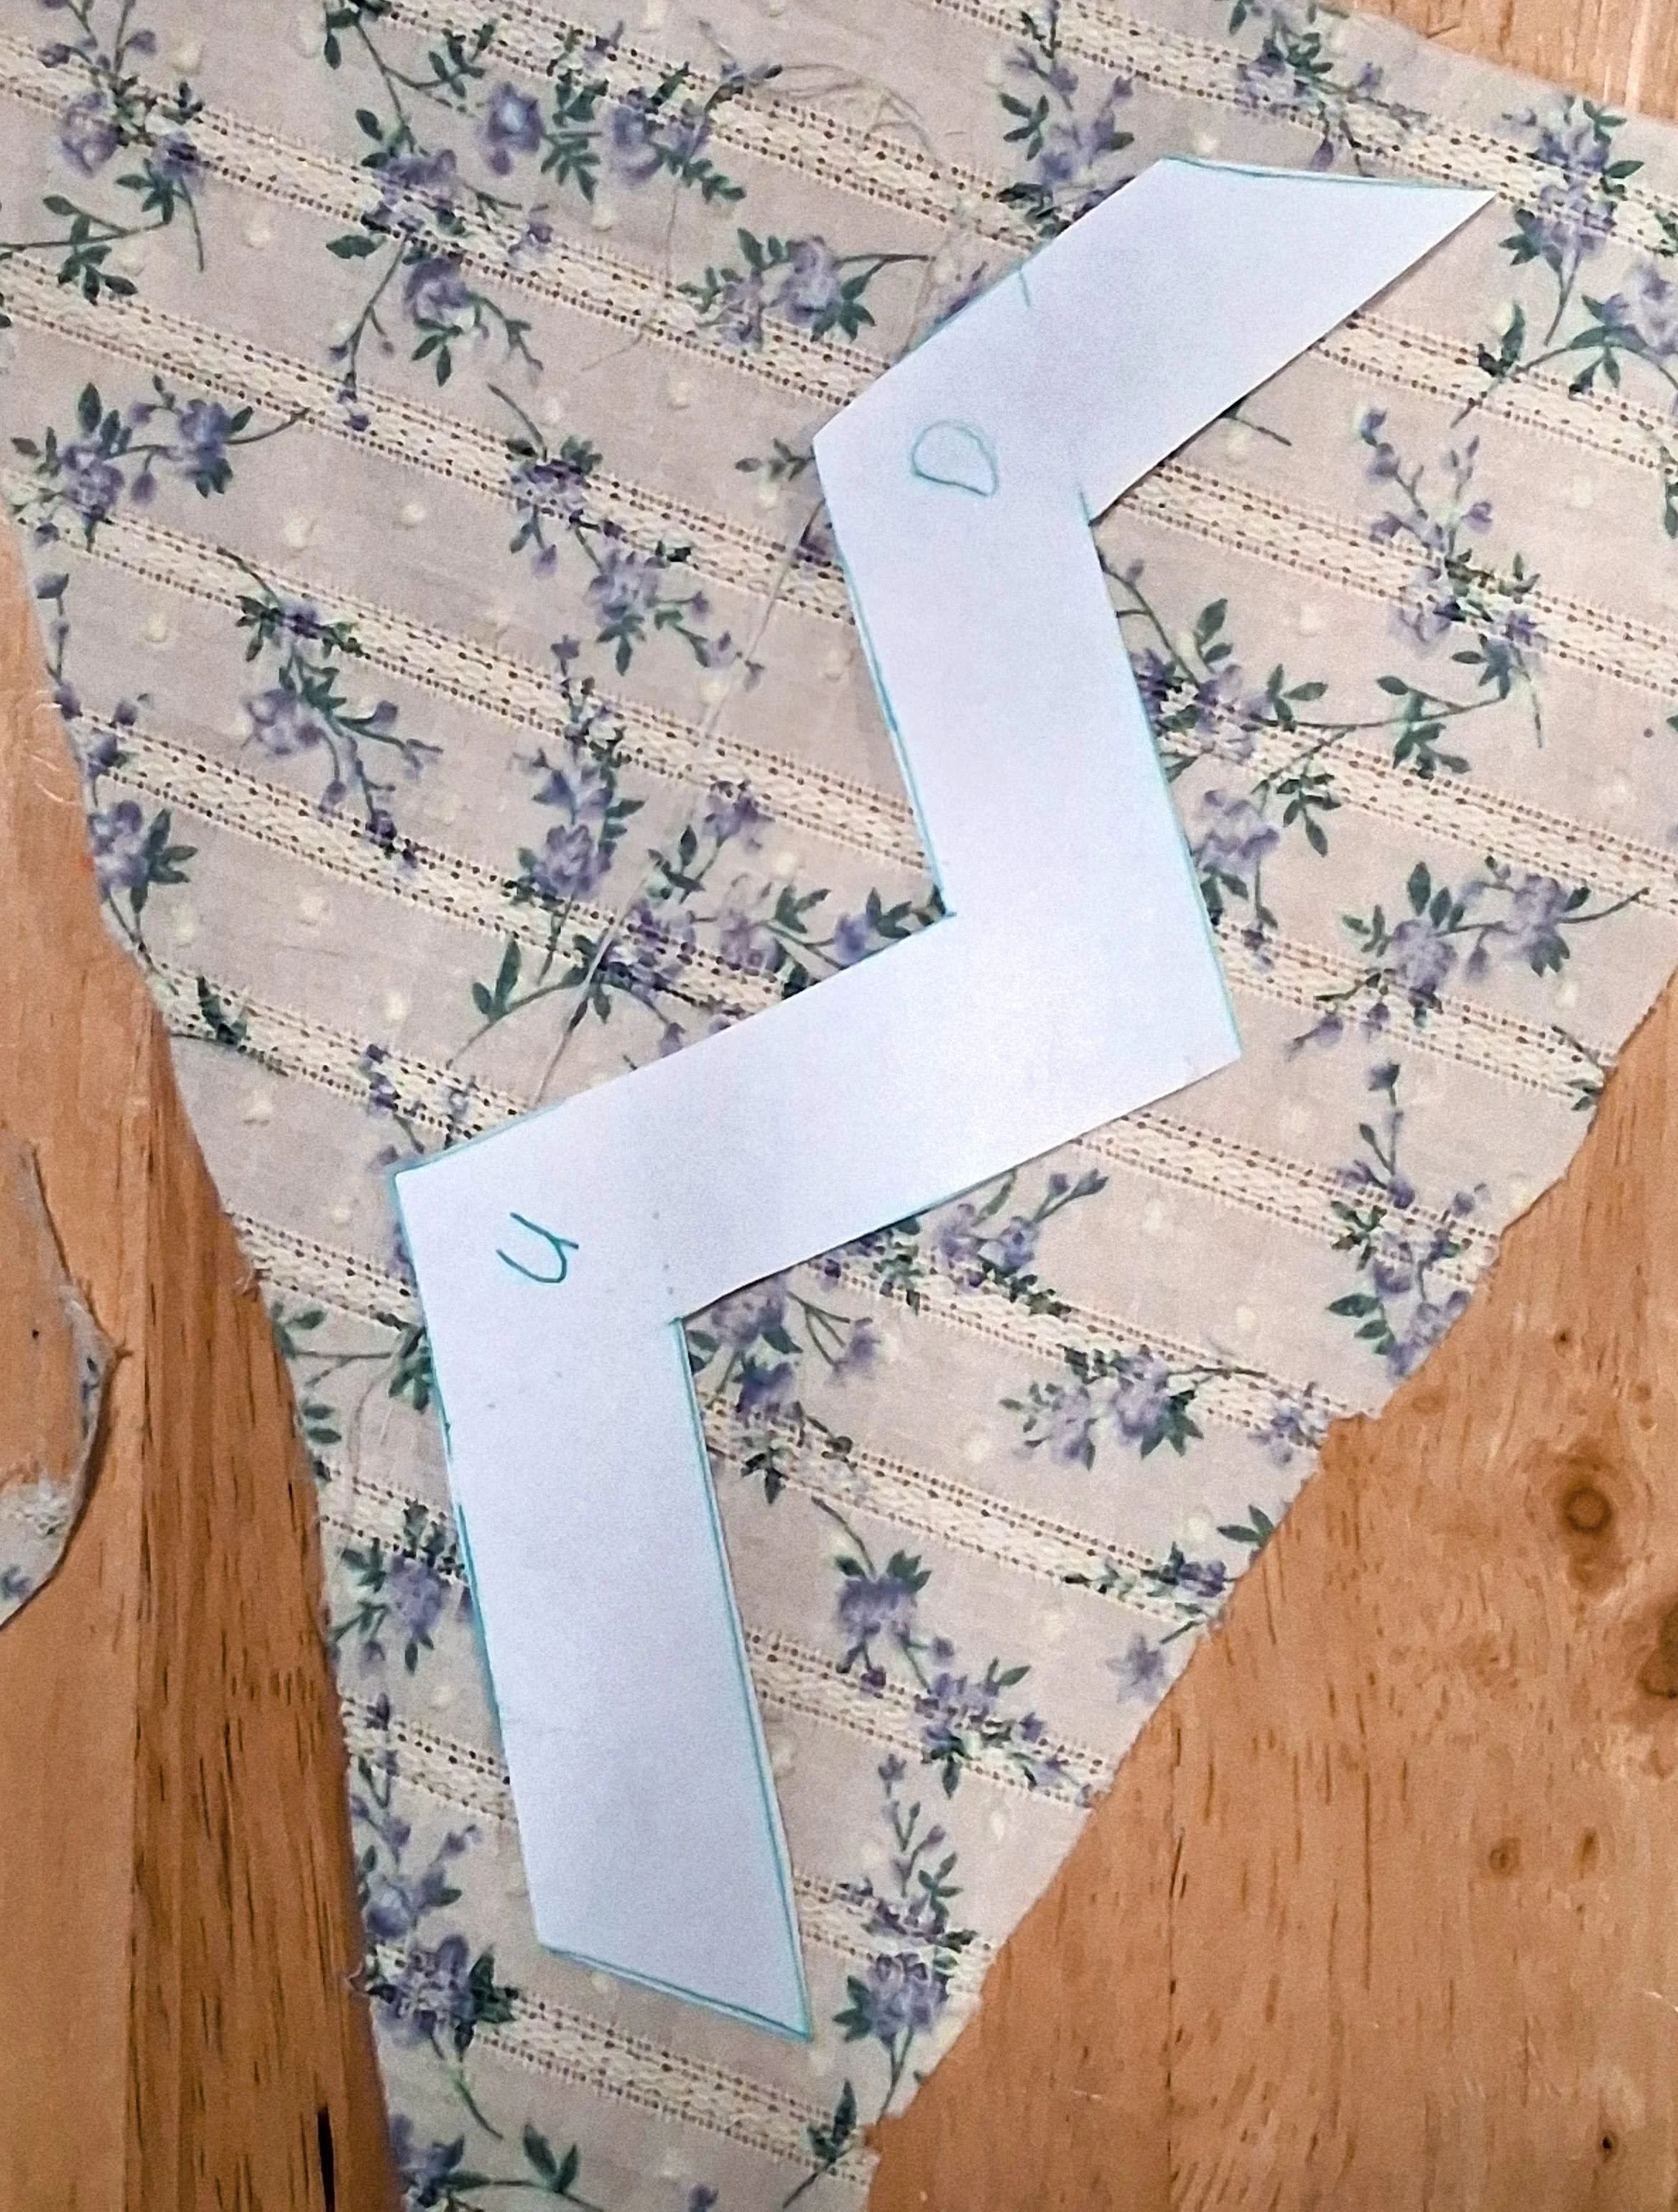
The Collar (lining) piece needs to be altered slightly.
D to F is the center front, while the shorter B to A is center back.
However, the bodice opens on the left shoulder.
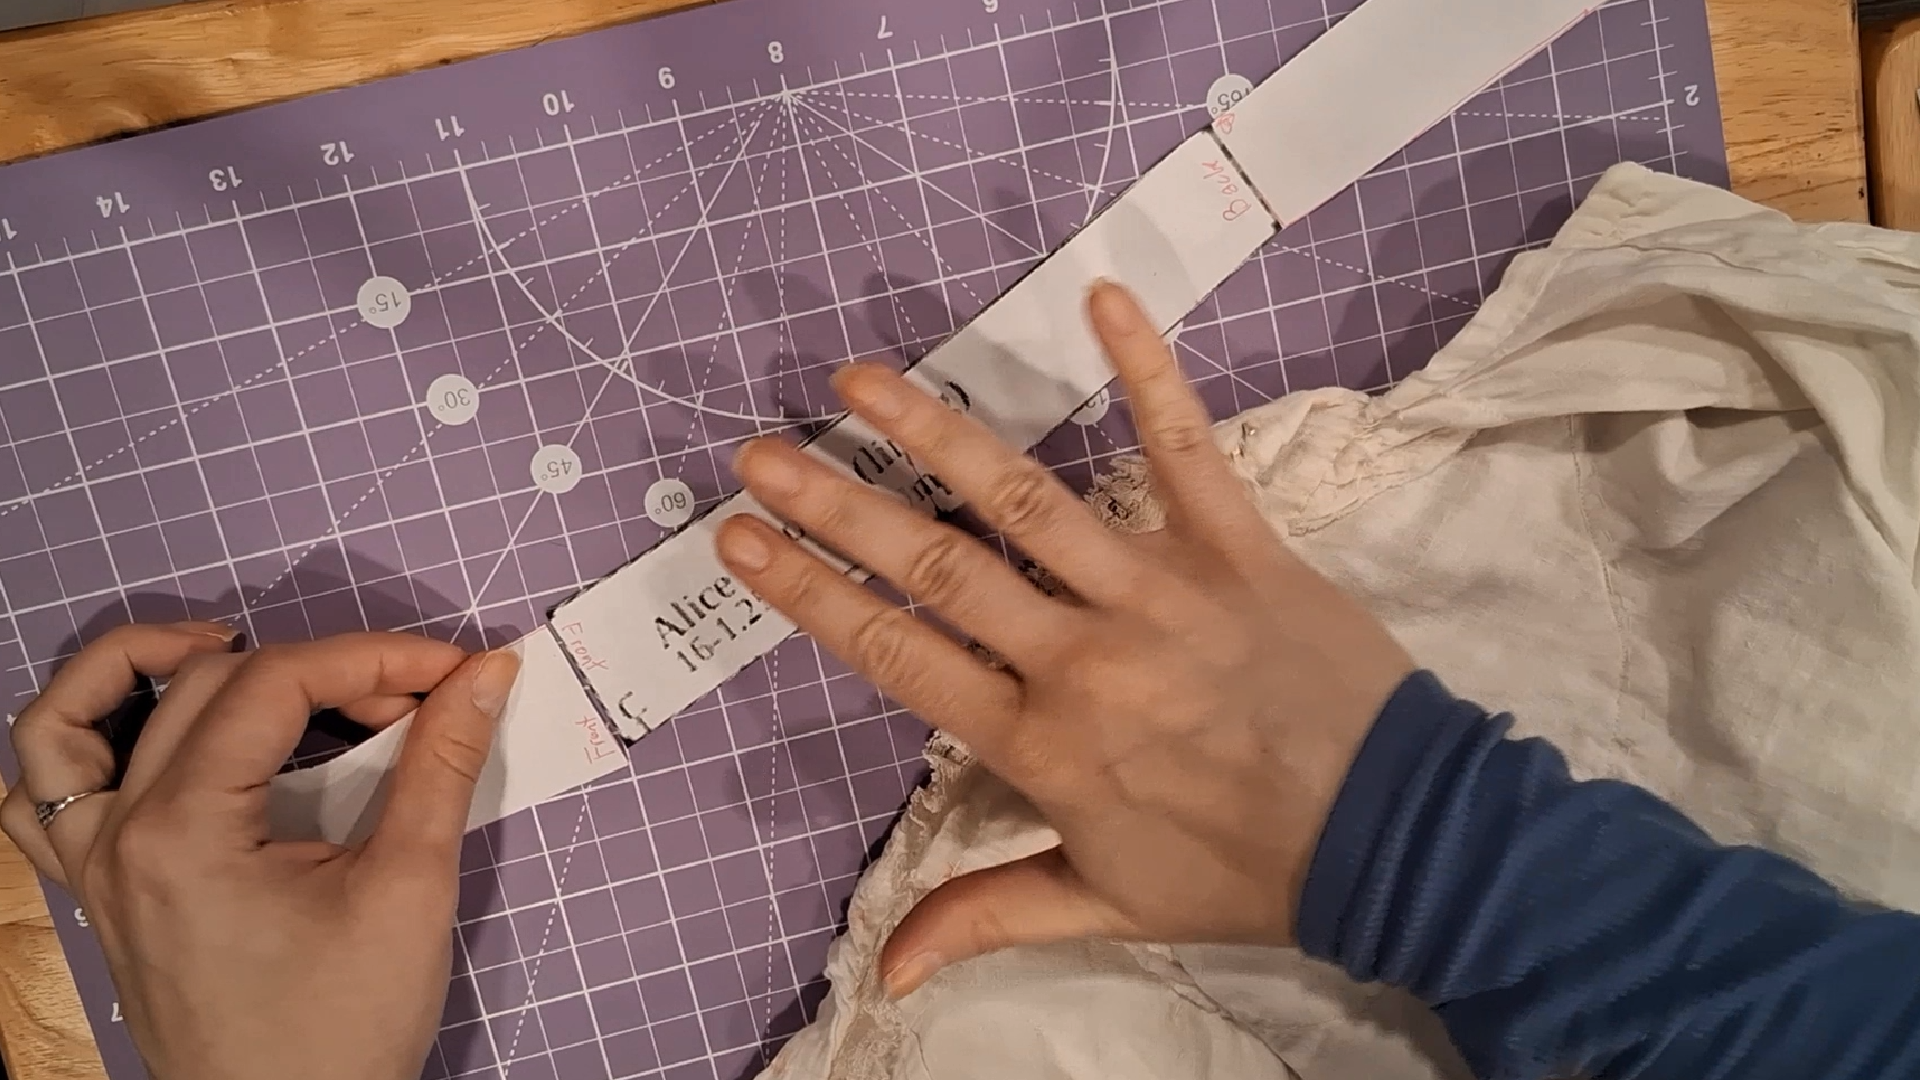
First, make a mirror copy of the collar lining, tape them together at center back.
Cut the mirrored piece at the dotted line E-F.
Line them up center back
If needed, you can slightly smooth the curves at the connections.
Both the lining and outer collar pieces are cut out of the outer fabric. Cut out the lining with interfacing as well.
Step 4: Extra Bodice Pattern Pieces (lining fabric)
There are a few additional pieces from the bodice pattern that you’ll need as well. These are the two you need for the lining fabric.
Inner Front Yoke Lining:
This piece gives the front yoke and front bodice pieces something solid to attach the gathers to.
This piece is based on the Front Lining piece. The lower edge is roughly 1” above the bust line (A1 - G).
Include enough space to turn under roughly 1/2”. On the original, this lower edge is covered with an on-grain tape (not stretch).
Put center front on the fold. This piece goes across the whole front.
Buttonhole Hiding Placket
This piece covers up the lining buttons, only where the Inner Front Yoke Lining doesn’t cover them.
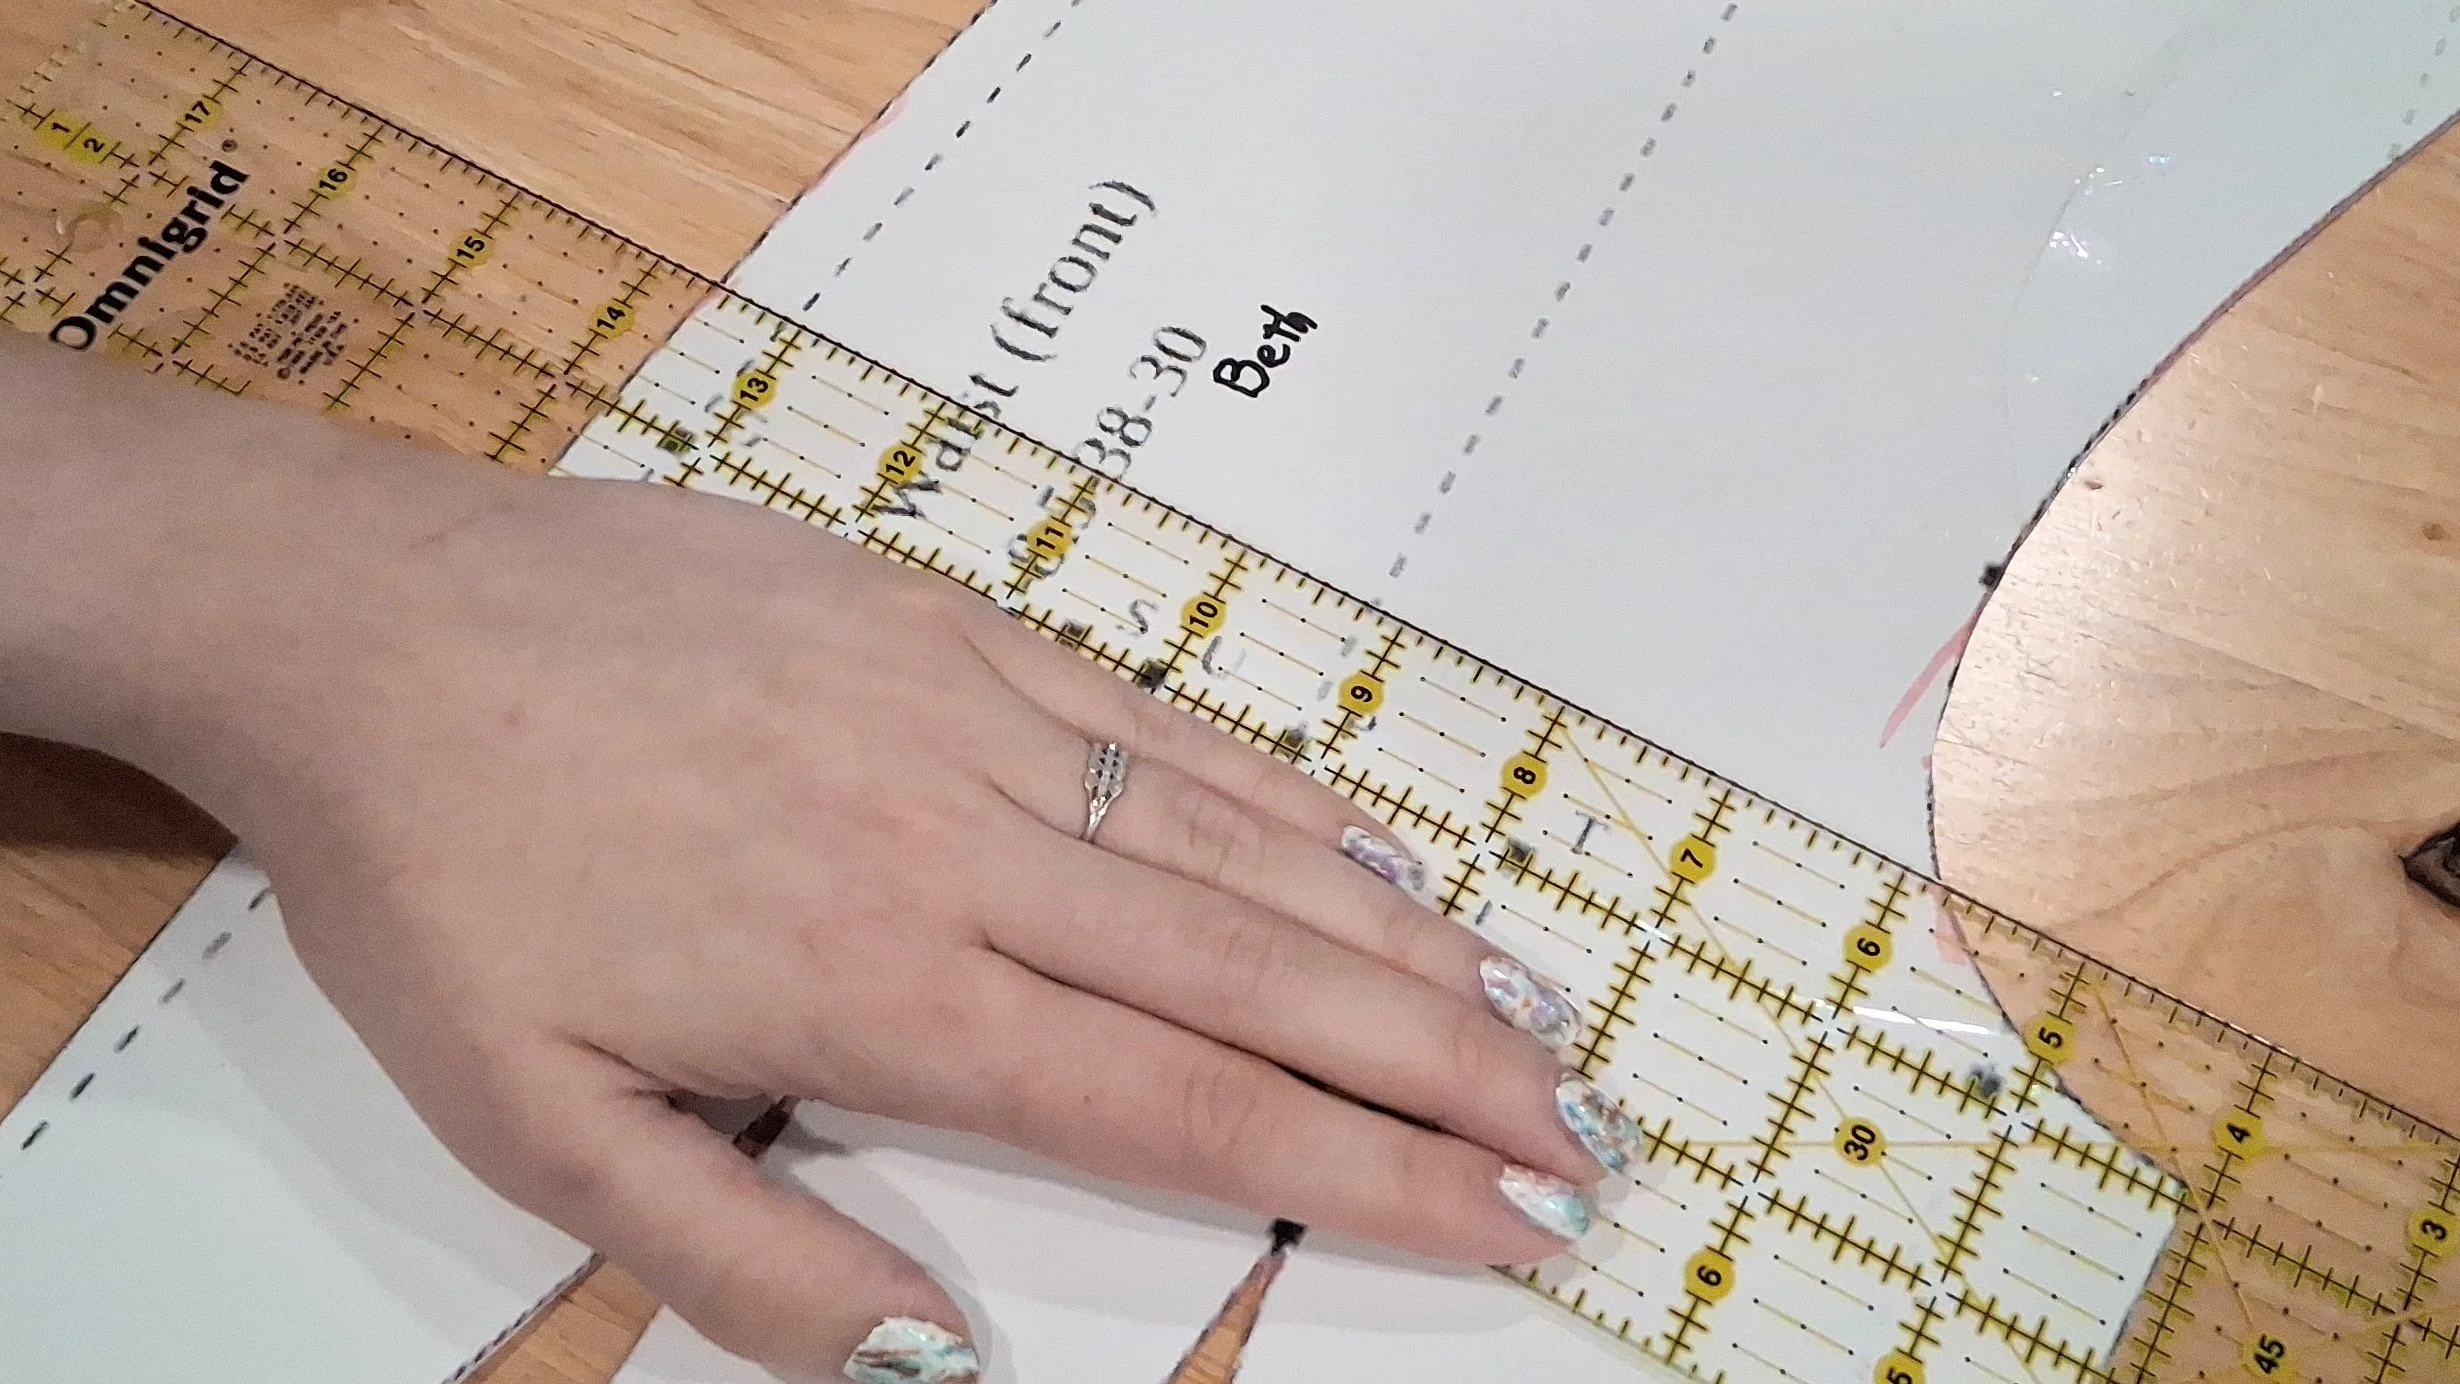
Measure the length of Bodice Lining center front from 2” above the bust line down to the bottom.
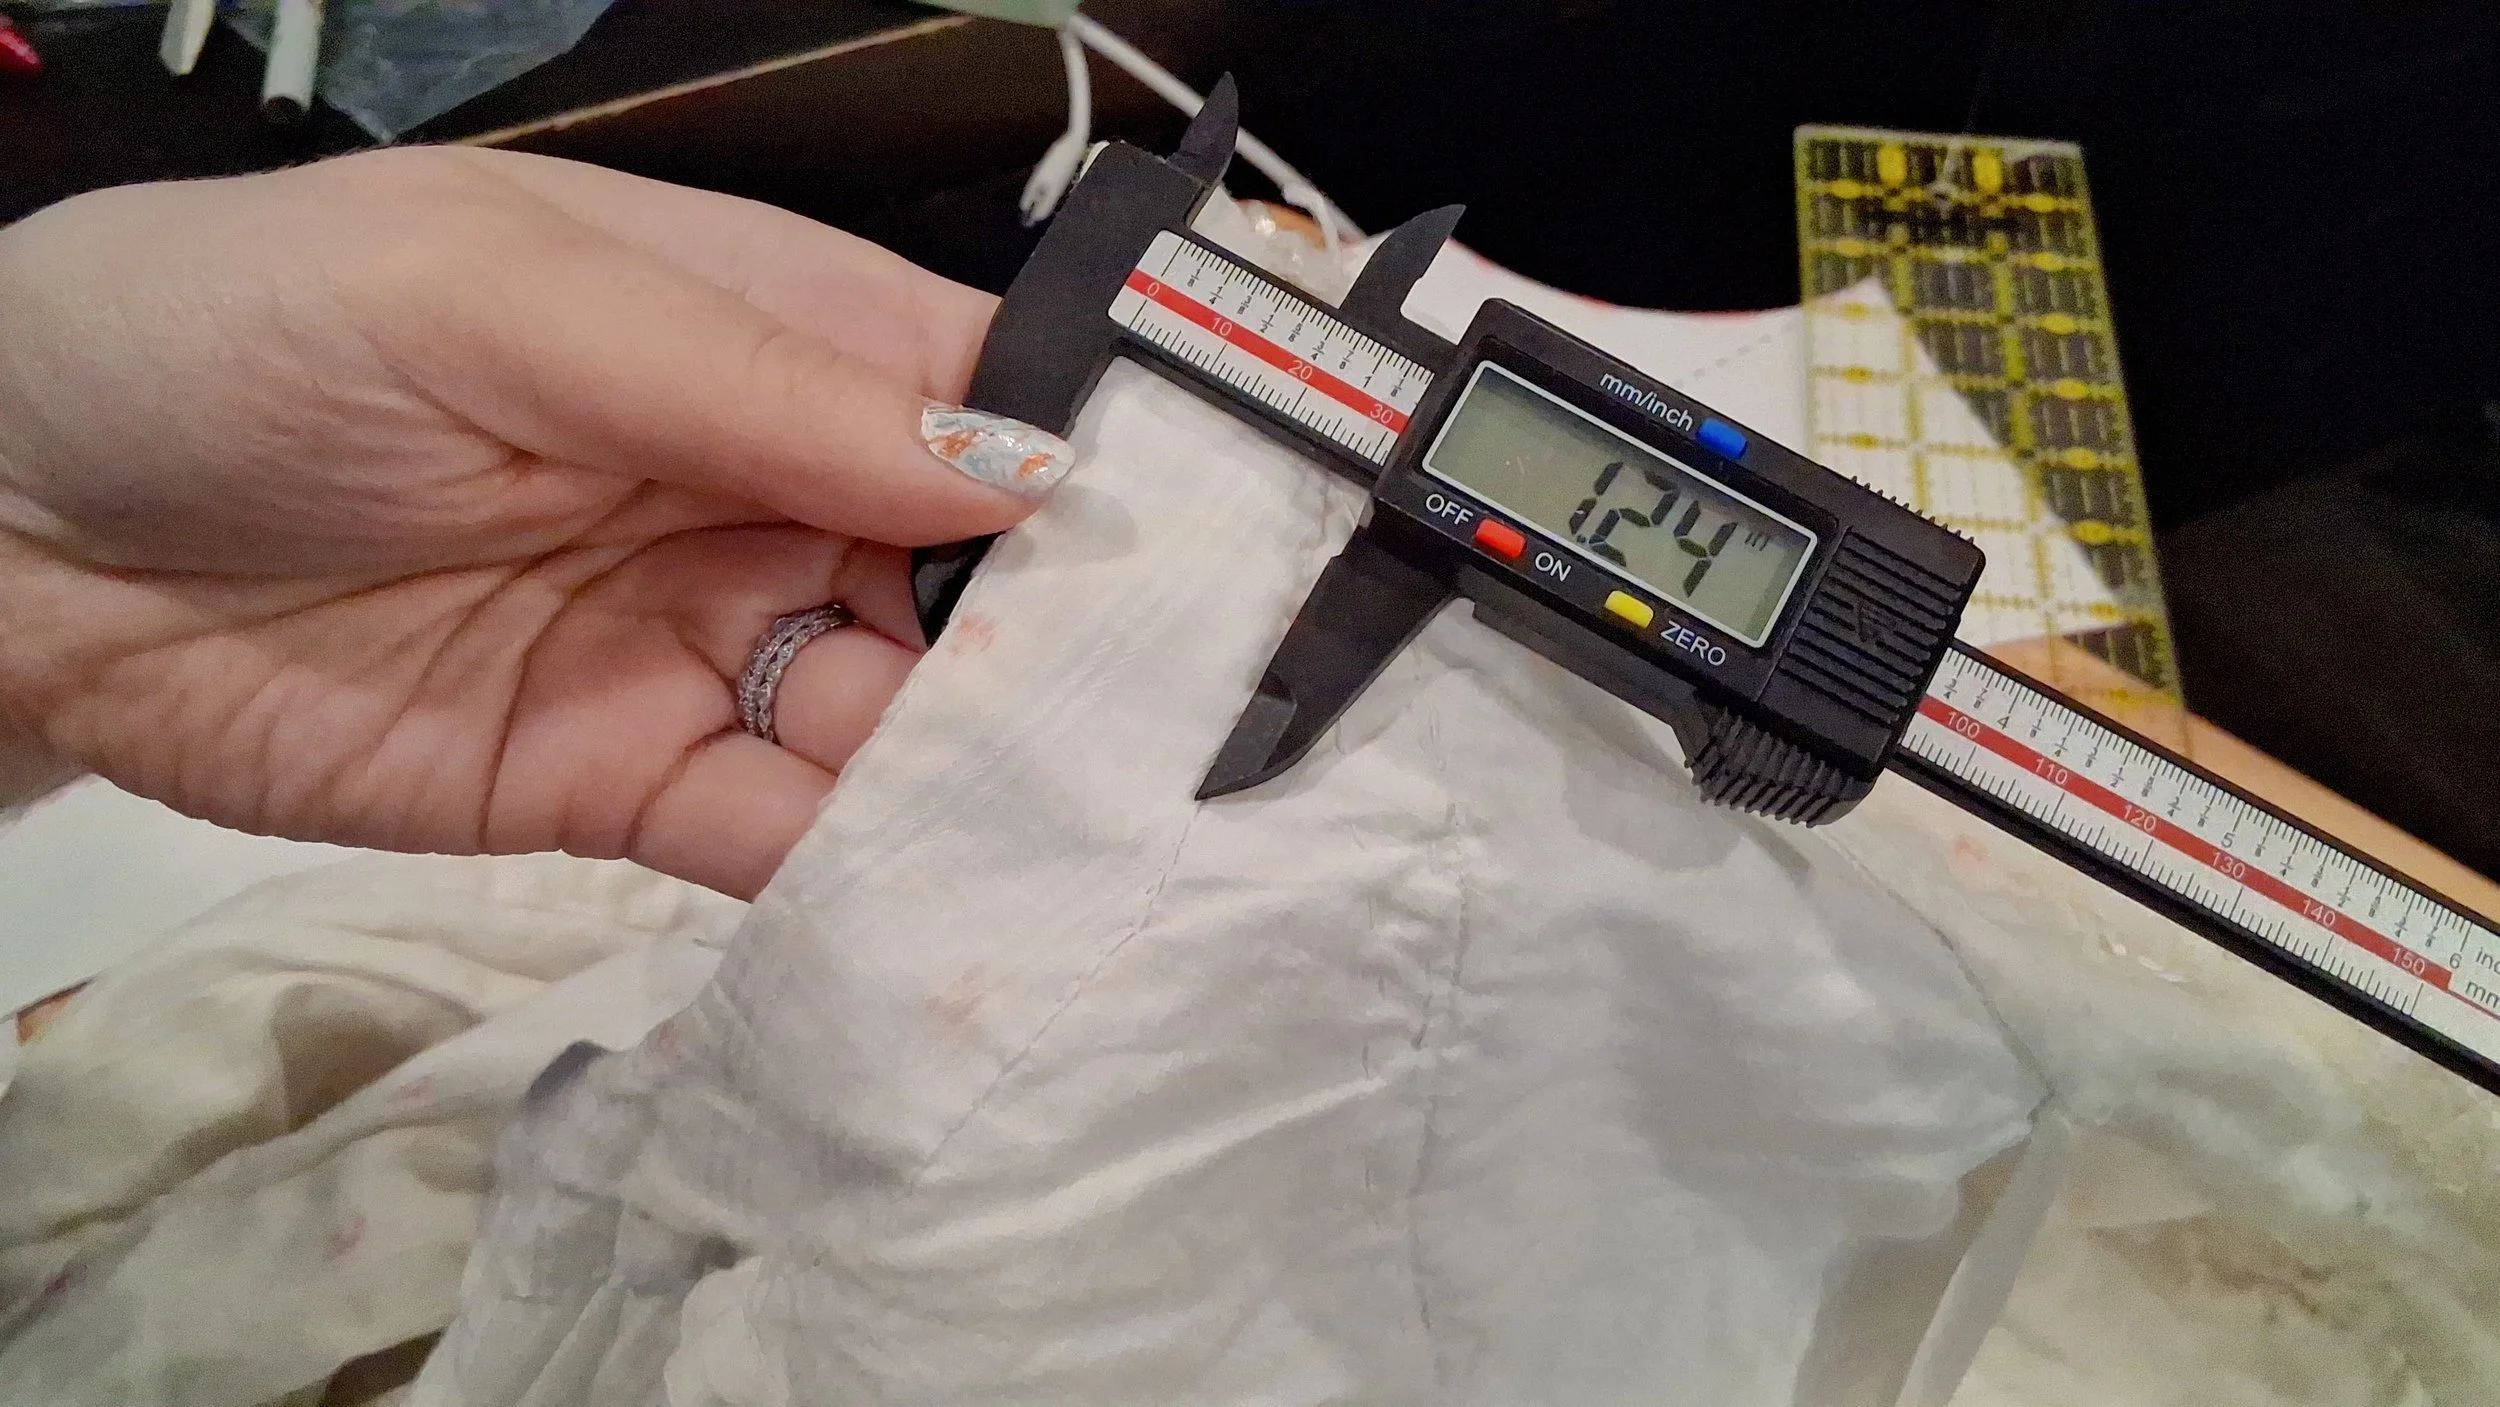
The finished piece will be 1 1/4” wide, folded over, with finished edges. So the pattern piece should be 2 1/2” + seam allowance.
Step 5: Extra Bodice Pattern Pieces (Outer fabric)
There are a few additional pieces from the bodice pattern that you’ll need as well. These are the ones you need for the Outer fabric
Opening Facing
This piece prevents the lining fabric from at the opening, and gives some support to the outer front bodice piece.
Trace a line 1 1/4” left of the far right edge of the Front Lining piece, along the armhole and down the side seam.

Shoulder Facing
These two pieces finish the opening. They are a simple rectangle the width of the shoulder, and an 1 1/4” wide.
Neckline Finish
You will need a short length to cover the raw edge of the neckline along the left front lining. On the original, this piece is on grain and about 3/8” wide.
Waistband
This is 1.25 times your waist measurement, since it will overlap itself. Add a little extra (about 1”) for the button hole closure.
The waistband ends up being 1 1/2” wide. So the pattern piece should be at least 3” wide, plus seam allowance.
The original waistband had a lot of damage, so make sure to also cut out one of interfacing.
Sleeve Facing
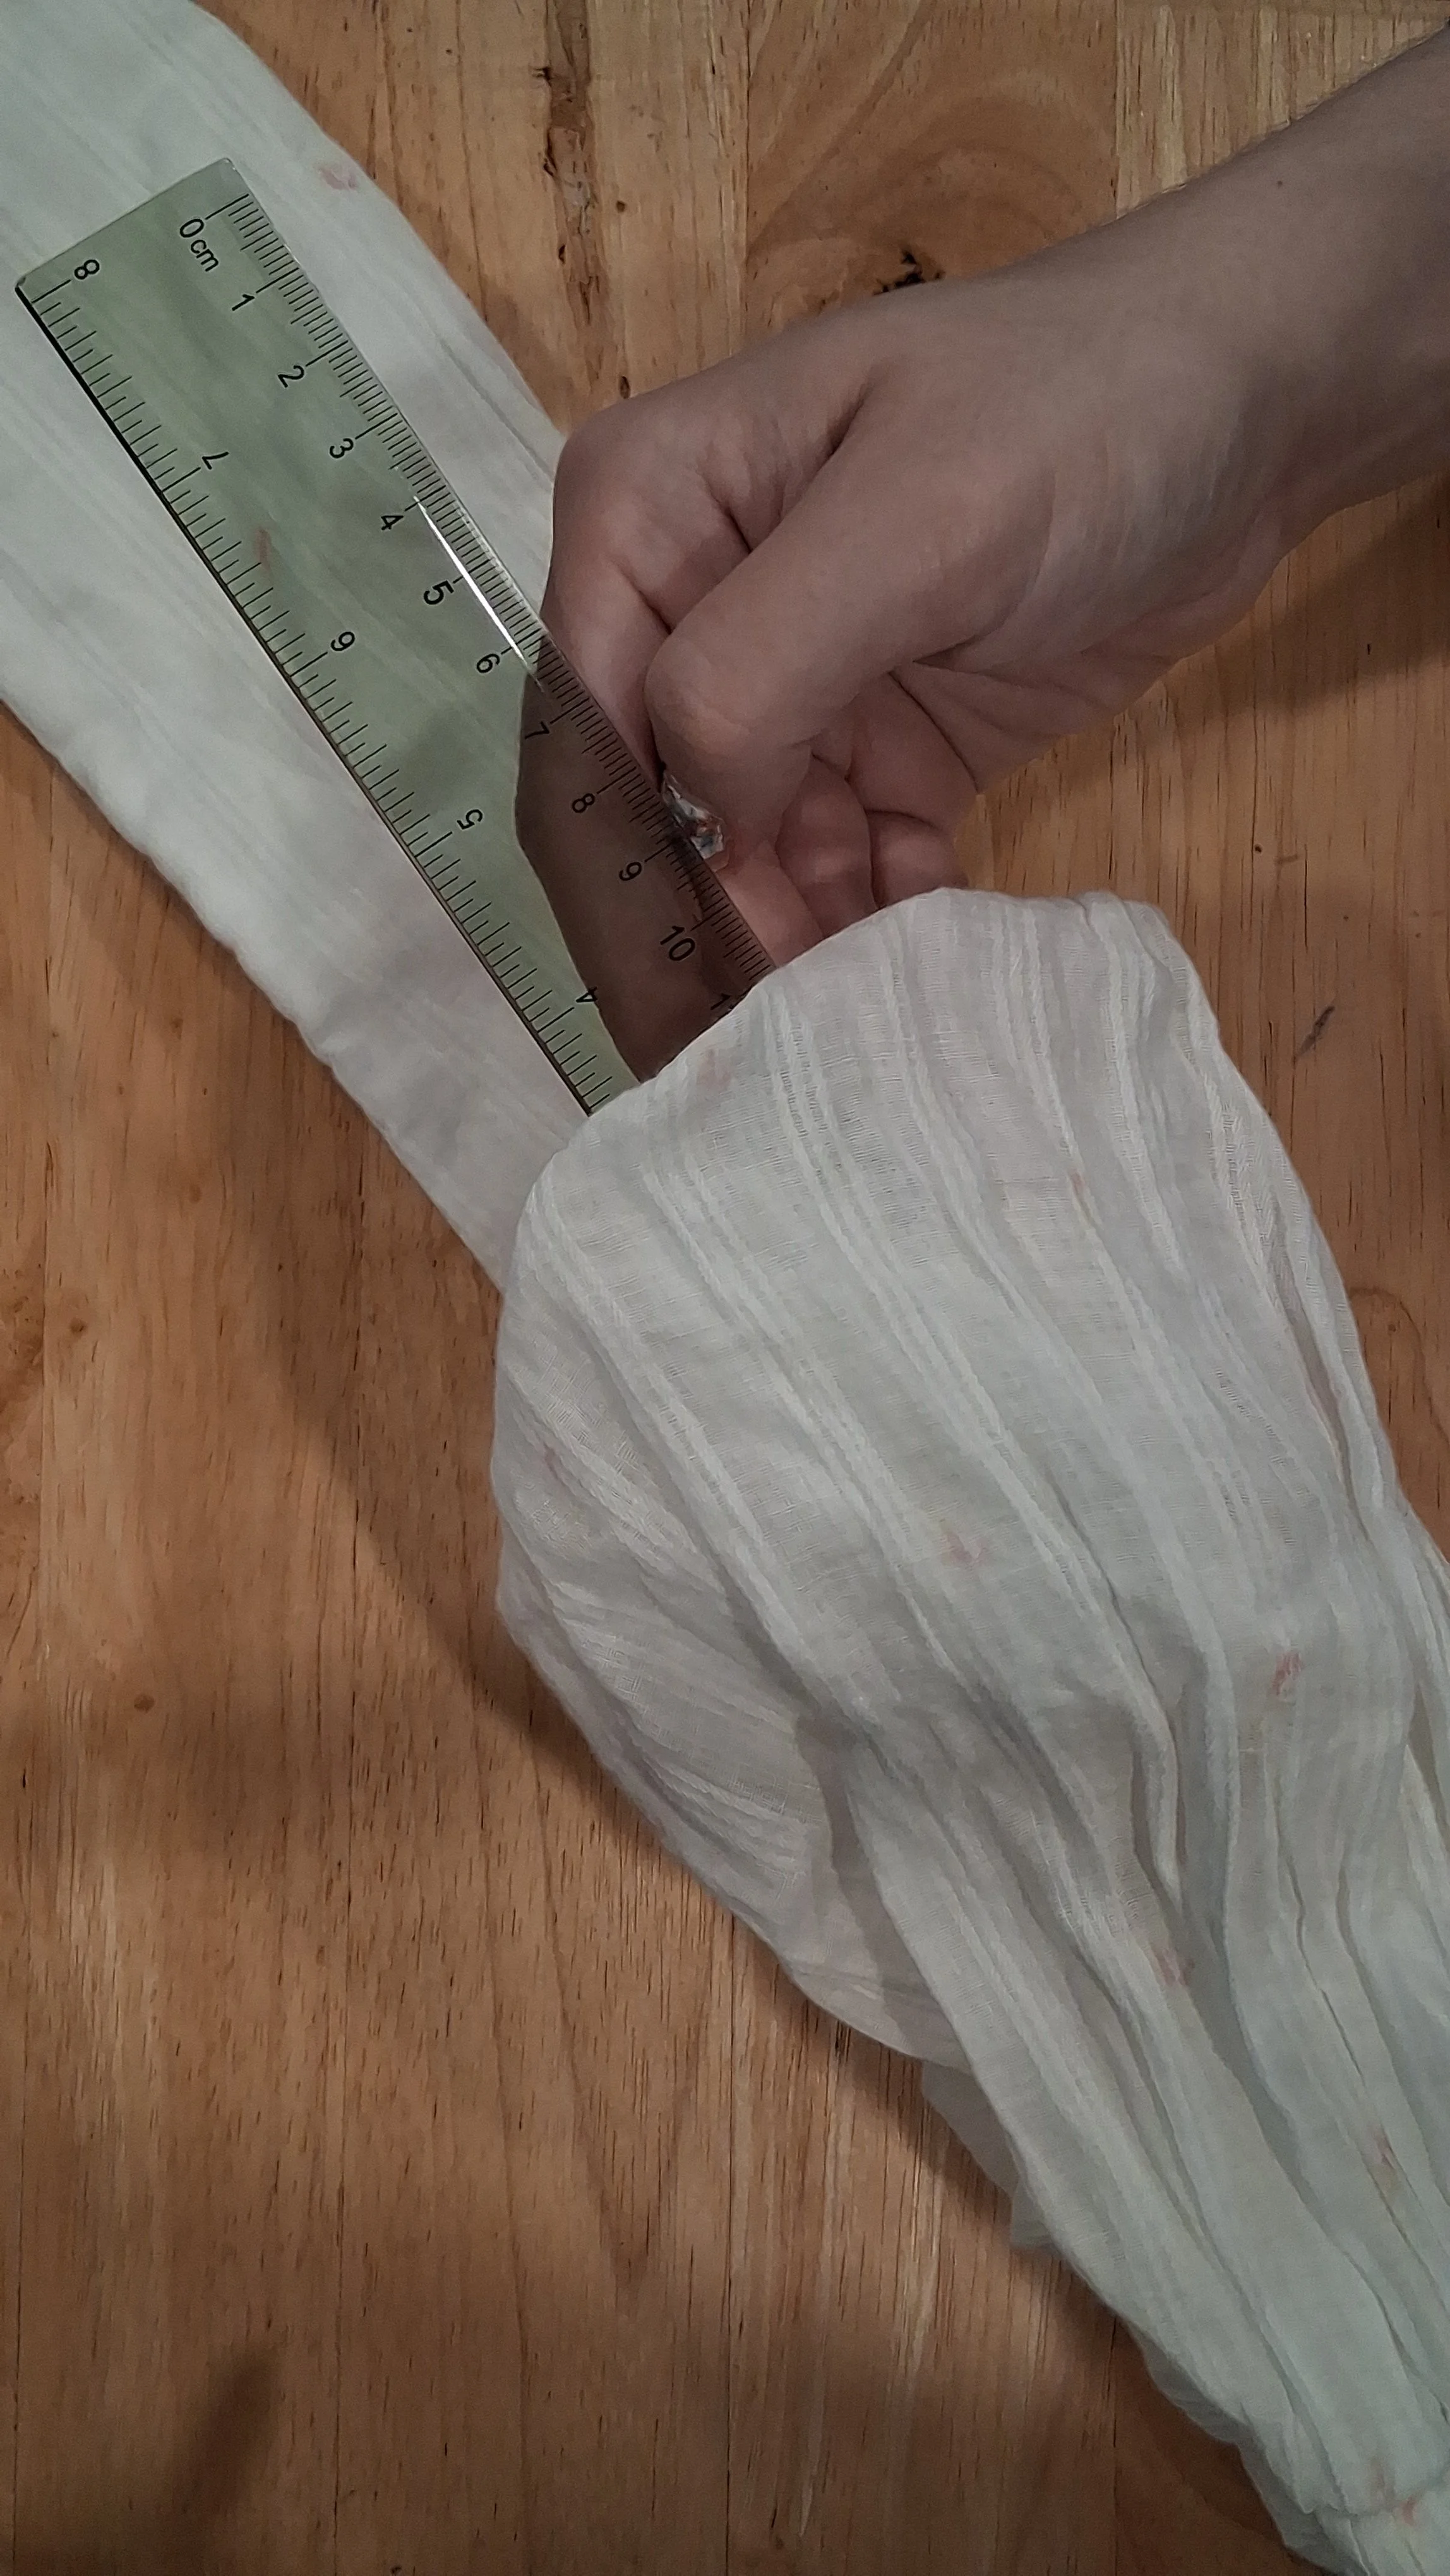
Line up the ends of the two slim sleeve pieces at the wrist, on the long seam. This facing should be about 1” wide at the wrist.
Checkpoint!
Before we move on, let’s make sure we have all the pieces we’ll need:
Outer Fabric
Inside Collar
Outside Collar
Front Yoke
Back Yoke
Front Bodice
Back Bodice
Sleeve Front x2
Sleeve Back x2
Sleeve Puff x2
Sleeve Facing x2
Closure Facing x2
Shoulder Closure Facing x2
Waistband
Neckline Finish
Lining Fabric
Bodice Lining Front x2
Bodice Lining Side x2
Bodice Lining SideBack x2
Bodice Lining Back (1 on fold or 2 cut separately)
Inner Front Yoke Lining
Buttonhole Cover Placket
Sleeve Front x2
Sleeve Back x2
Interfacing
Waistband
Collar
Also needed:
Lining Buttons x9 (10mm)
Waist buttons x4 (14.5mm)
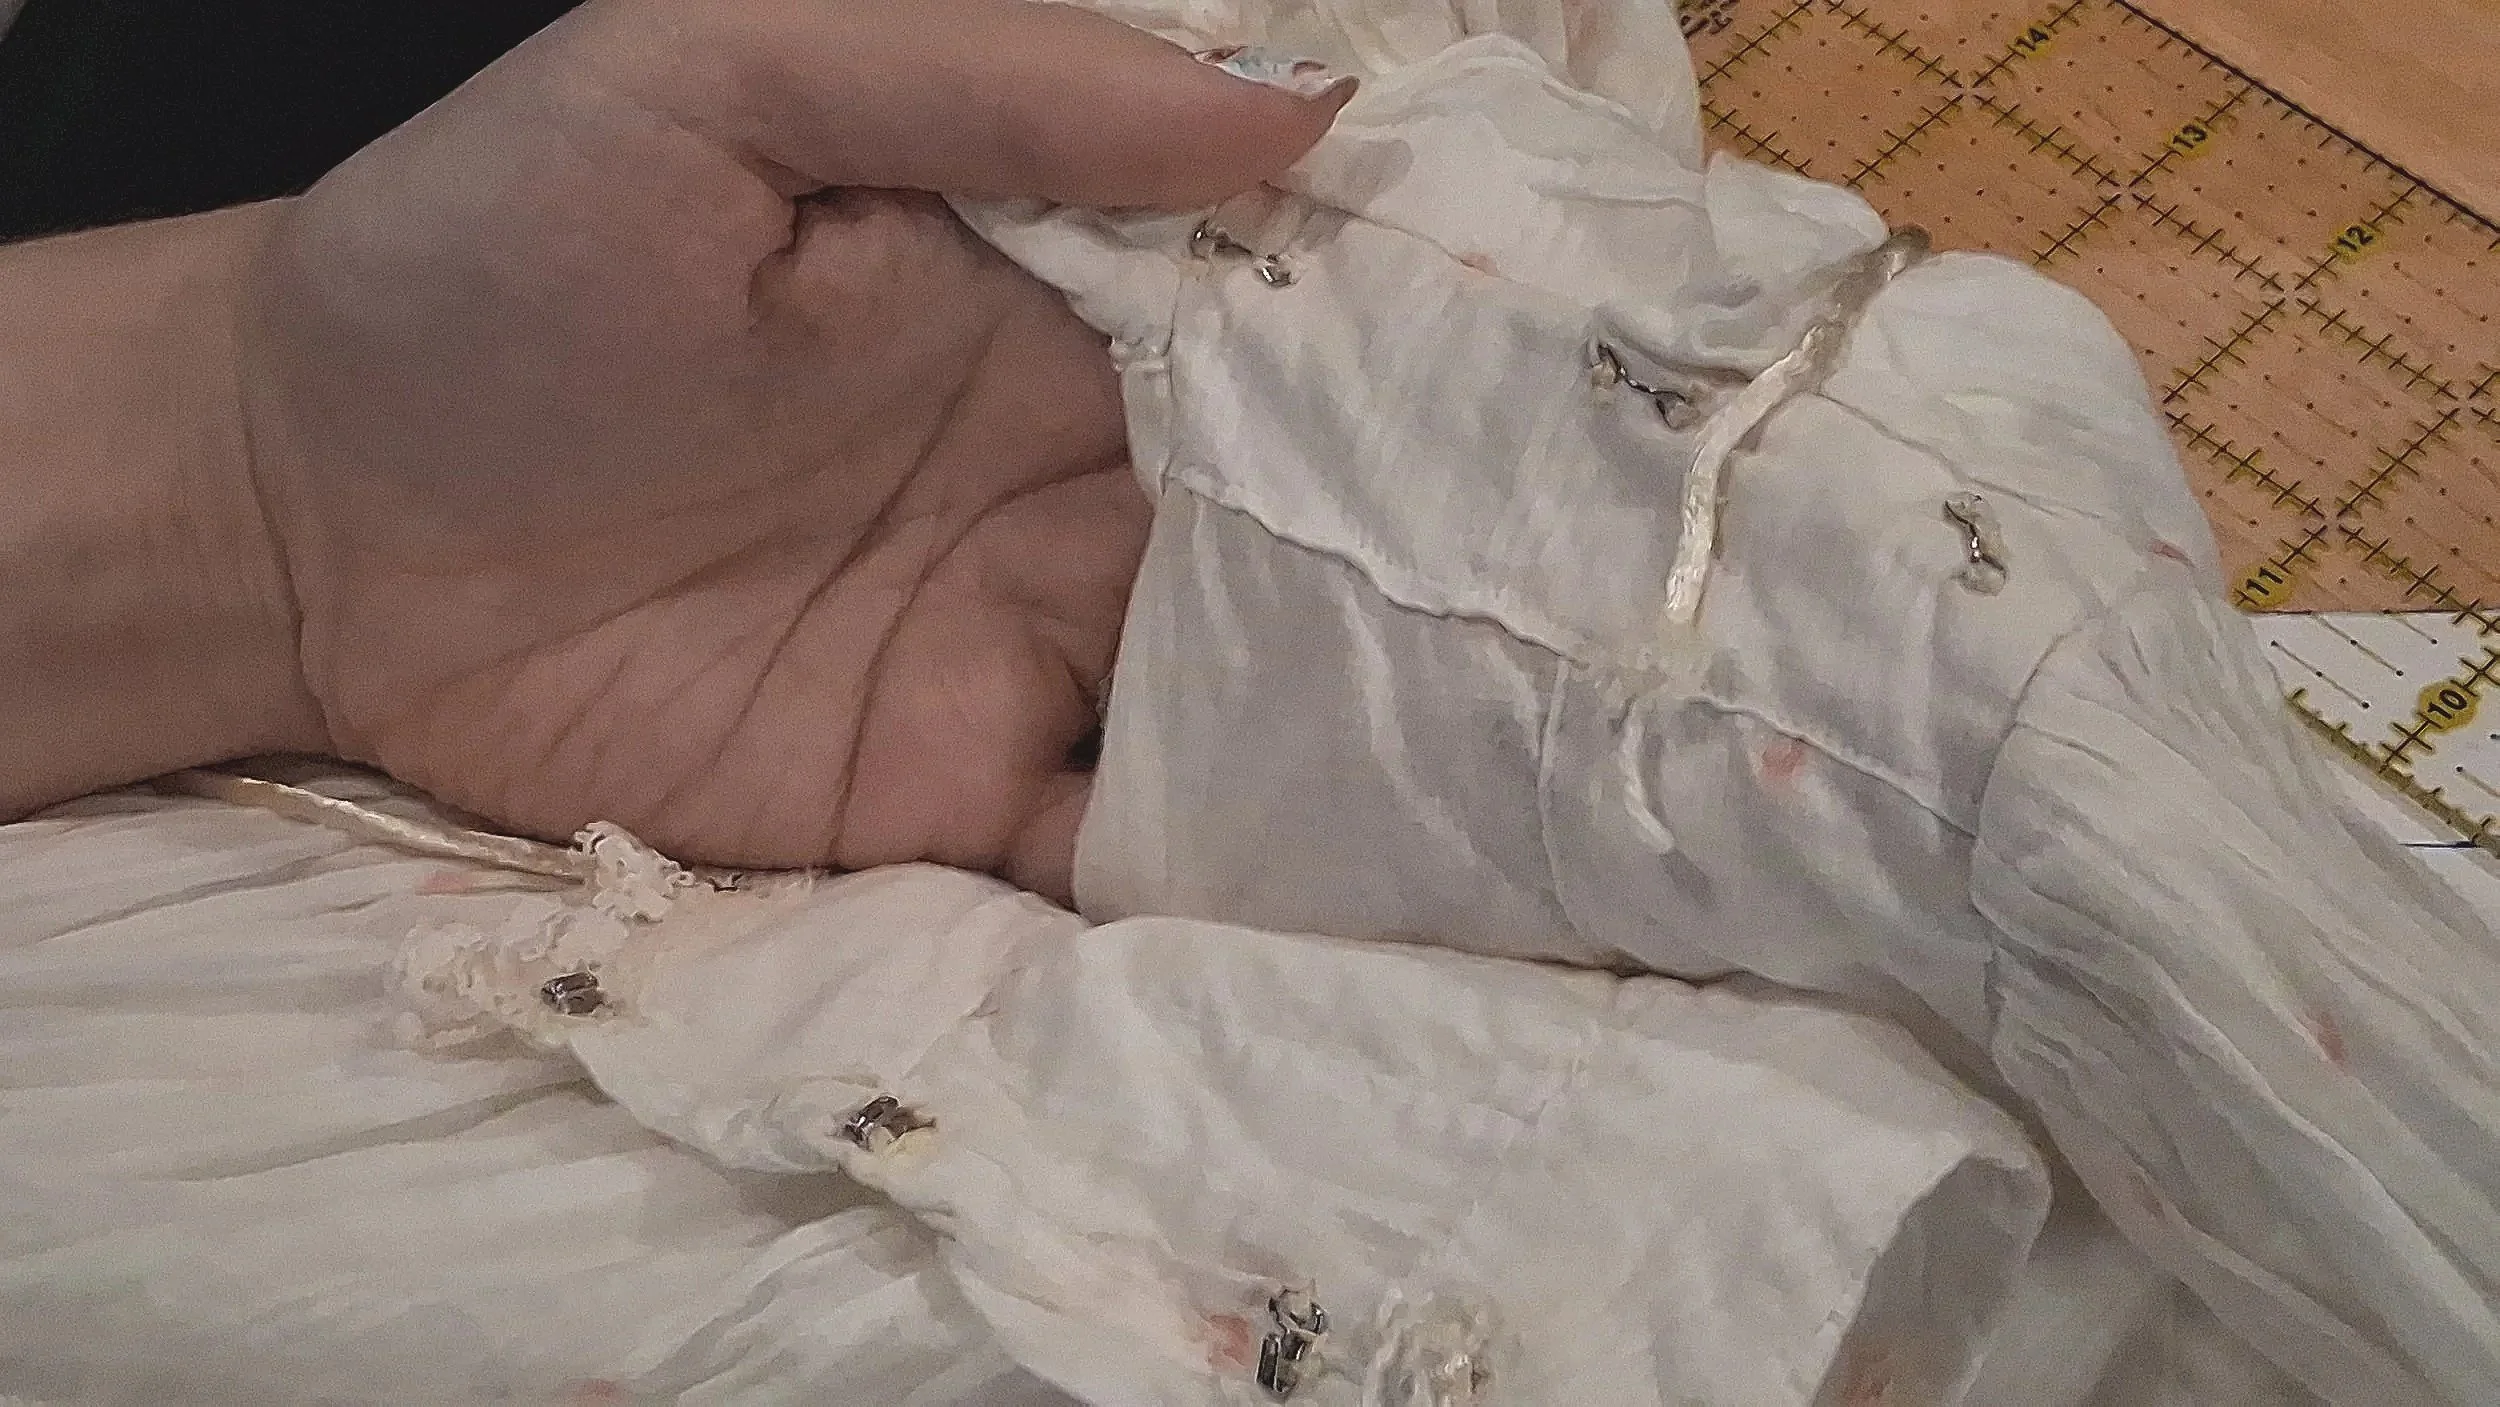
Hooks and Bars x6 (silver or white)
1 1/2” - 3” lace for the neckline and cuffs (2 x (neck + 2 x (cuff))
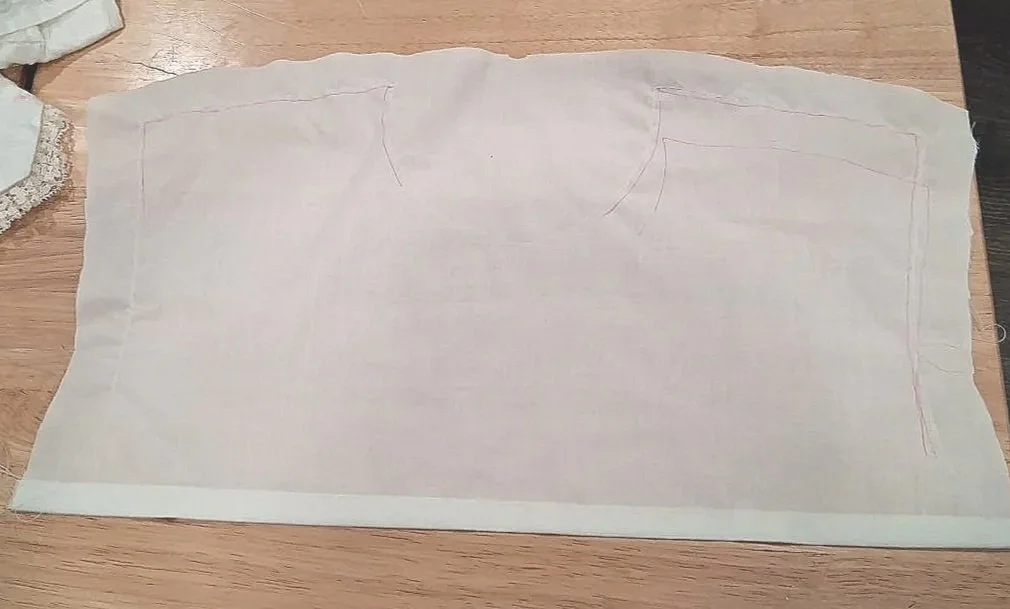
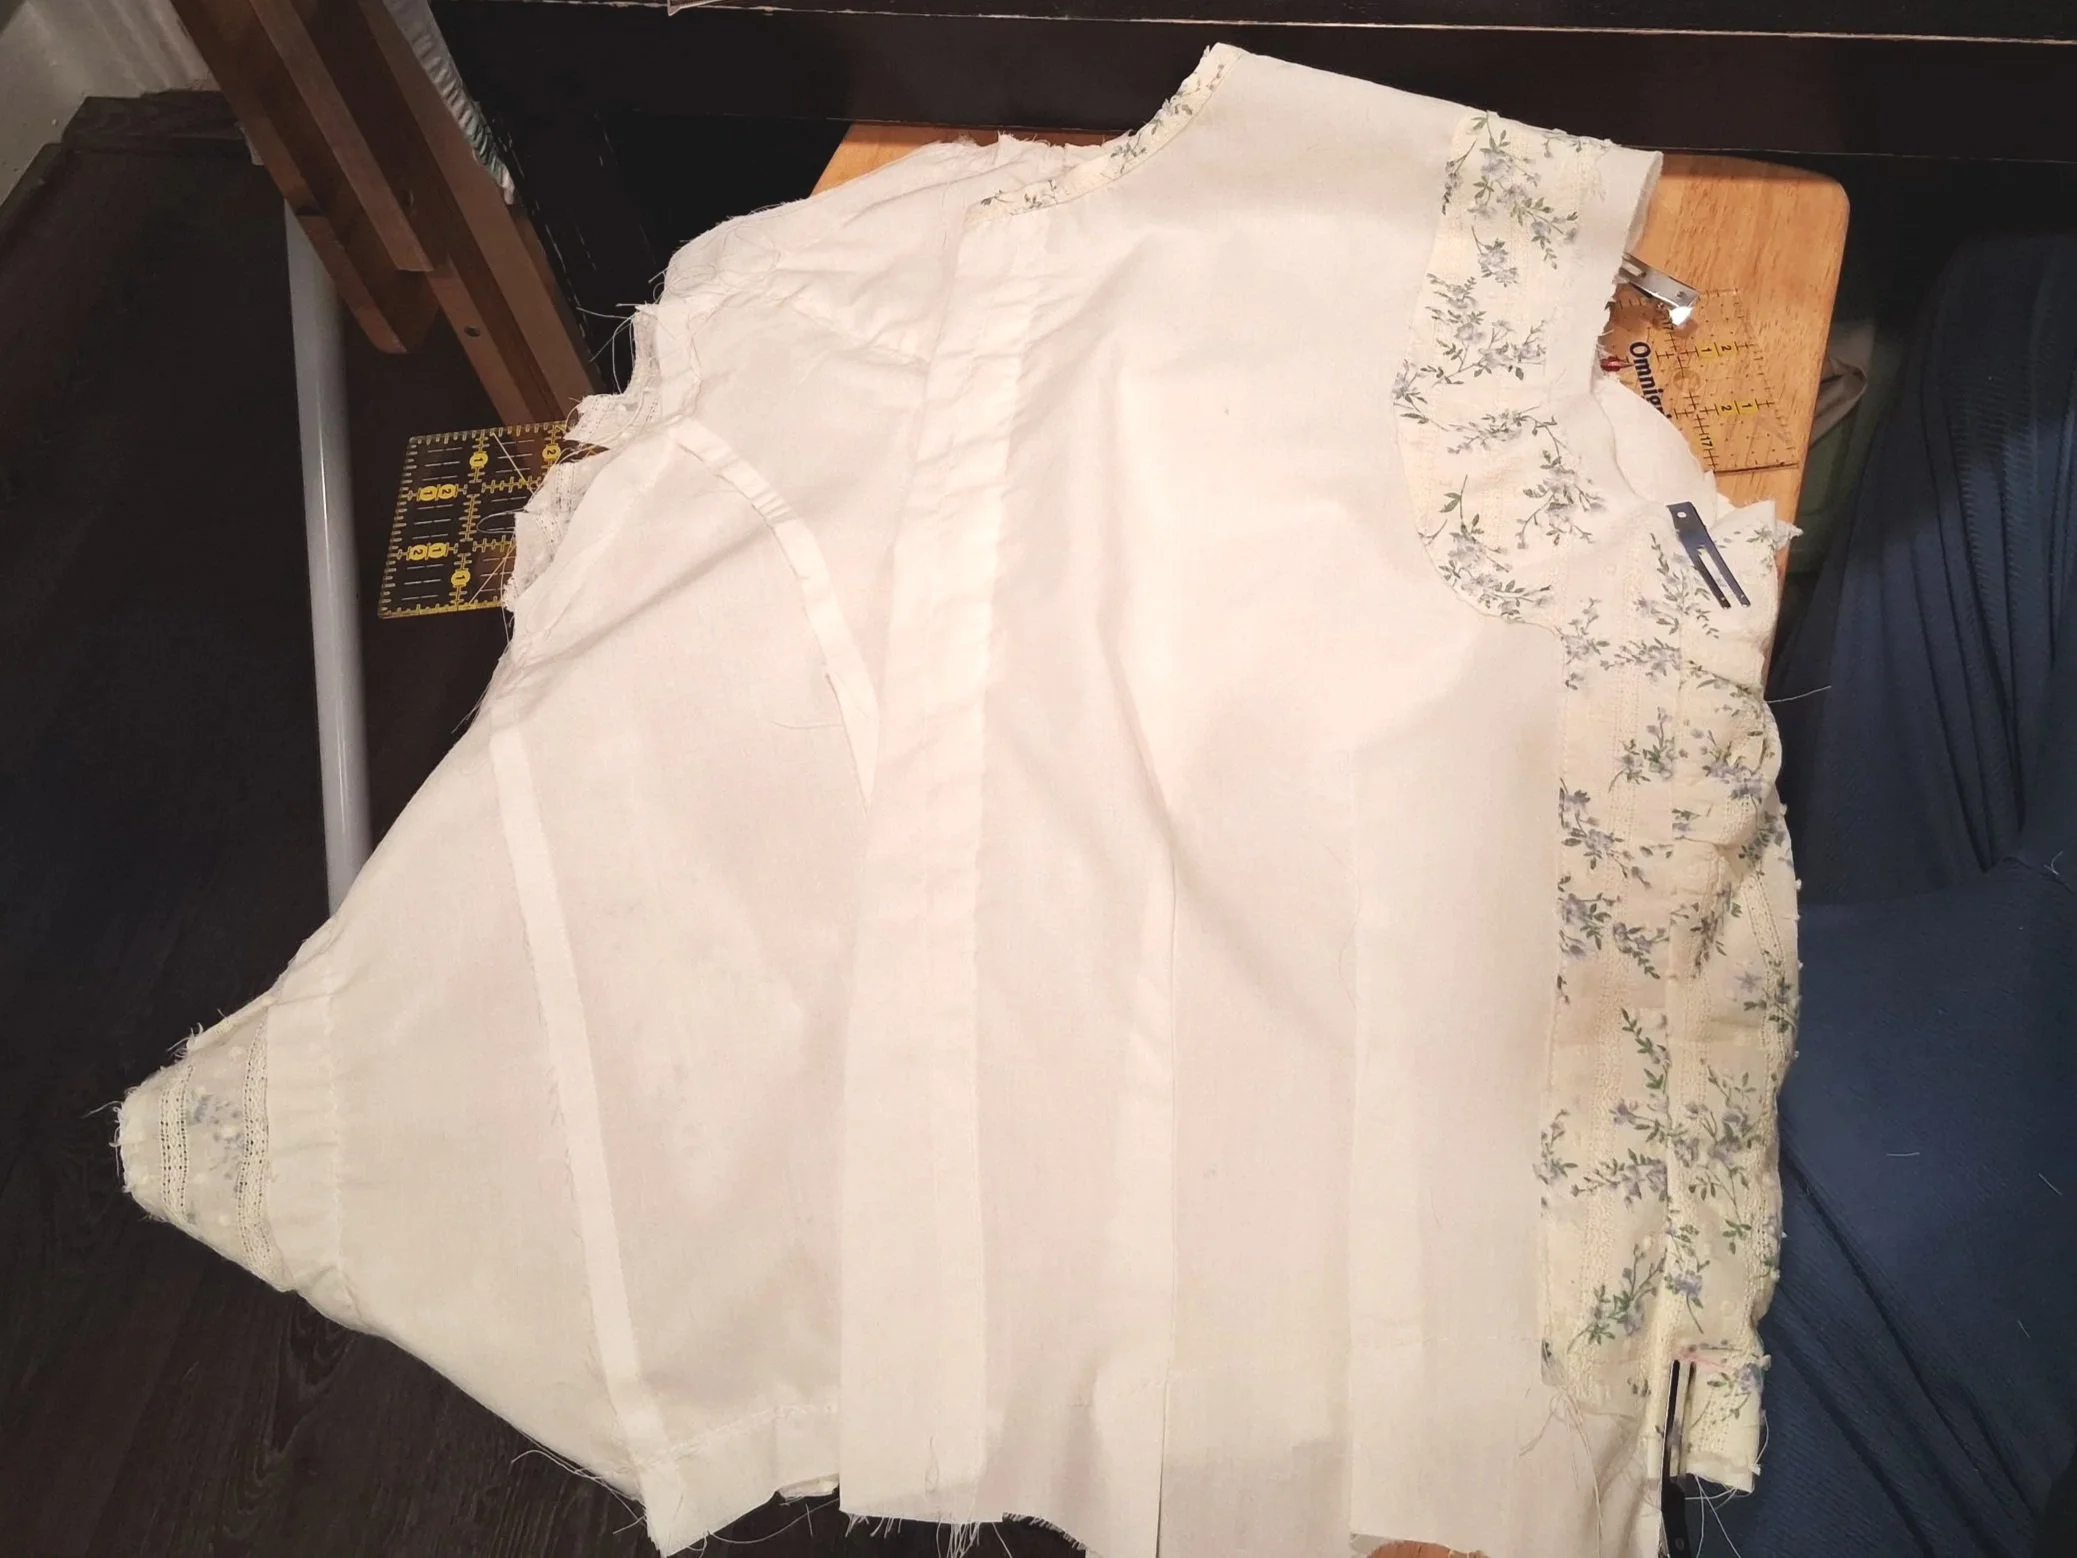
Step 1: Front Lining
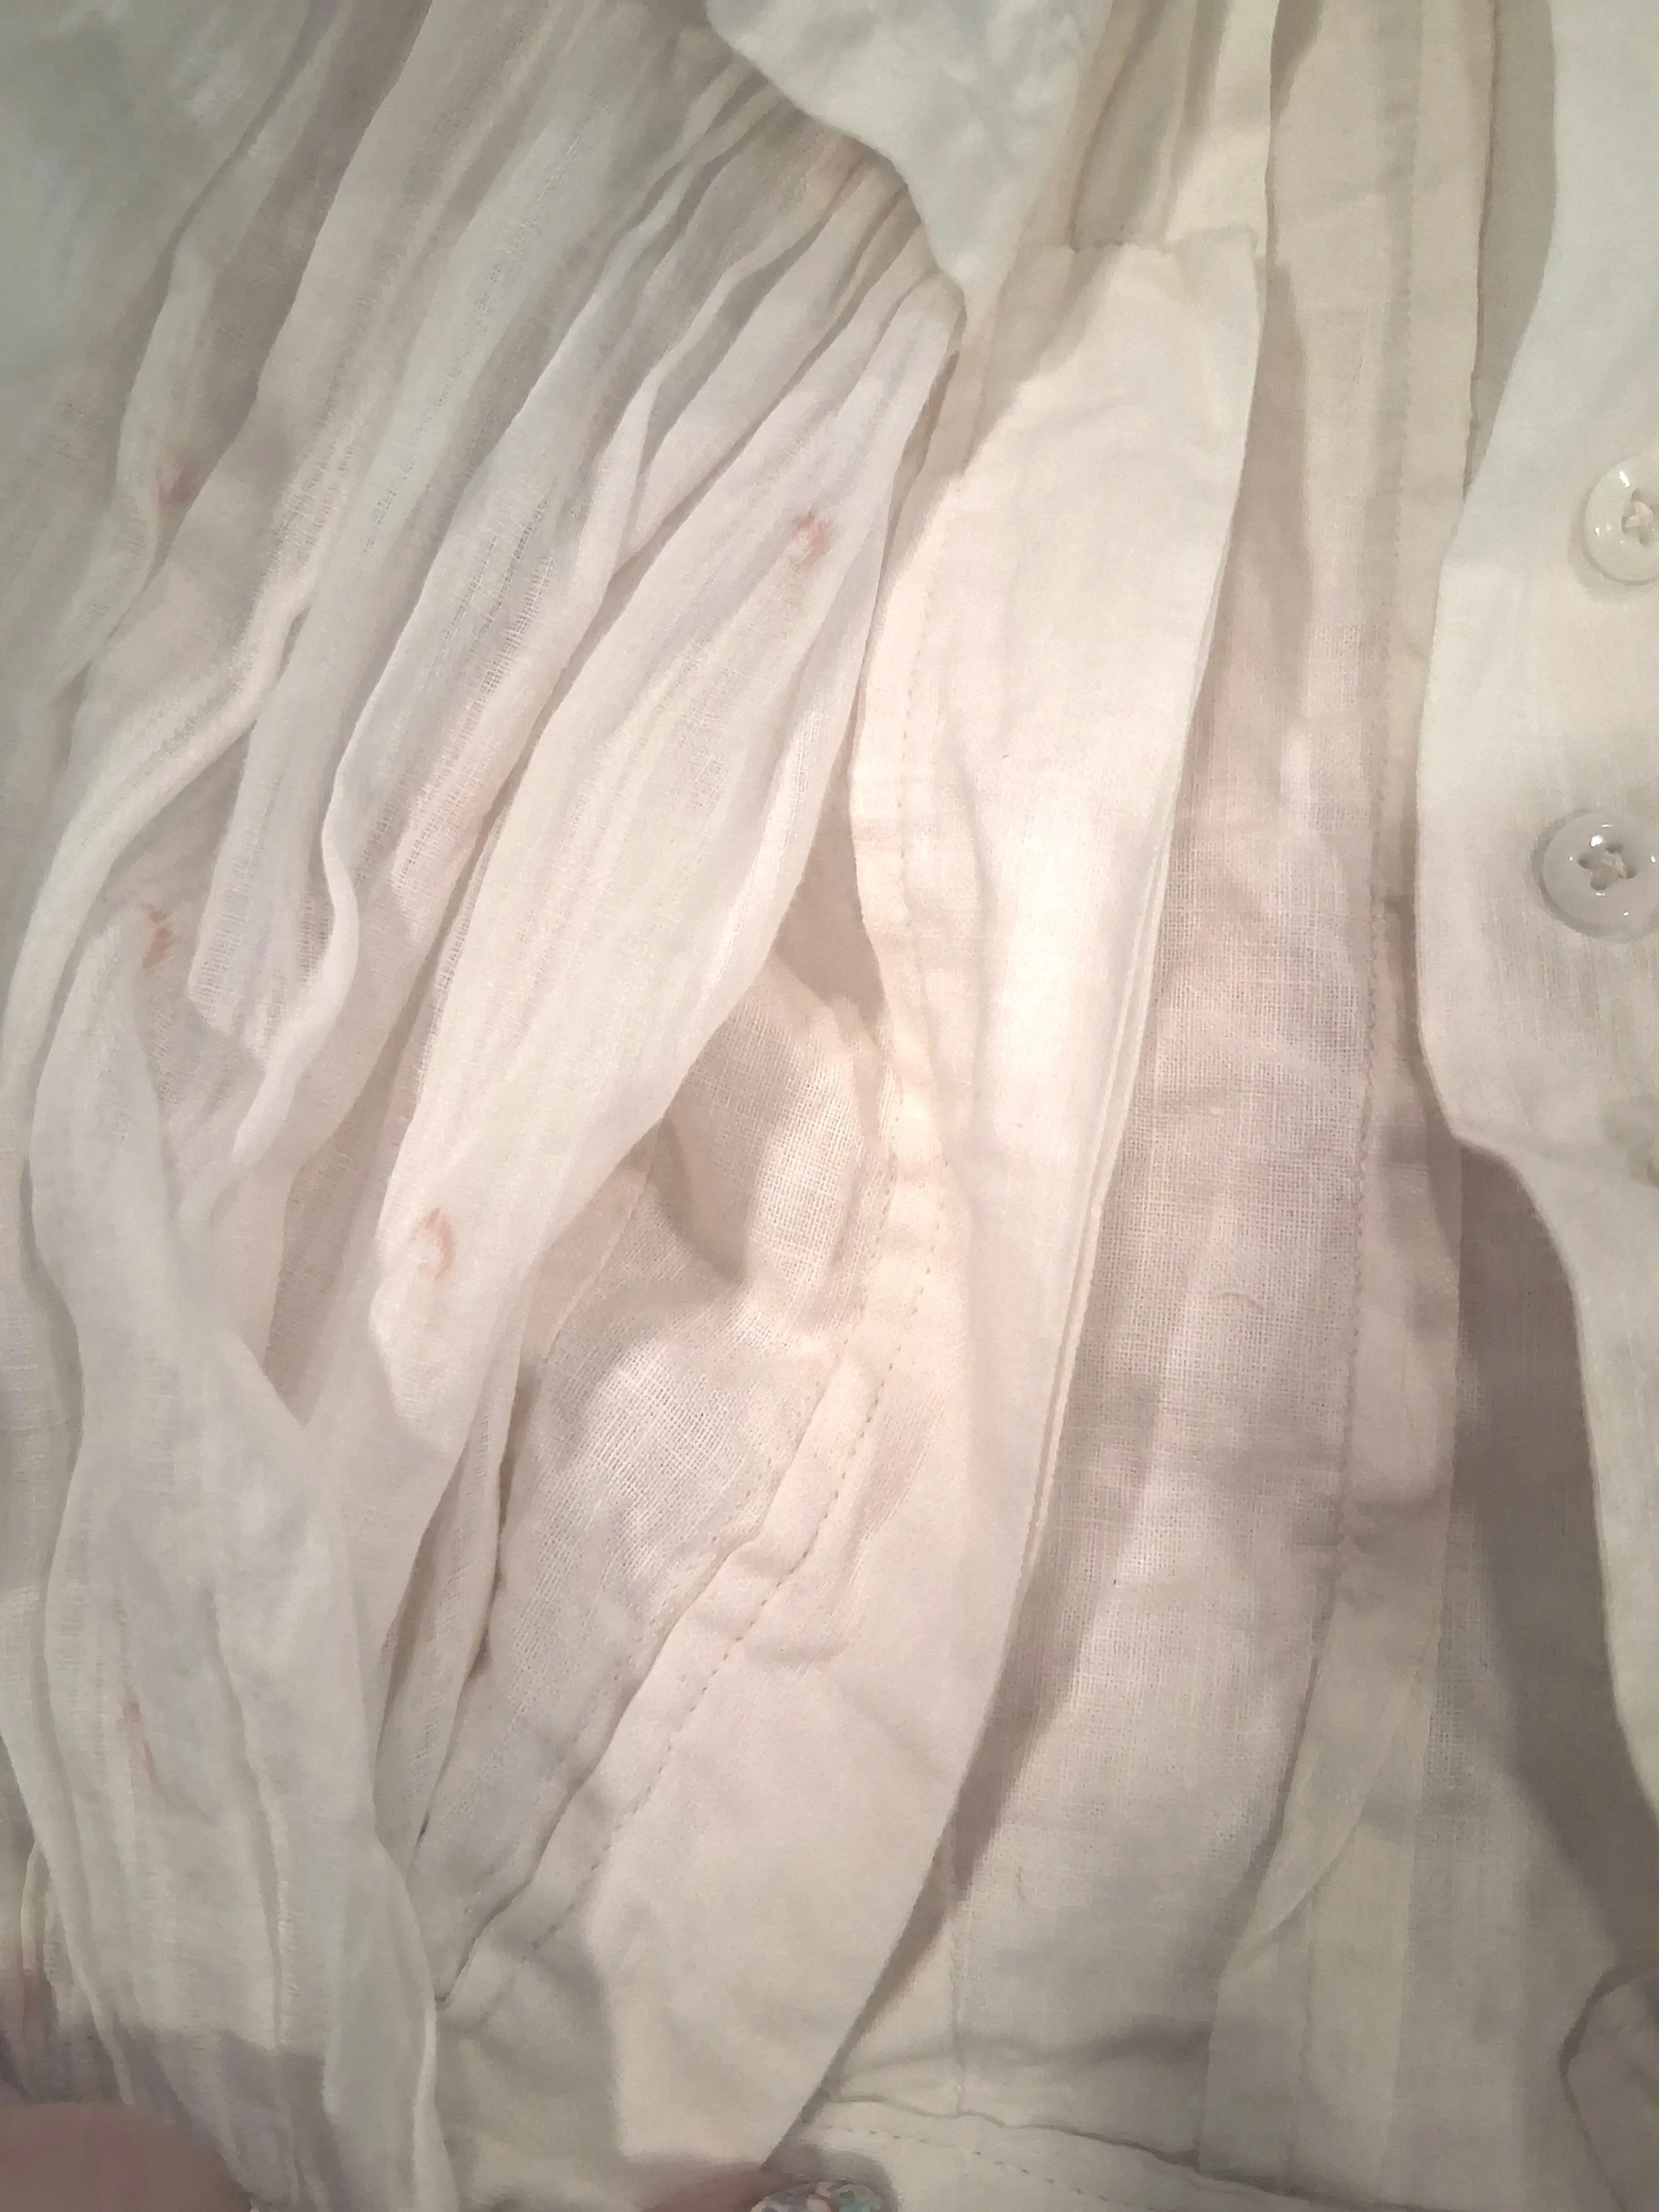
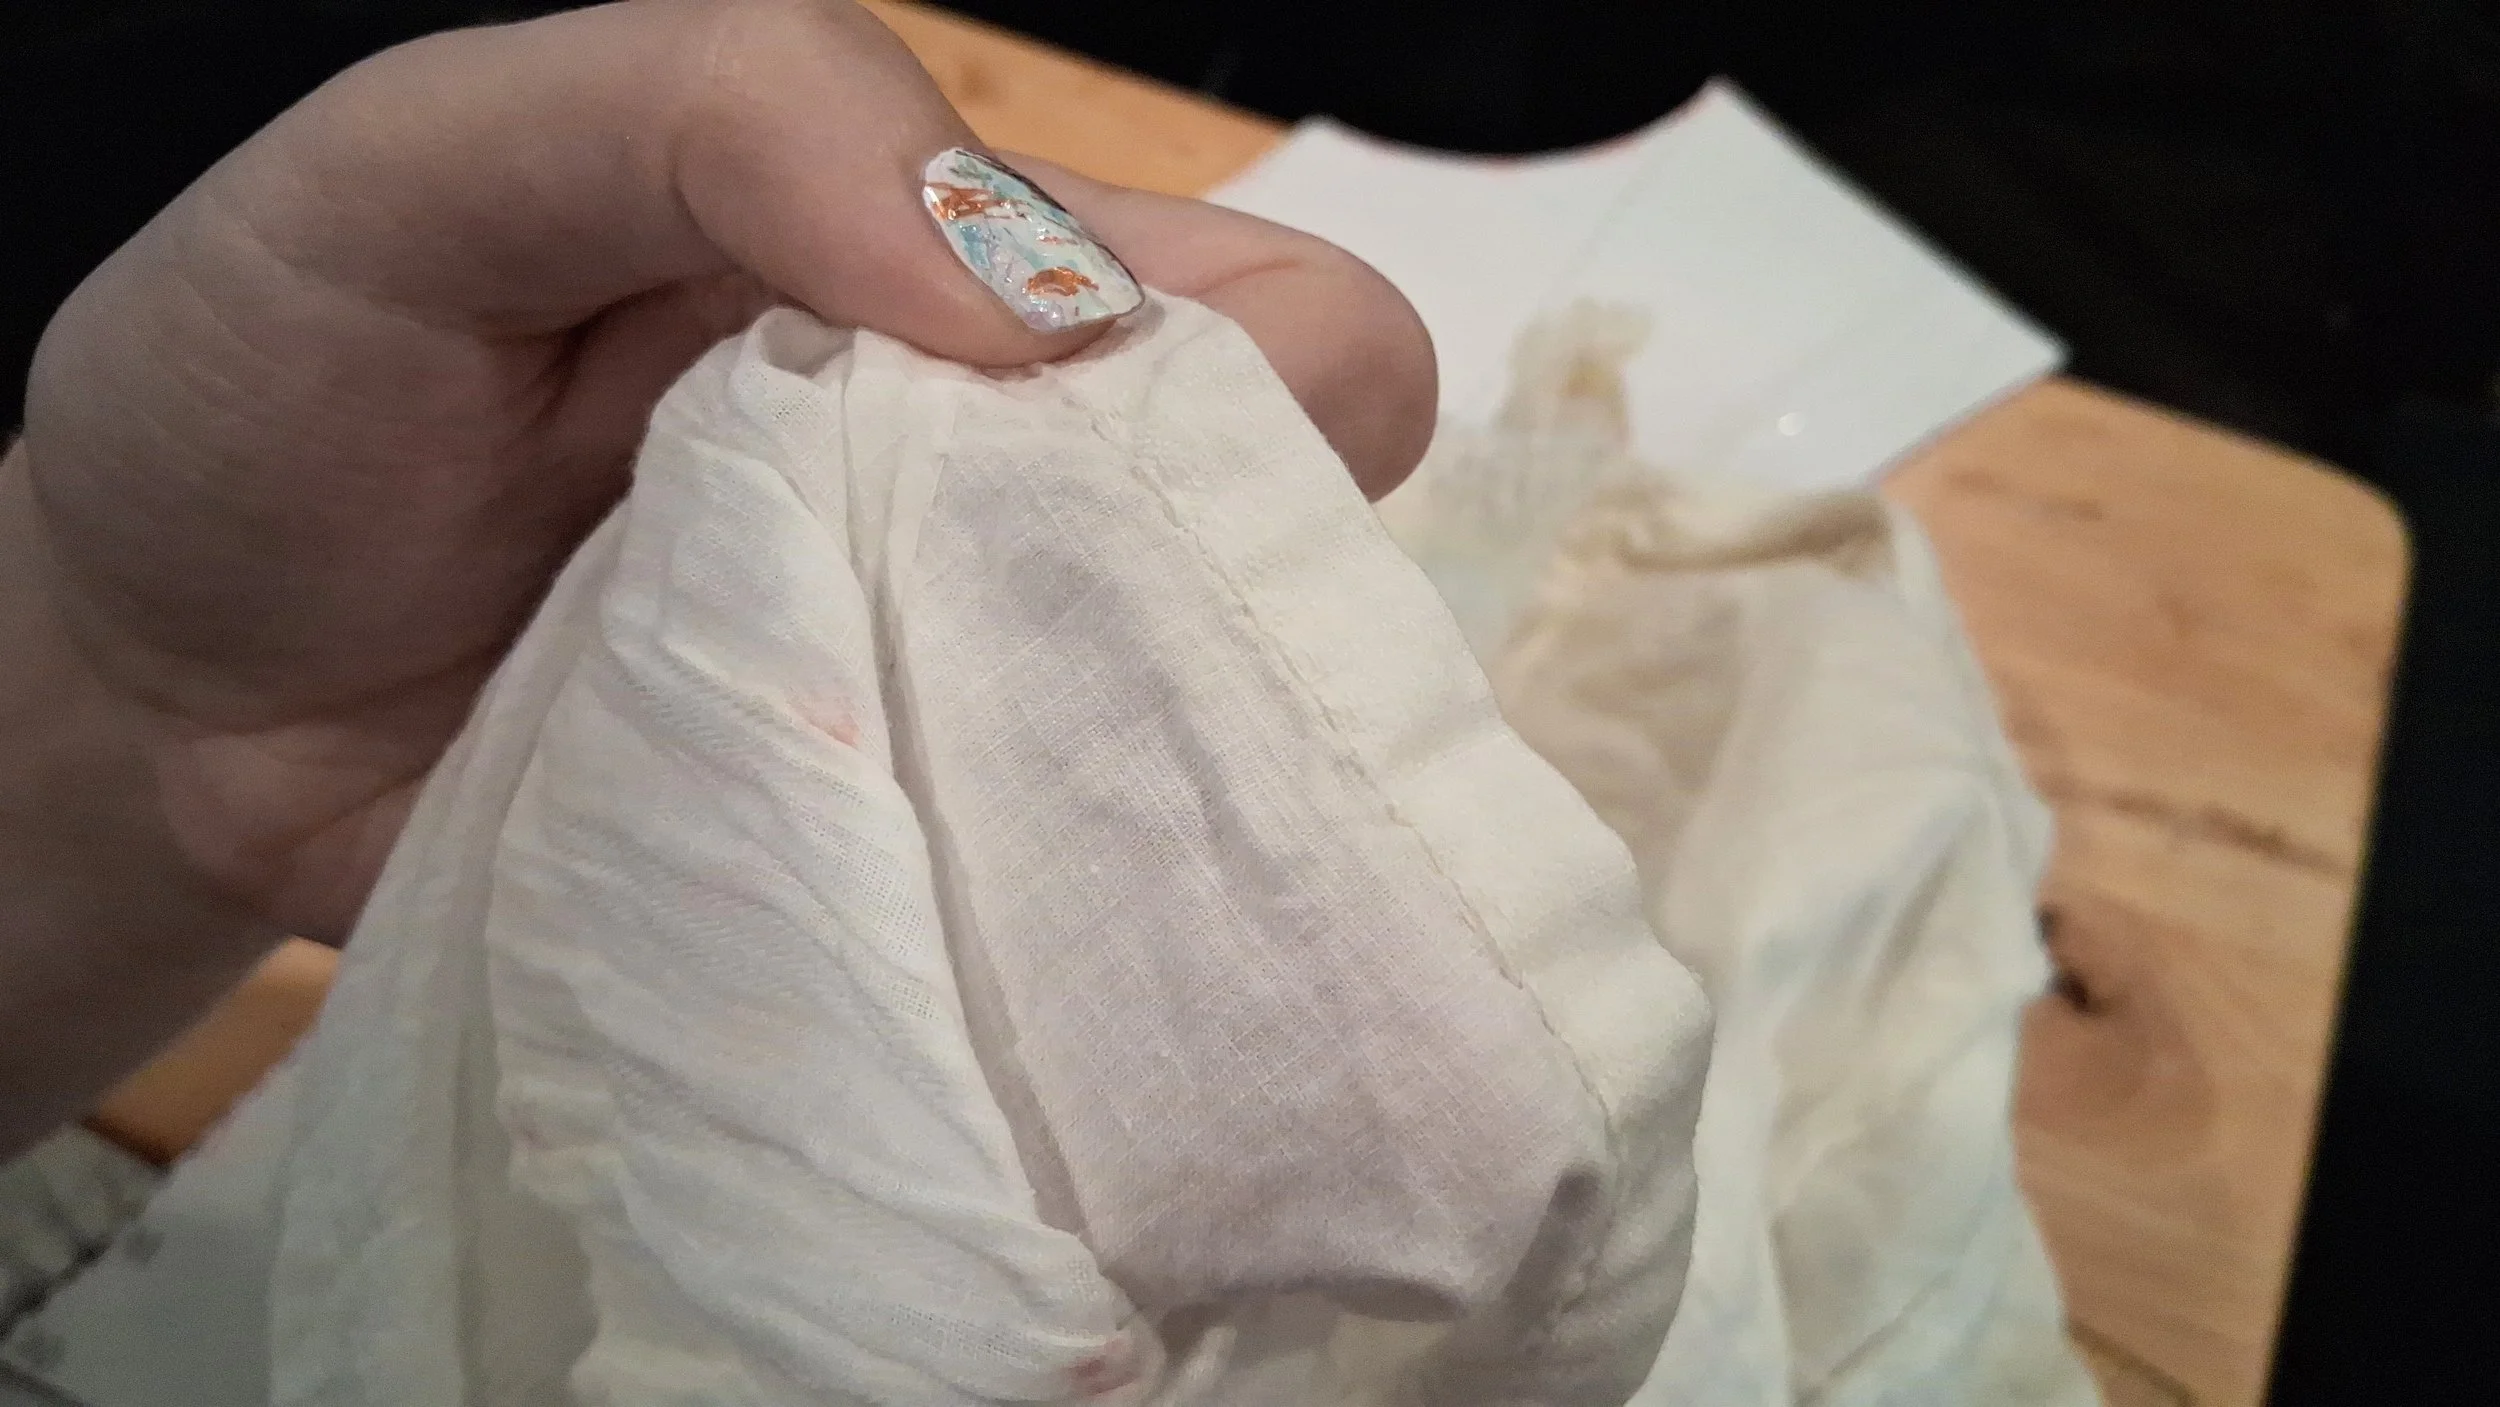
Make the two front darts in the Front Lining pieces. On the original, all raw edges of lining pieces are visible on the inside, not hidden between the lining and the outer fabric
Press darts away from each other.
Mark a line (green) 1” from the line from N to 10 (orange). This should contain your buttons/buttonholes curve (red) without it straying to close to either side of the button hole support. You may need to modify this slightly. On the original, the closest button to the edge is 1/2”
Mark a line (purple) 1 1/4” out from that line, to give you a nice finished edge on the inside of this button support.
Turn and press this edge
Turn and press at the edge 1” from N-10.
You can add interfacing to this button support section if needed, or you can simple have a large seam allowance to give an extra layer of cotton. There is no visible damage here on the original
Top stitch this section at 1/8” or less from the finished inside edge.
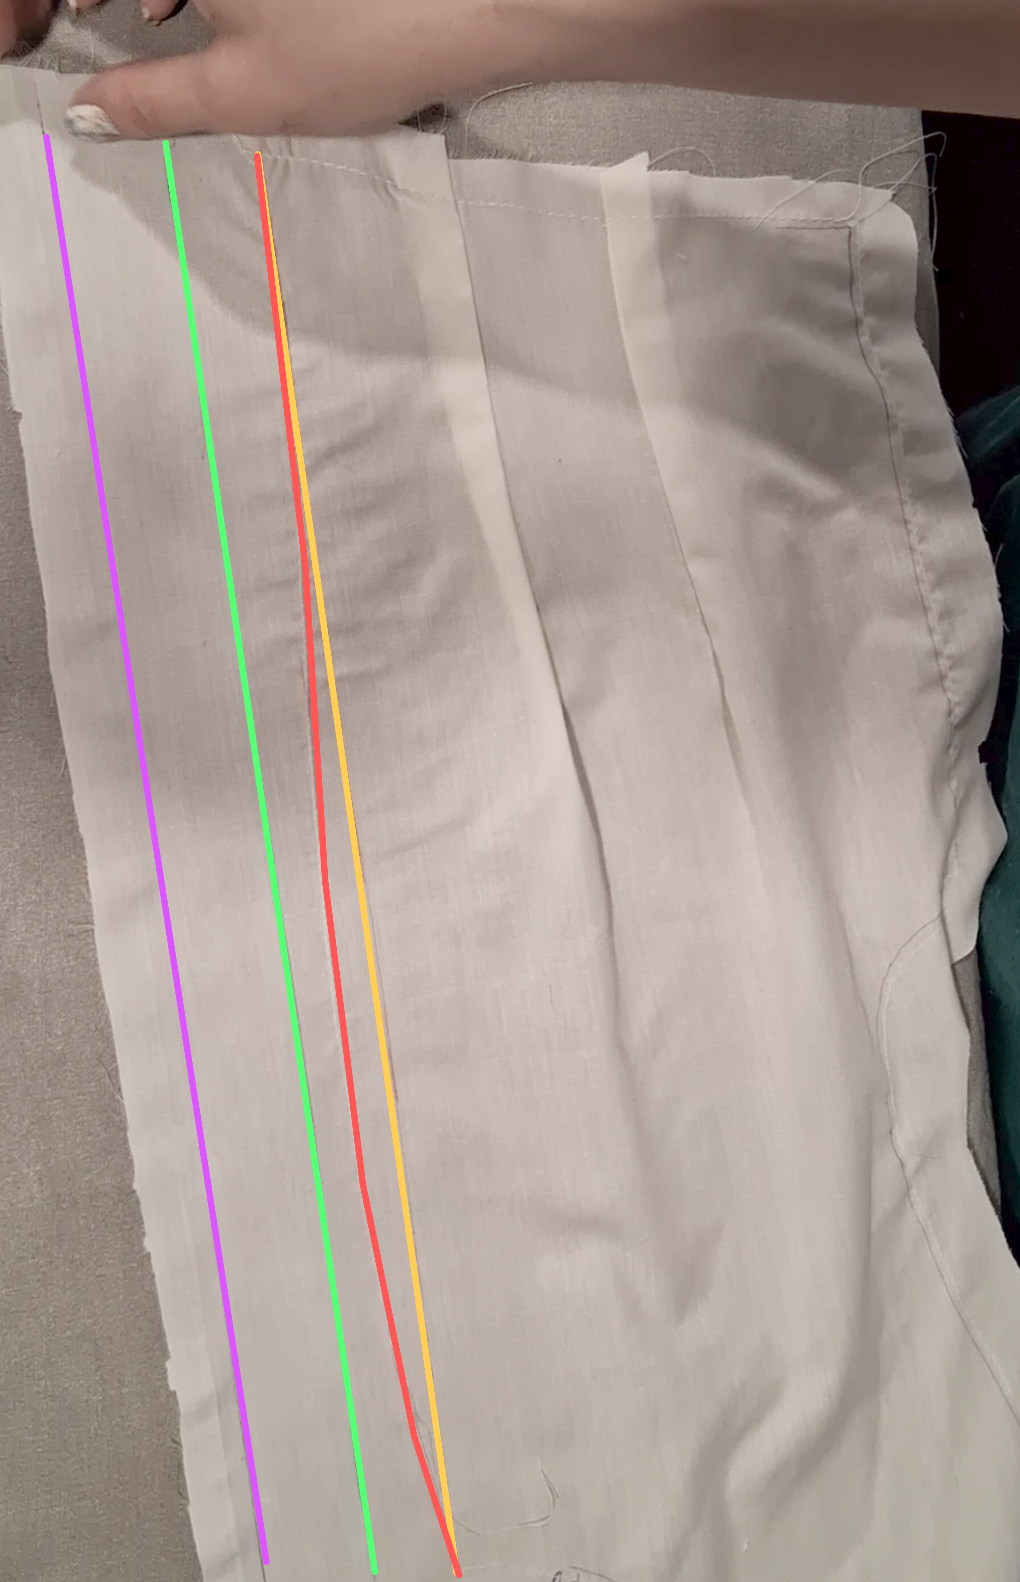

Red - Curved Center Front
Orange - Line from N to 10
Green -1” from Orange
Purple - 1 1/4” from Green
Step 2: Back Lining
Sew together the Back, Side Back and Side lining pieces along their long edges.
Press center back open and side panels out towards the side.

Step 3: Inner Front Yoke Lining
If necessary, trim the bottom to make it straight across. Make sure it is a little longer (at least 3/4”) than your front yoke at center front.
Turn twice and press a hem (1/2”) on the bottom edge.
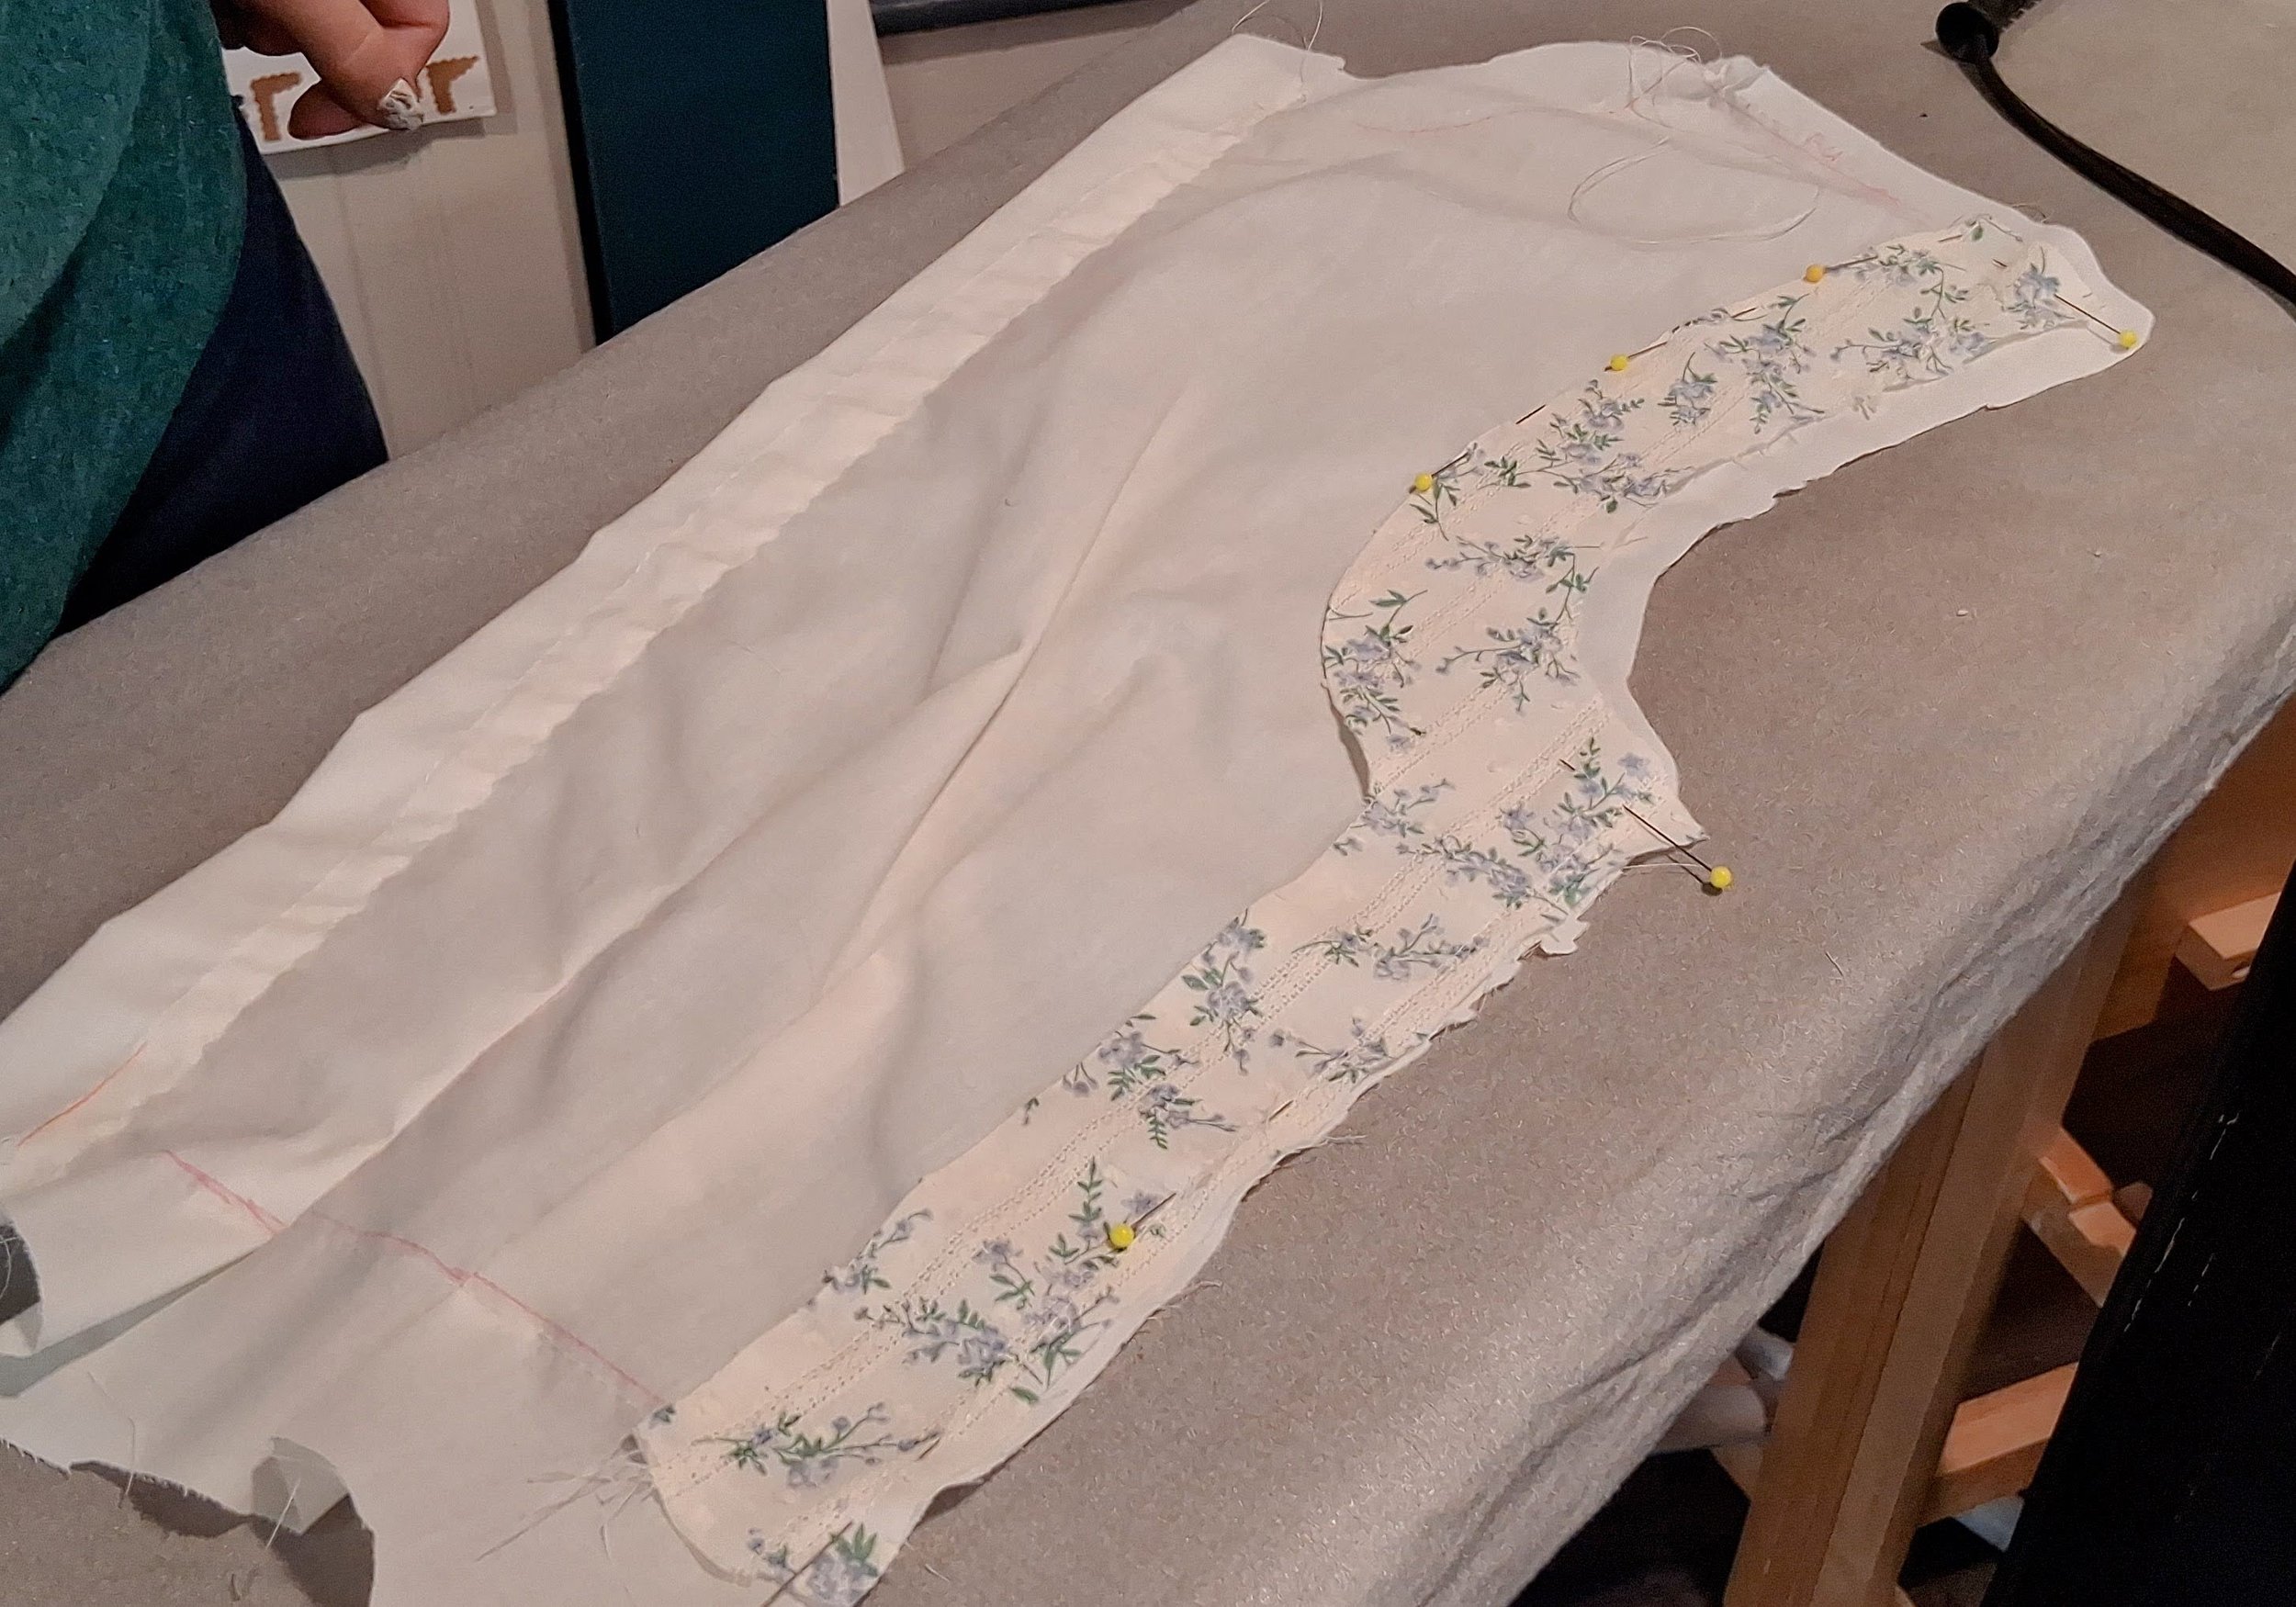
Step 4: Closure Facings (Lining)
Find the Closure Facing for the lining side.
Fold and press in the inner long seam allowance (clip as necessary)
Top stitch it down to the Front Lining (left) on the finished side (not the wrong side)
Fold and press one long edge of a Shoulder Facing piece
Top stitch to the shoulder of the same Front Lining piece.
Fold and press one long edge of the Neckline Finish piece.
Stitch on like bias tape. On the original, the inside is finished by hand, not top stitched.
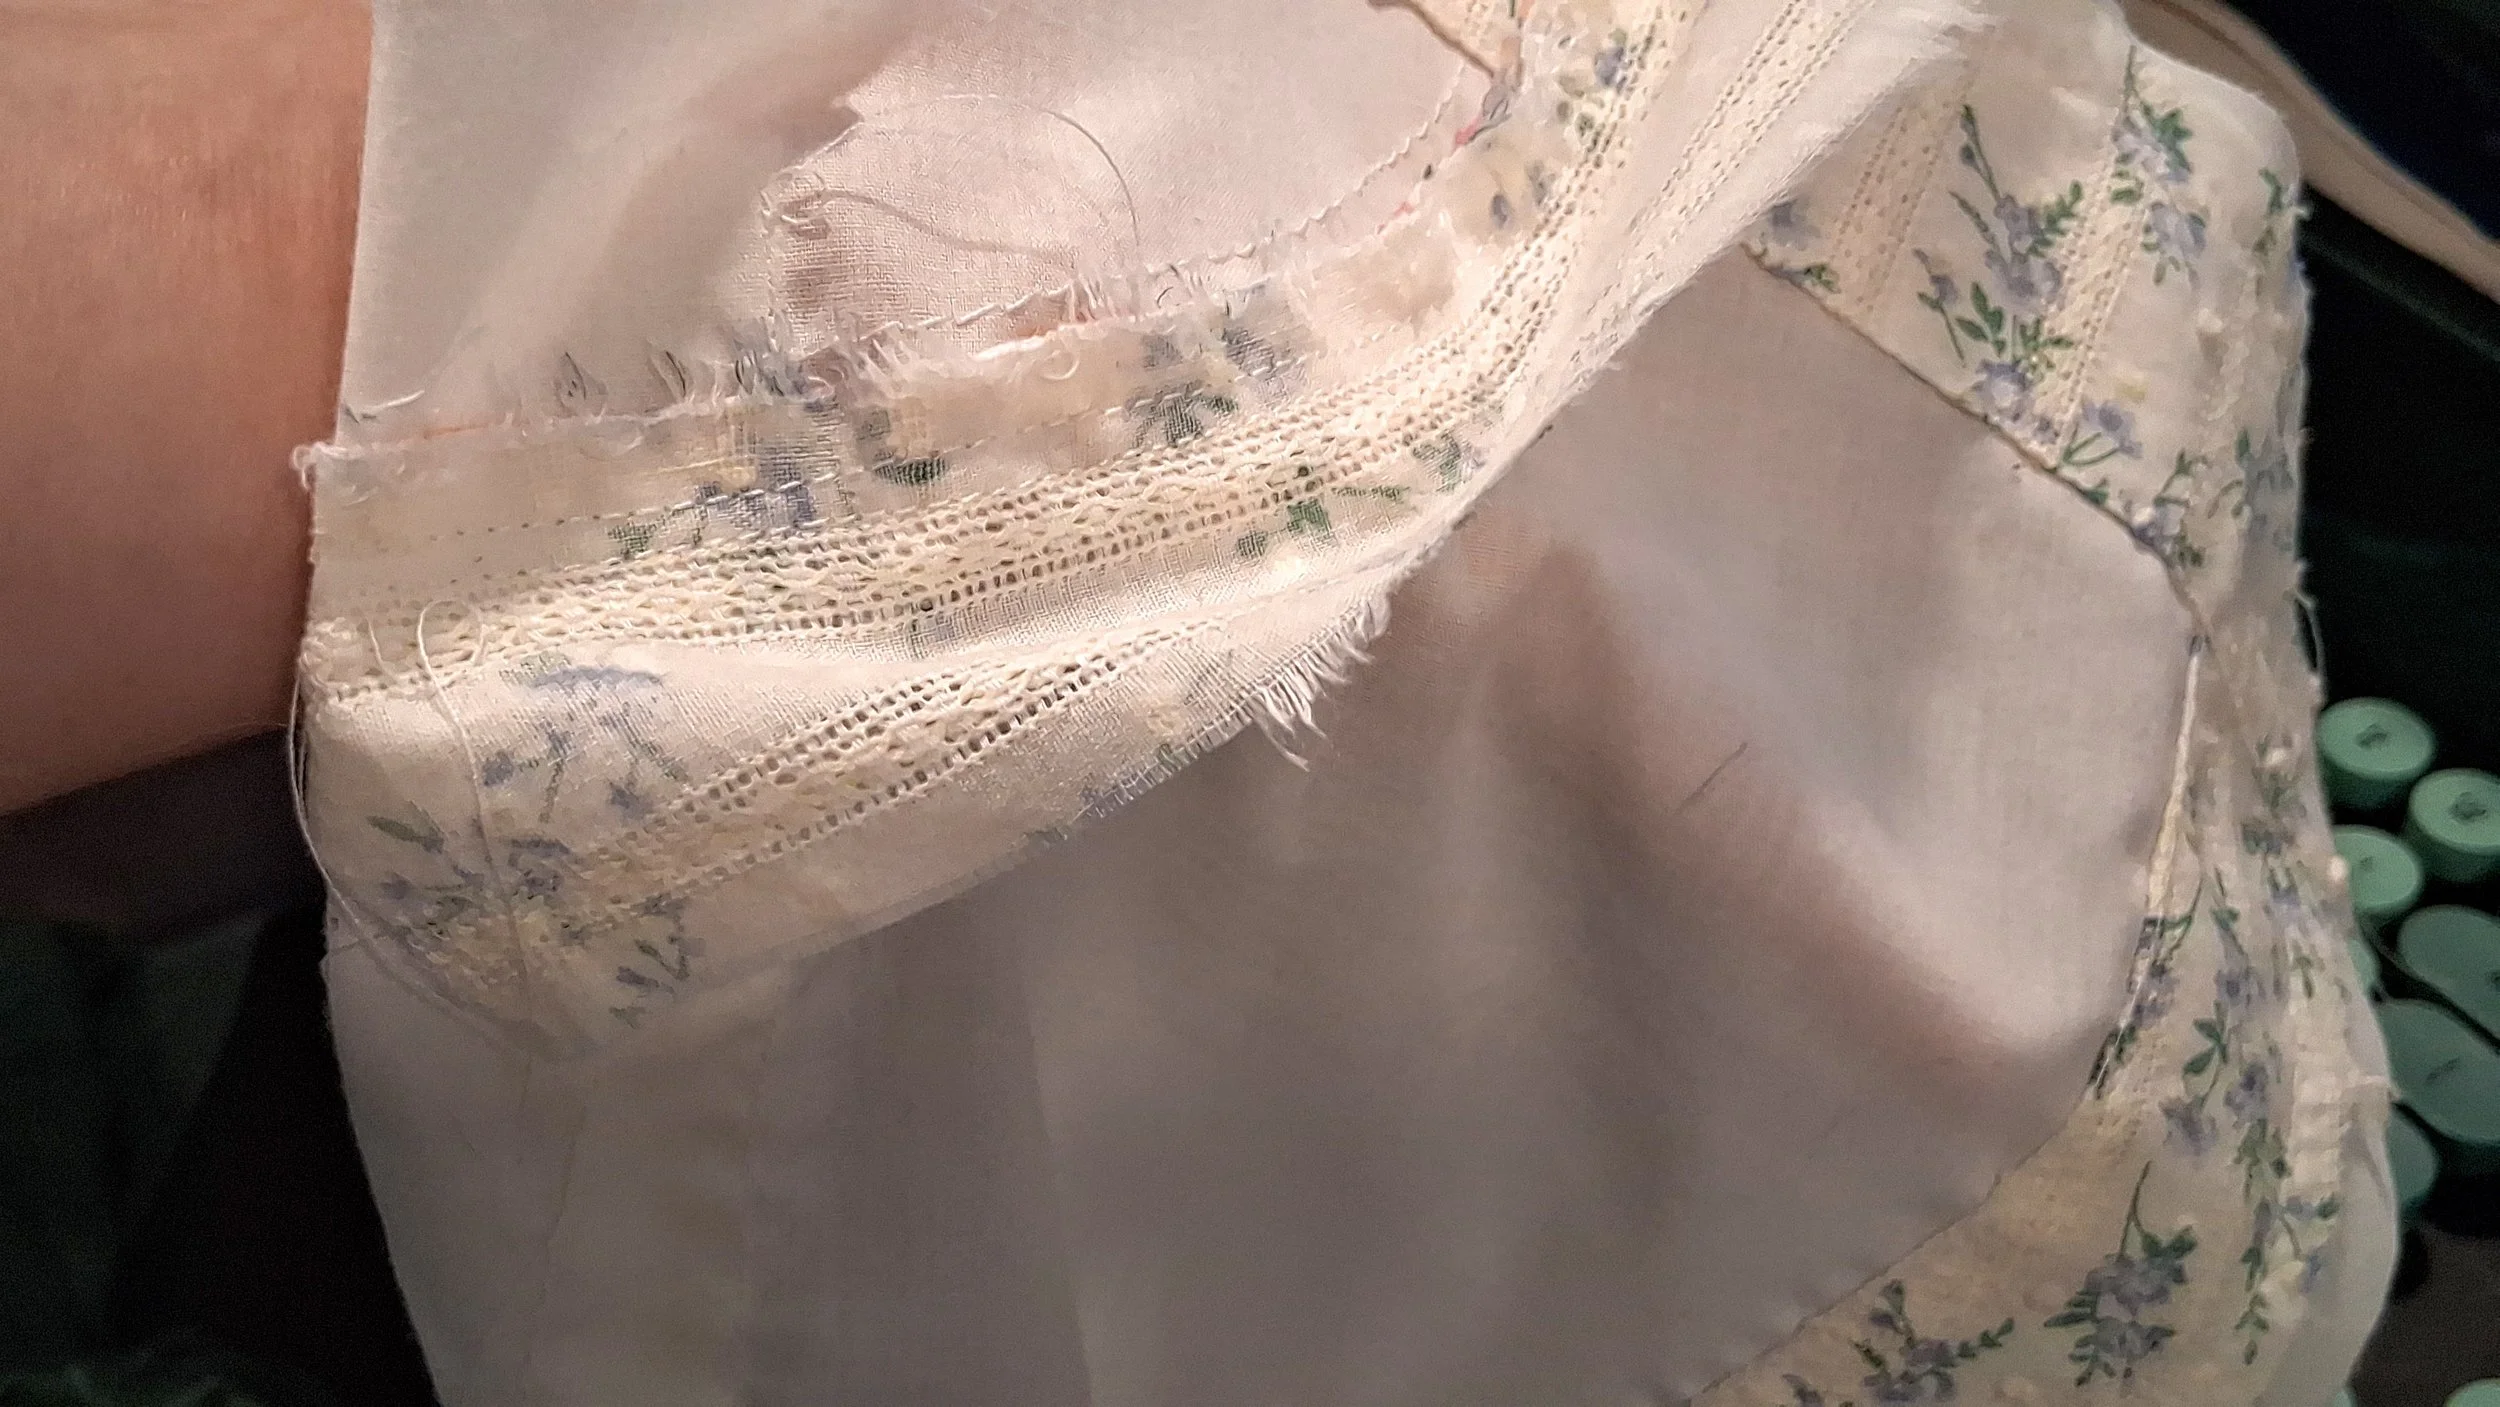
Step 5: Closure Facings (Front Yoke Lining)
Fold and press one long edge of the Shoulder Facing piece.
Top stitch to the shoulder of the Inner Front Yoke Lining.
Do NOT stitch along the shoulder seam line. This needs to be open for later.
Find the Closure Facing for the outer side.
Fold and press in the inner long seam allowance (clip as necessary)
Top stitch it down to the Inner Front Yoke Lining on the inside. Start about 1” below the shoulder seam, and give yourself enough of a tail on this end to finish the stitching by hand after the outer bodice pieces have been attached. I continued this top-stitching the rest of the way down the facing, though on the original this was not top stitched, it was felled to the outer piece by hand.

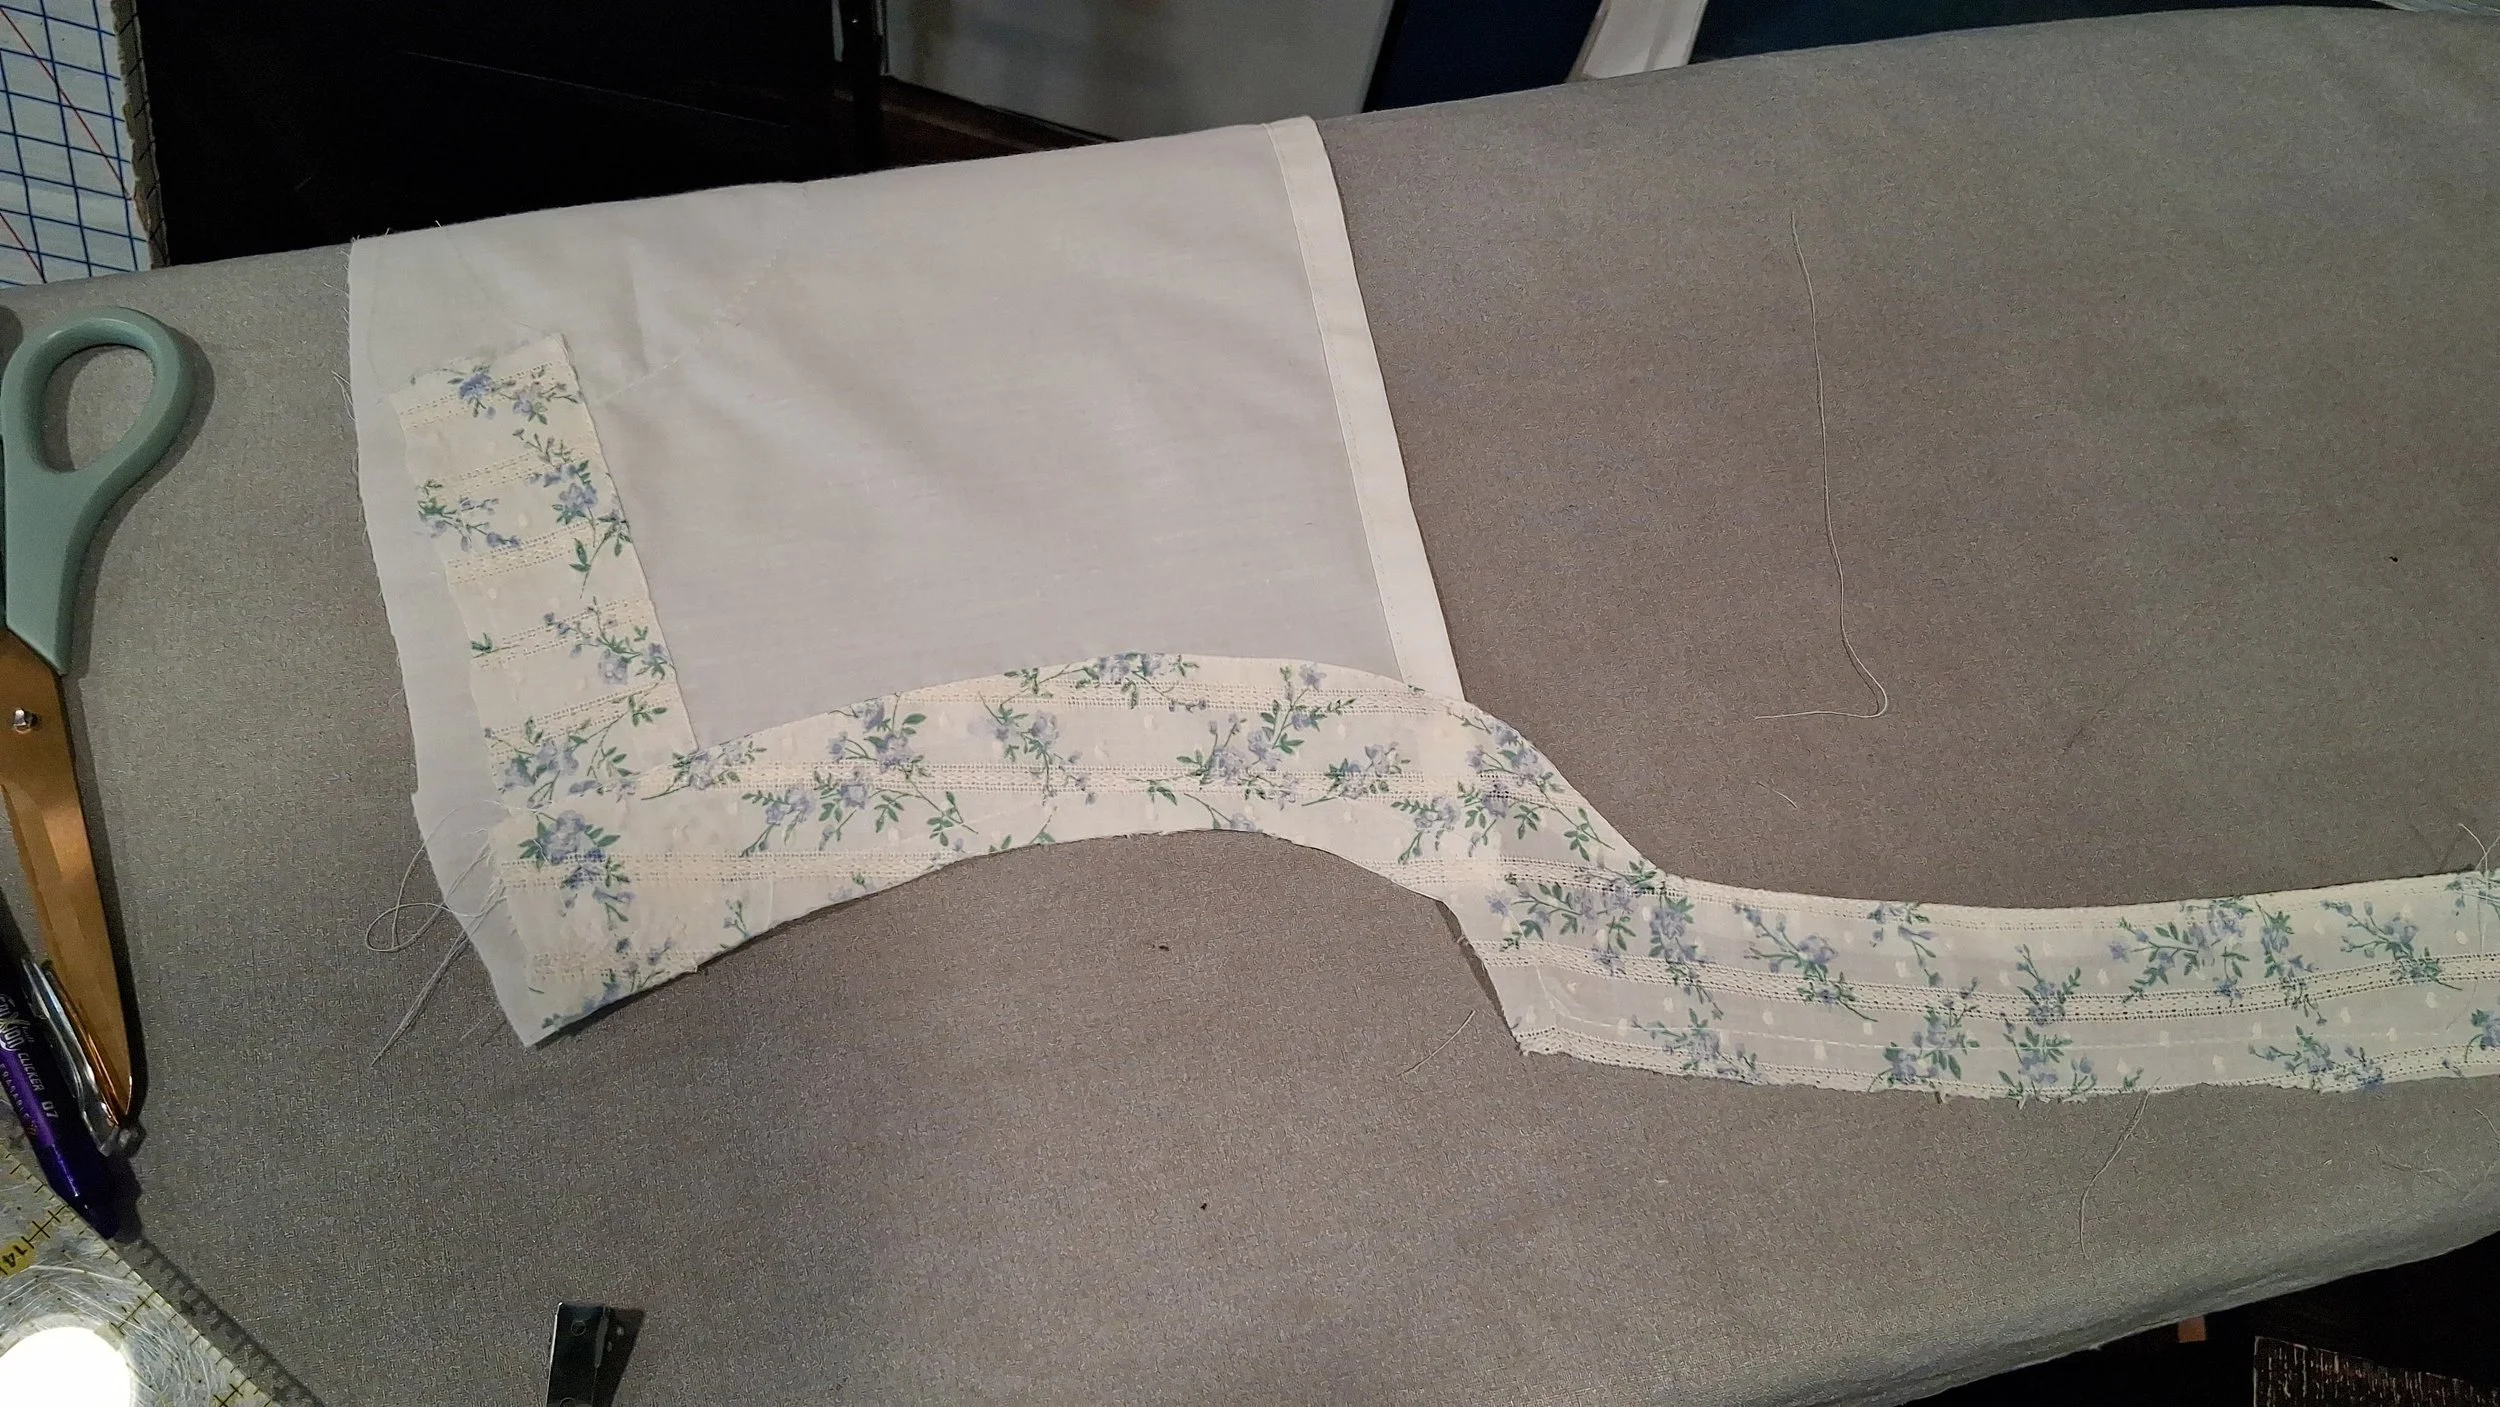
Step 6: Back Yoke
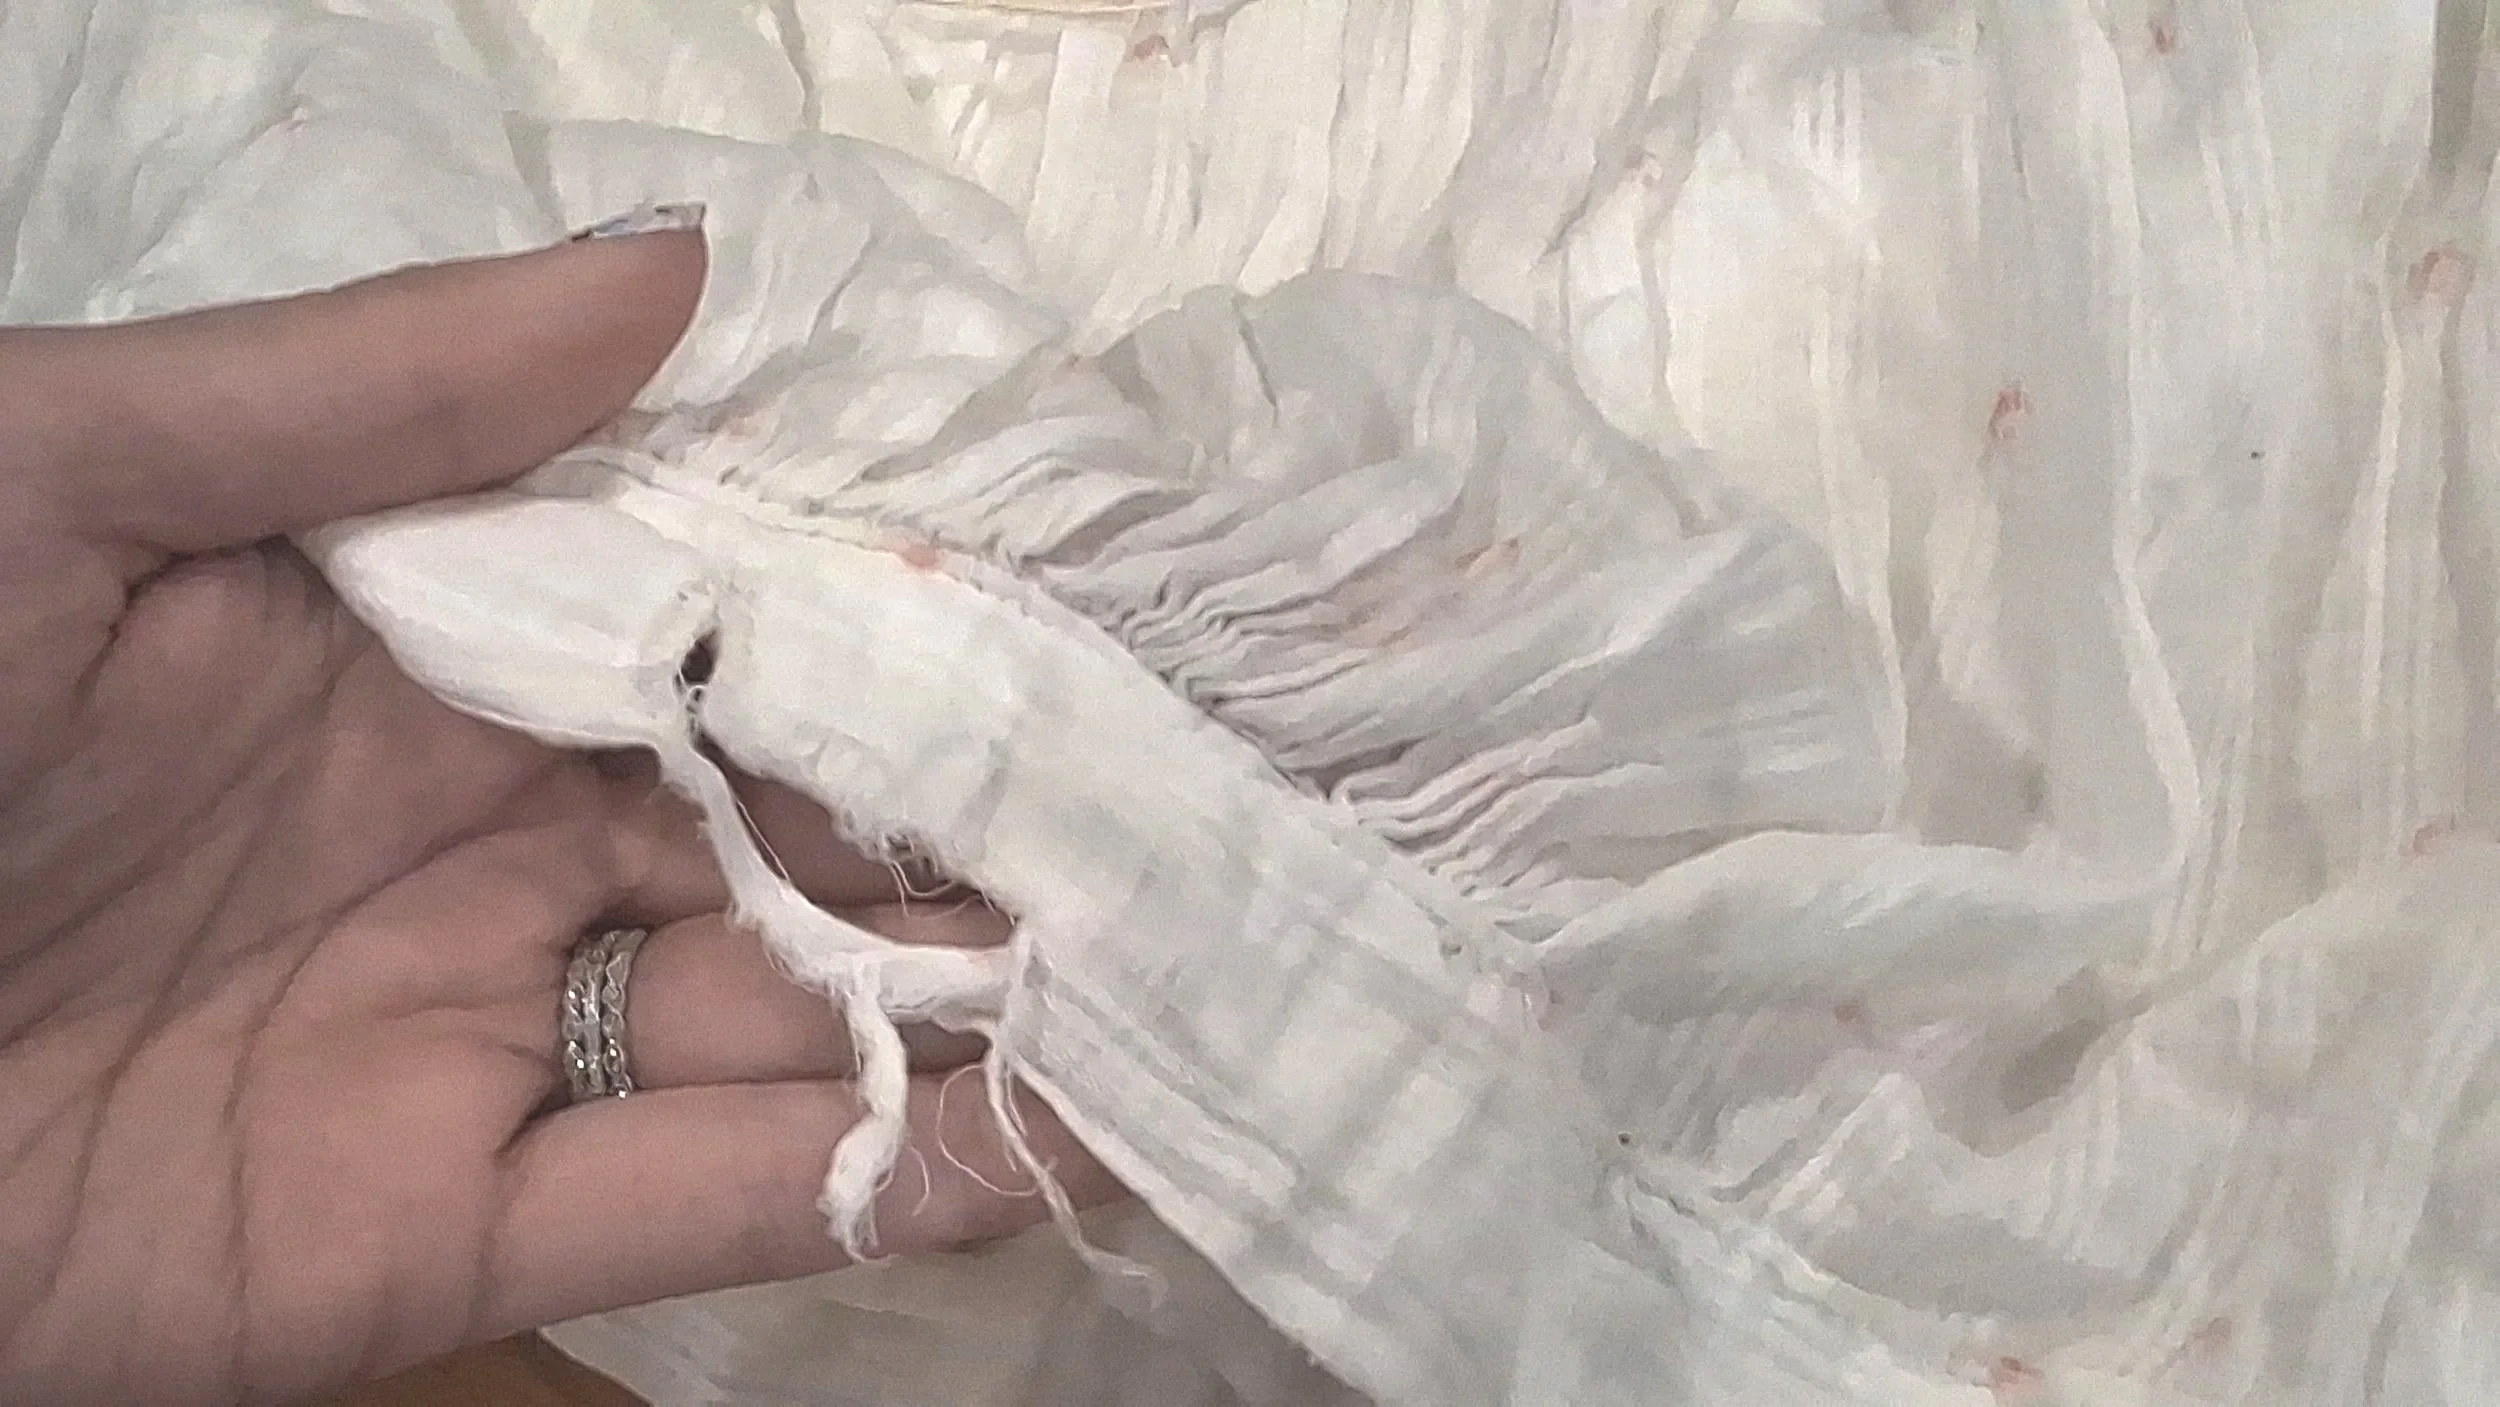
Run a gathering thread along the top and bottom of the Back Yoke.
Stitch the shoulders of the Back Yoke to the shoulders of the back bodice lining group. The shoulders of the yoke will not be as long as the shoulders of the lining.
Carefully arrange the gathers at the neckline and stitch down.
Arrange the gathers at the bottom and stitch down. The raw edge will be covered by the outer bodice piece later.
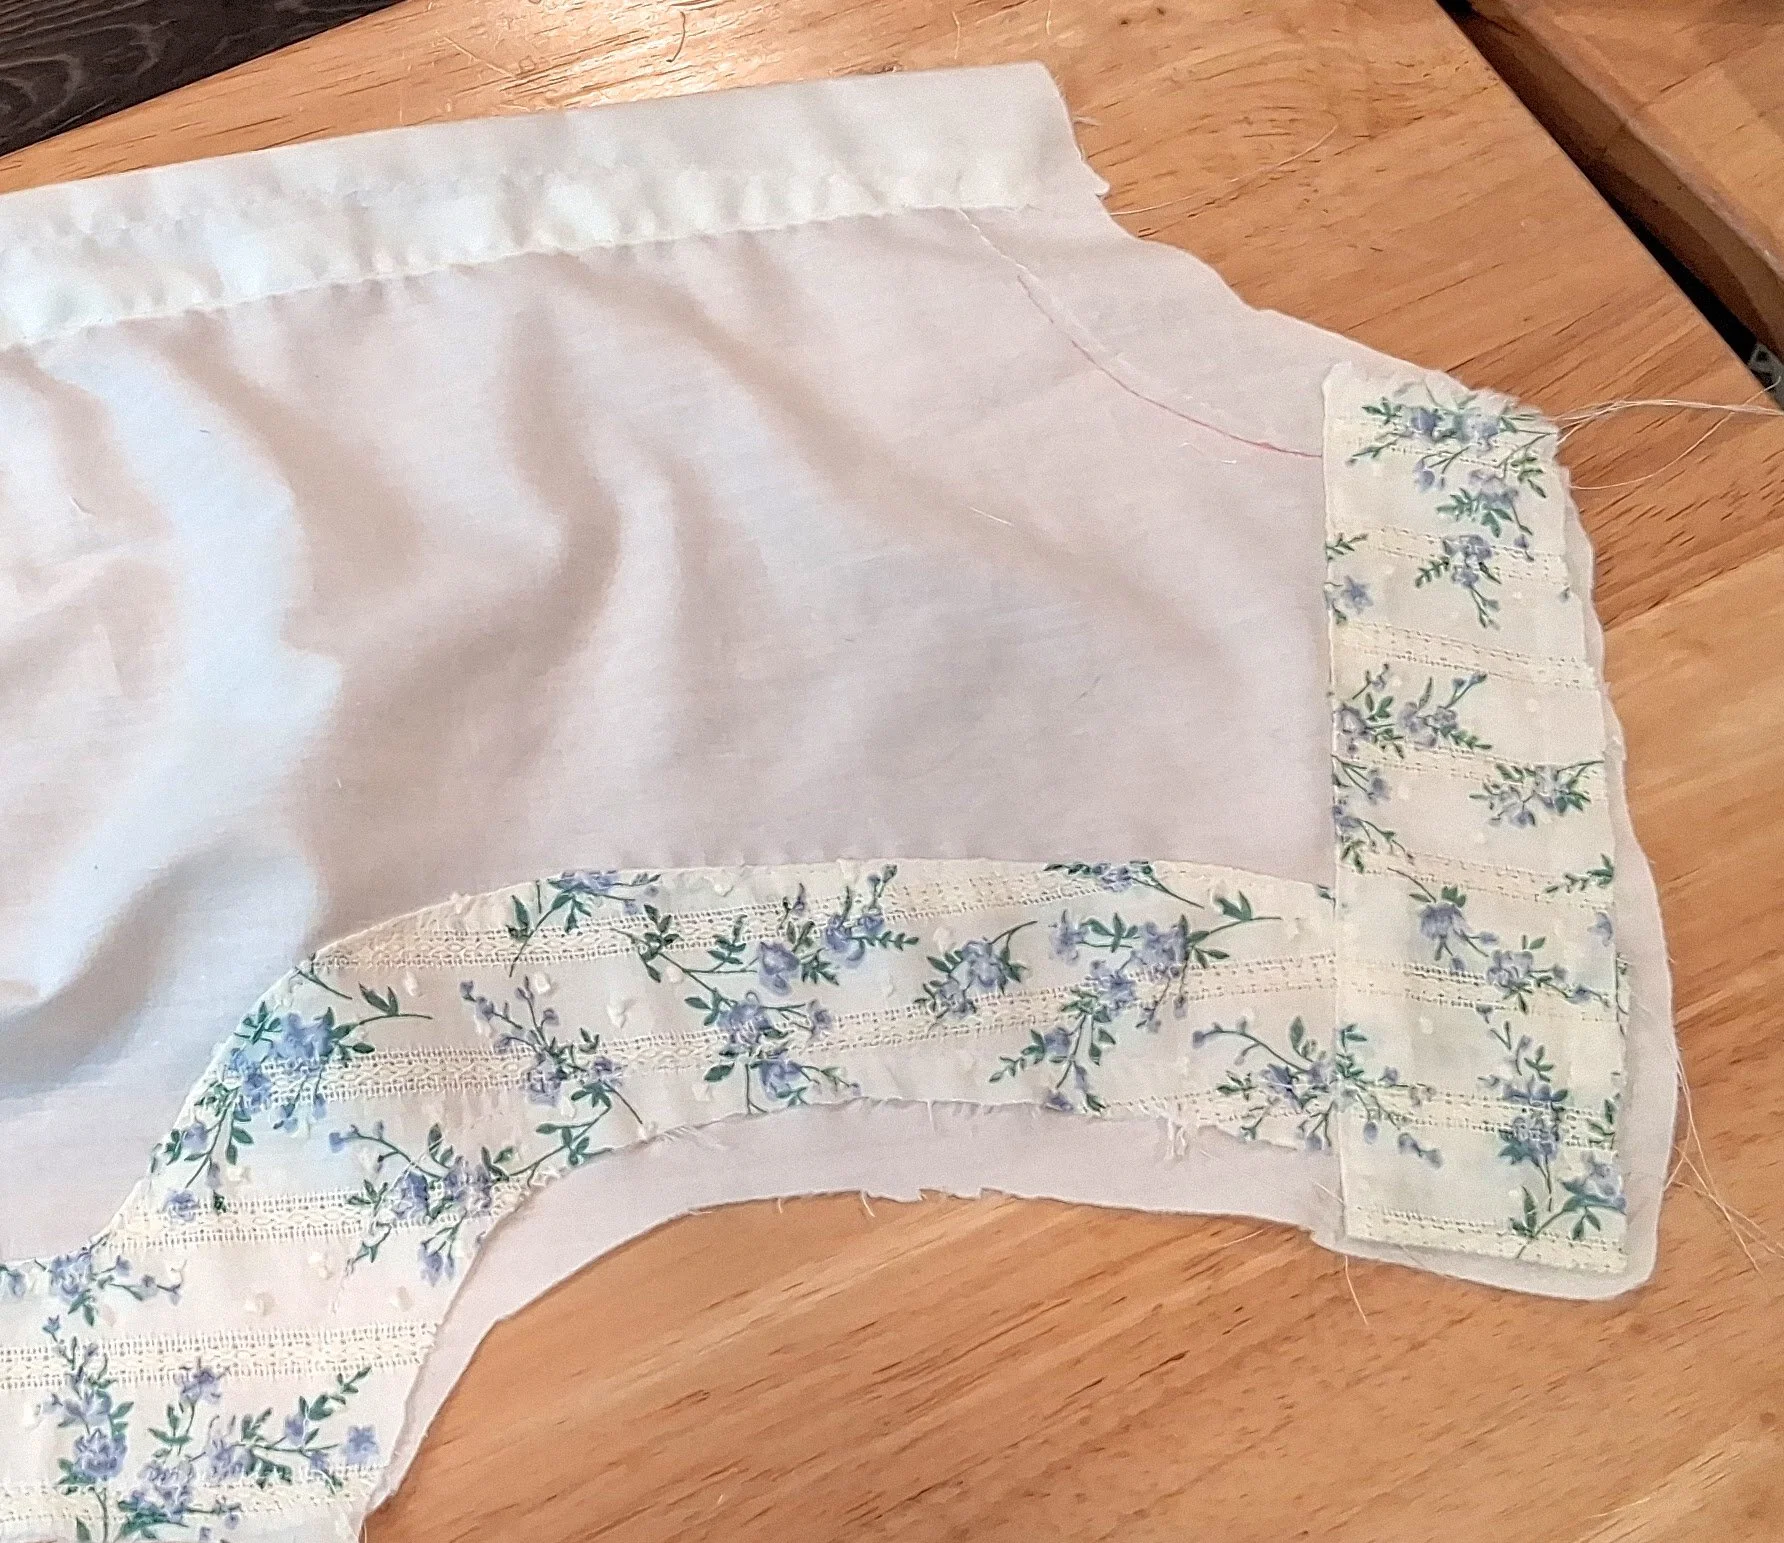
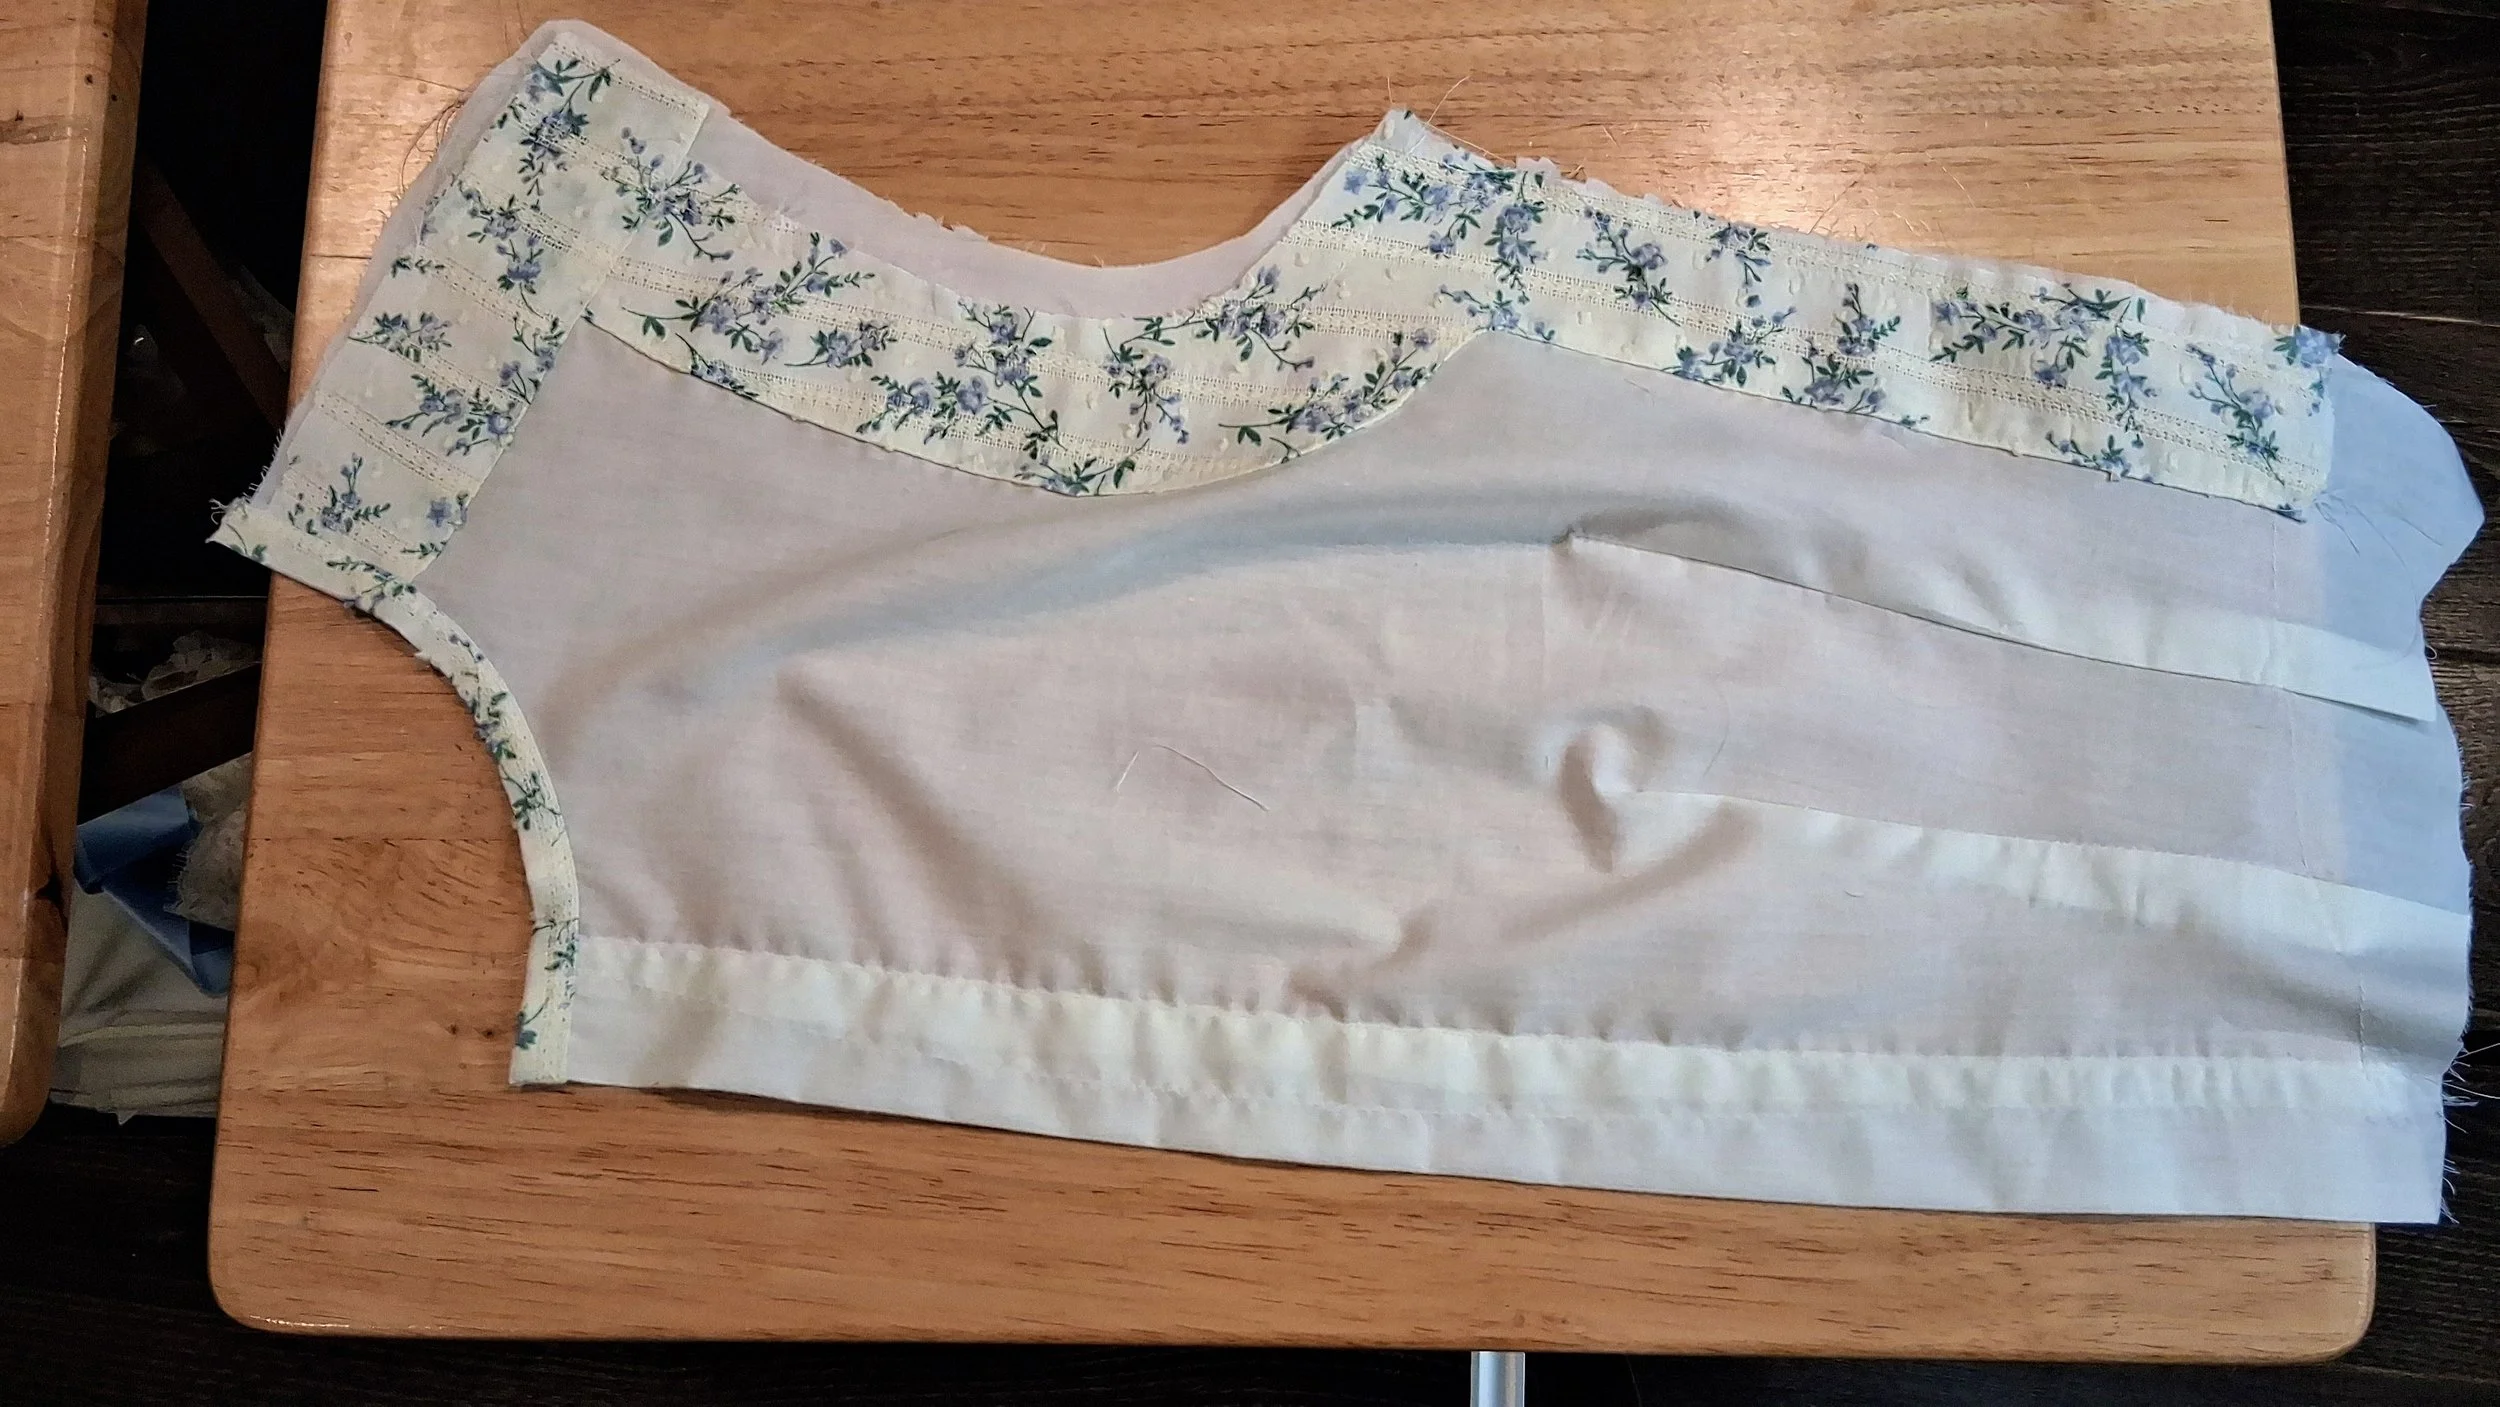
Step 7: Front Yoke
Run a gathering thread along the top and bottom of the Front Yoke. The outer edge of the front yoke pattern sometimes gets wonky. It shouldn’t get narrower than ¼ - ½ ” less than the shoulder
Stitch the shoulders of the Front Yoke to the shoulders of the Inner Front Yoke Lining. The shoulders of the yoke will not be as long as the shoulders of the lining. Make sure on the closure side to pull down the facing so that it isn’t caught.
Carefully arrange the gathers at the neckline and stitch down.-
Arrange the gathers at the bottom and stitch down. The raw edge will be covered by the outer bodice piece later. Leave the edge that would overlap the facing slightly undone for now.
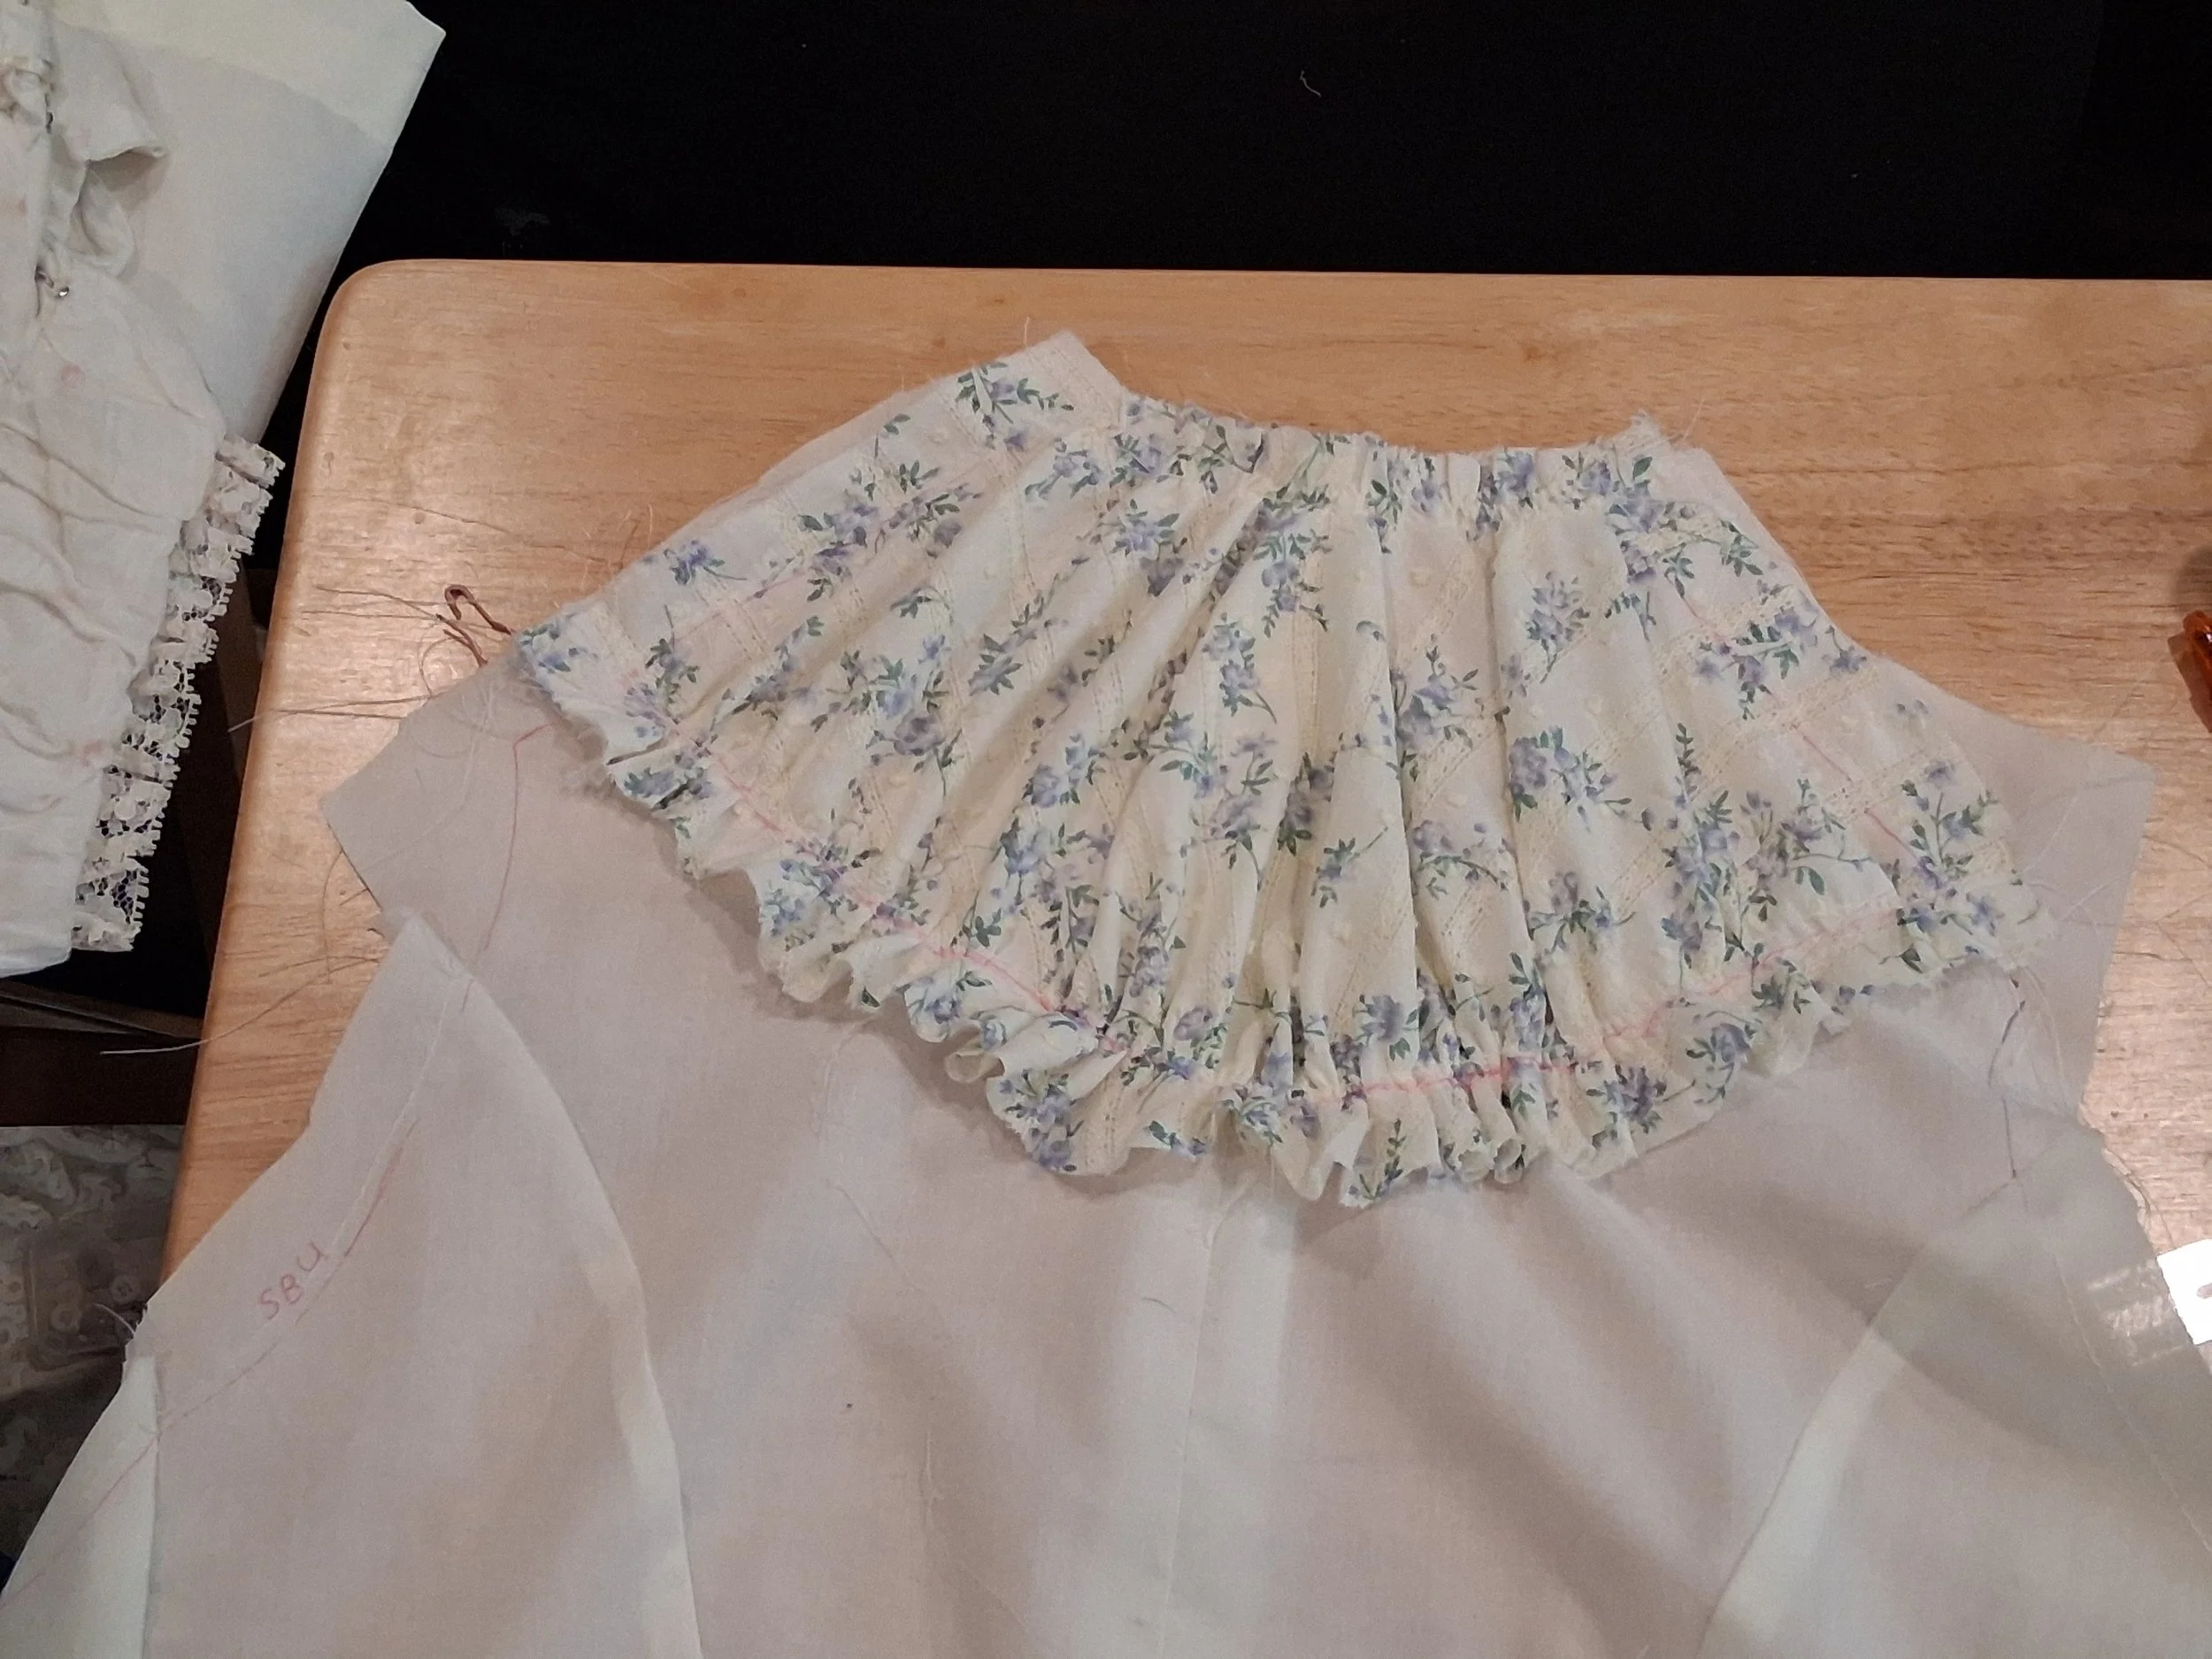
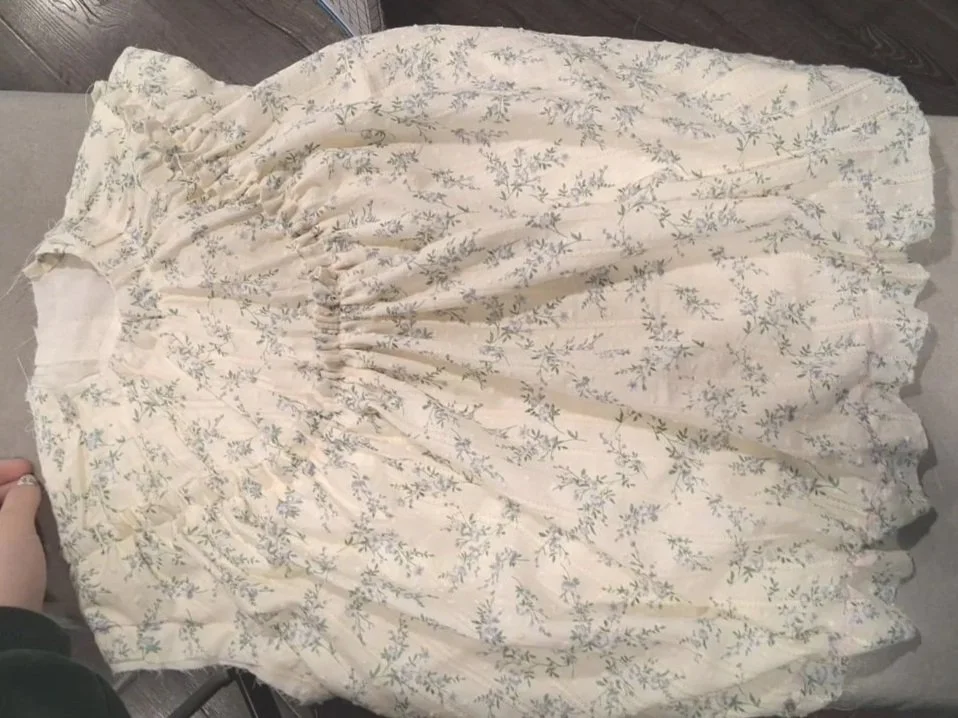
Step 8: Front Bodice
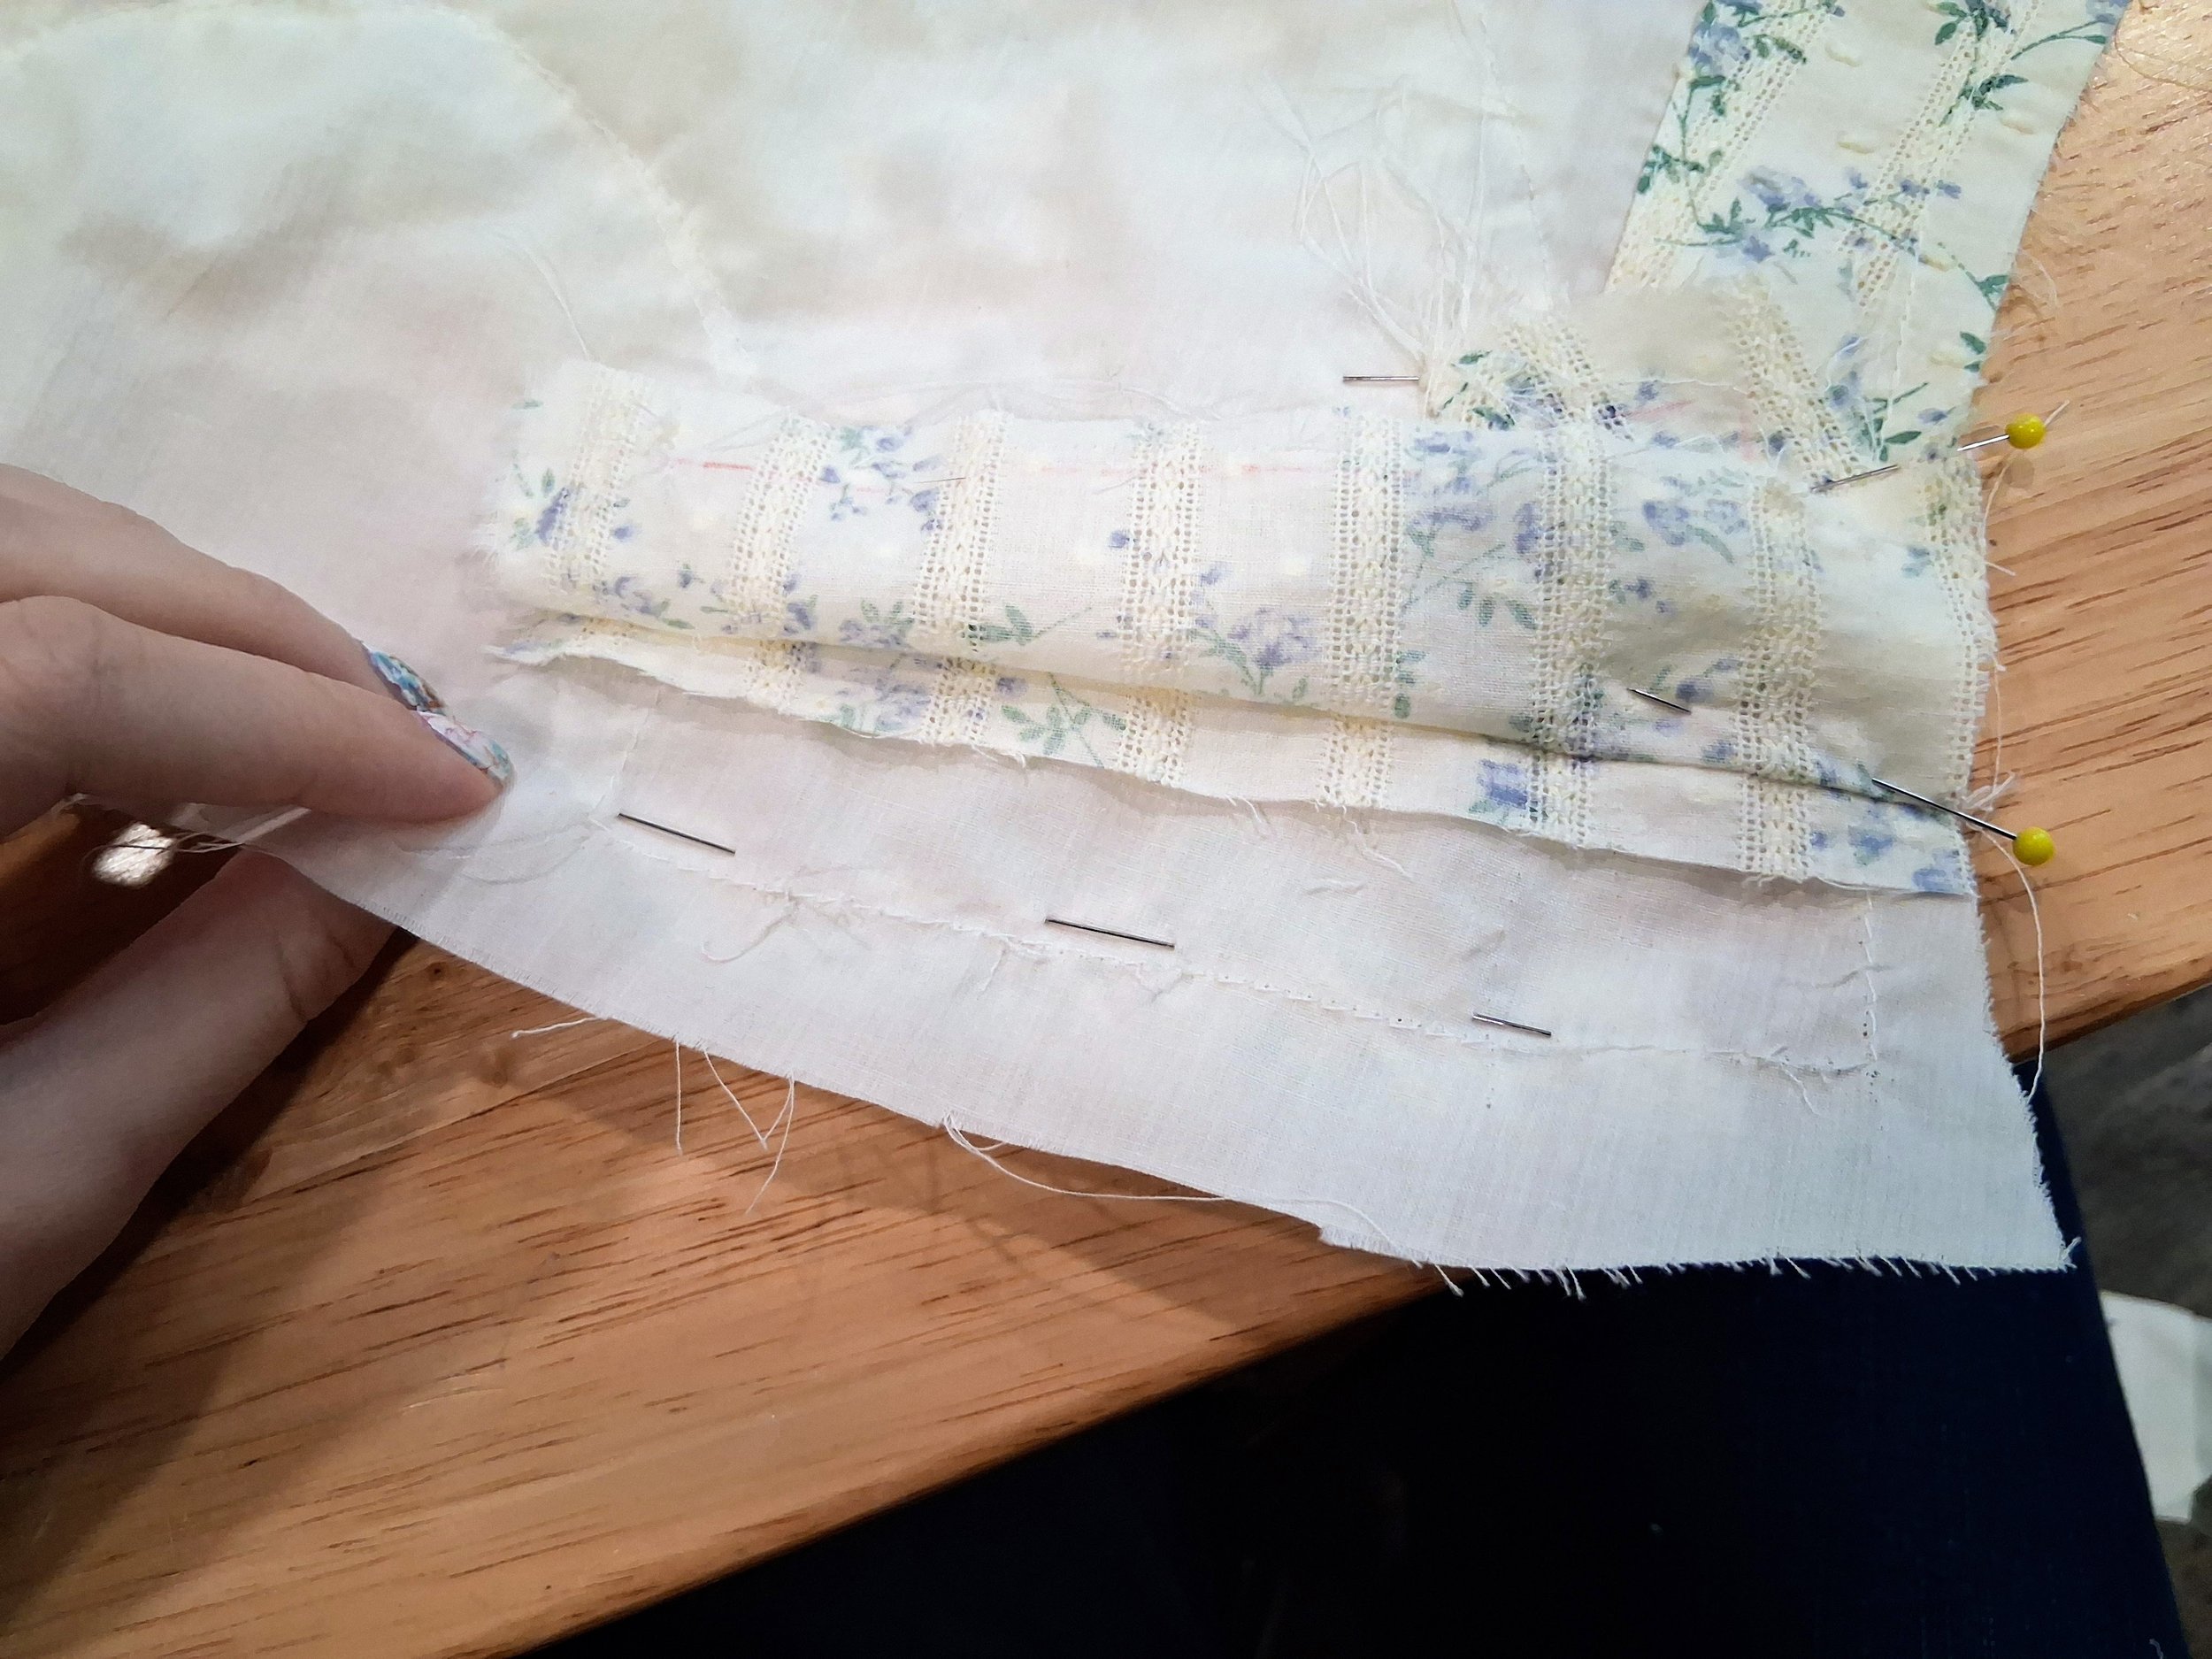
We need to end up with a finished edge 5/8” wide to allow for the ruffle. Turn and press to create this edge. Run a gathering thread 5/8” from this pressed edge to both hold the ruffle closed and prepare to gather the bodice.
Sew the Front Bodice and the Inner Front Yoke Lining together along the Closure Facing, right sides together to create a nice edge along the left armscye and the side seam edge. Be aware of the shoulder facing.
Finish the closure by tucking together the shoulder of the Front and the shoulder of the Inner Front Yoke Lining and stitching it together by hand. You should now have a fully enclosed edge for your closure.
Flatline the other shoulder to the shoulder of the Inner Front Yoke Lining. The raw edges are supposed to be seen on the inside when we attach this to the back lining section later.
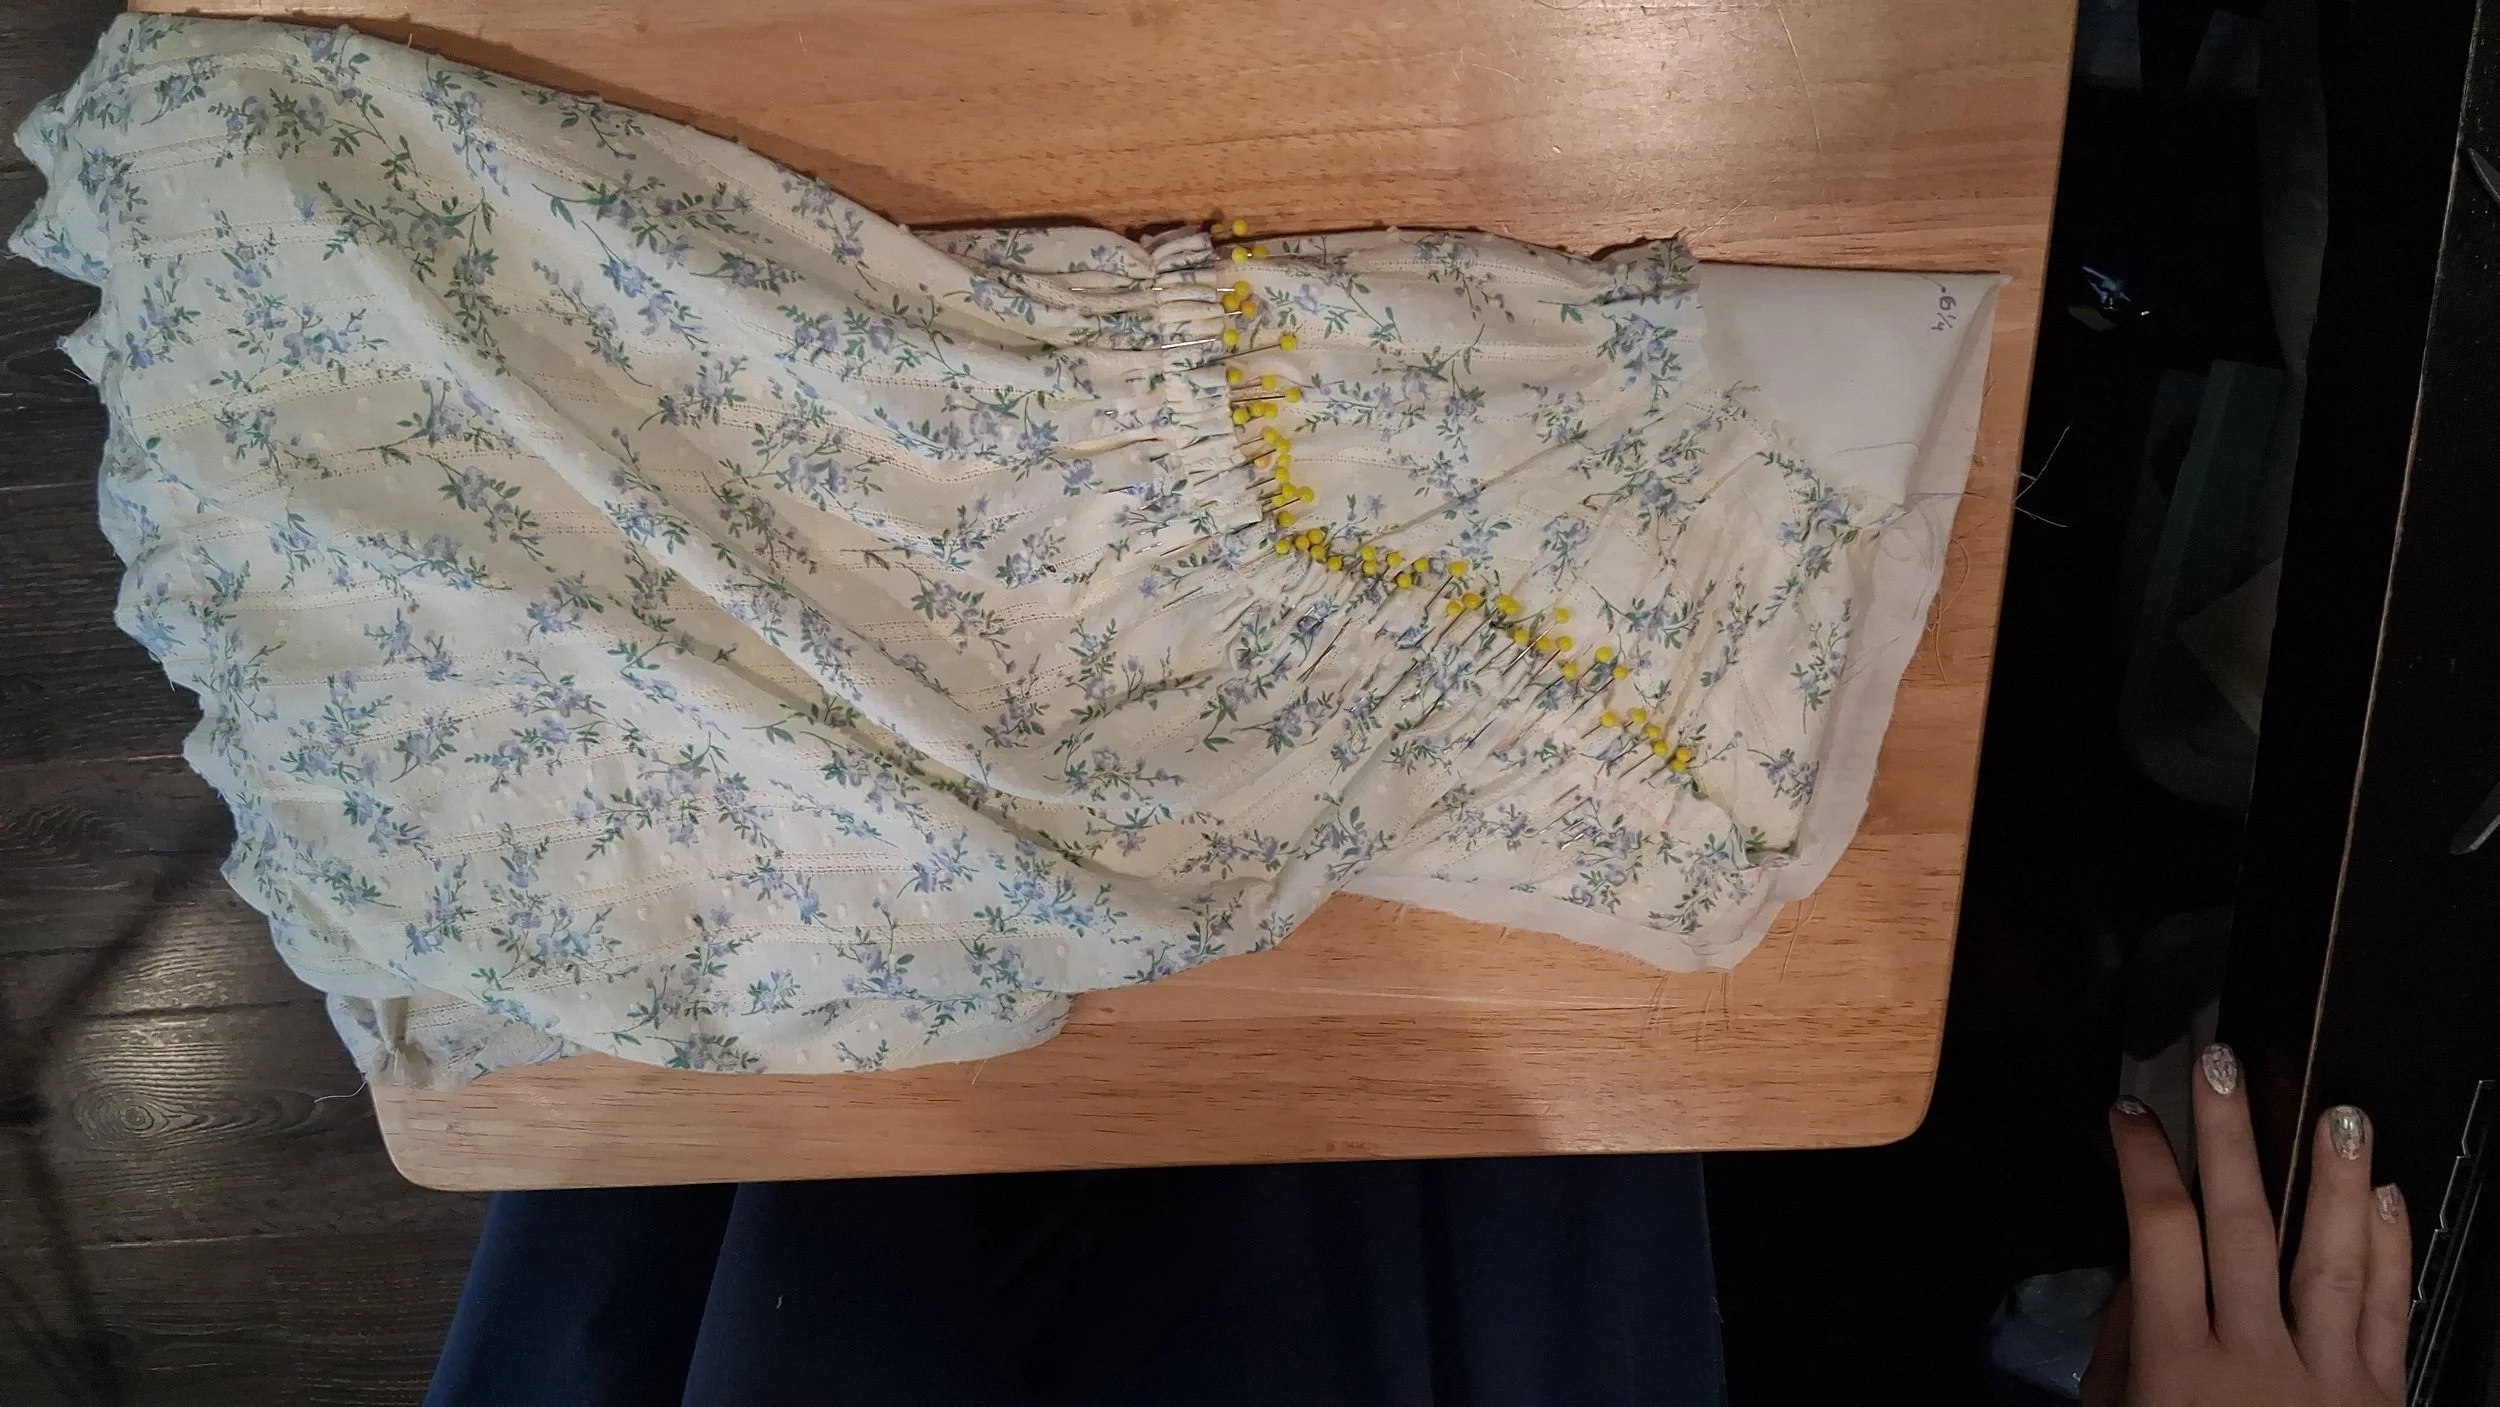
Now, arrange the gathers on the top of the bodice piece. The sections nearest the shoulders should have a little bit of gathering, but not as much as in the center.
Mark 4-5” on either side of the bottom of the bodice piece, coming in from the underarm seams. These parts are only the tiniest bit gathered, with nearly all of the gathering at the center front. We’ll gather it when we add the waistband later.
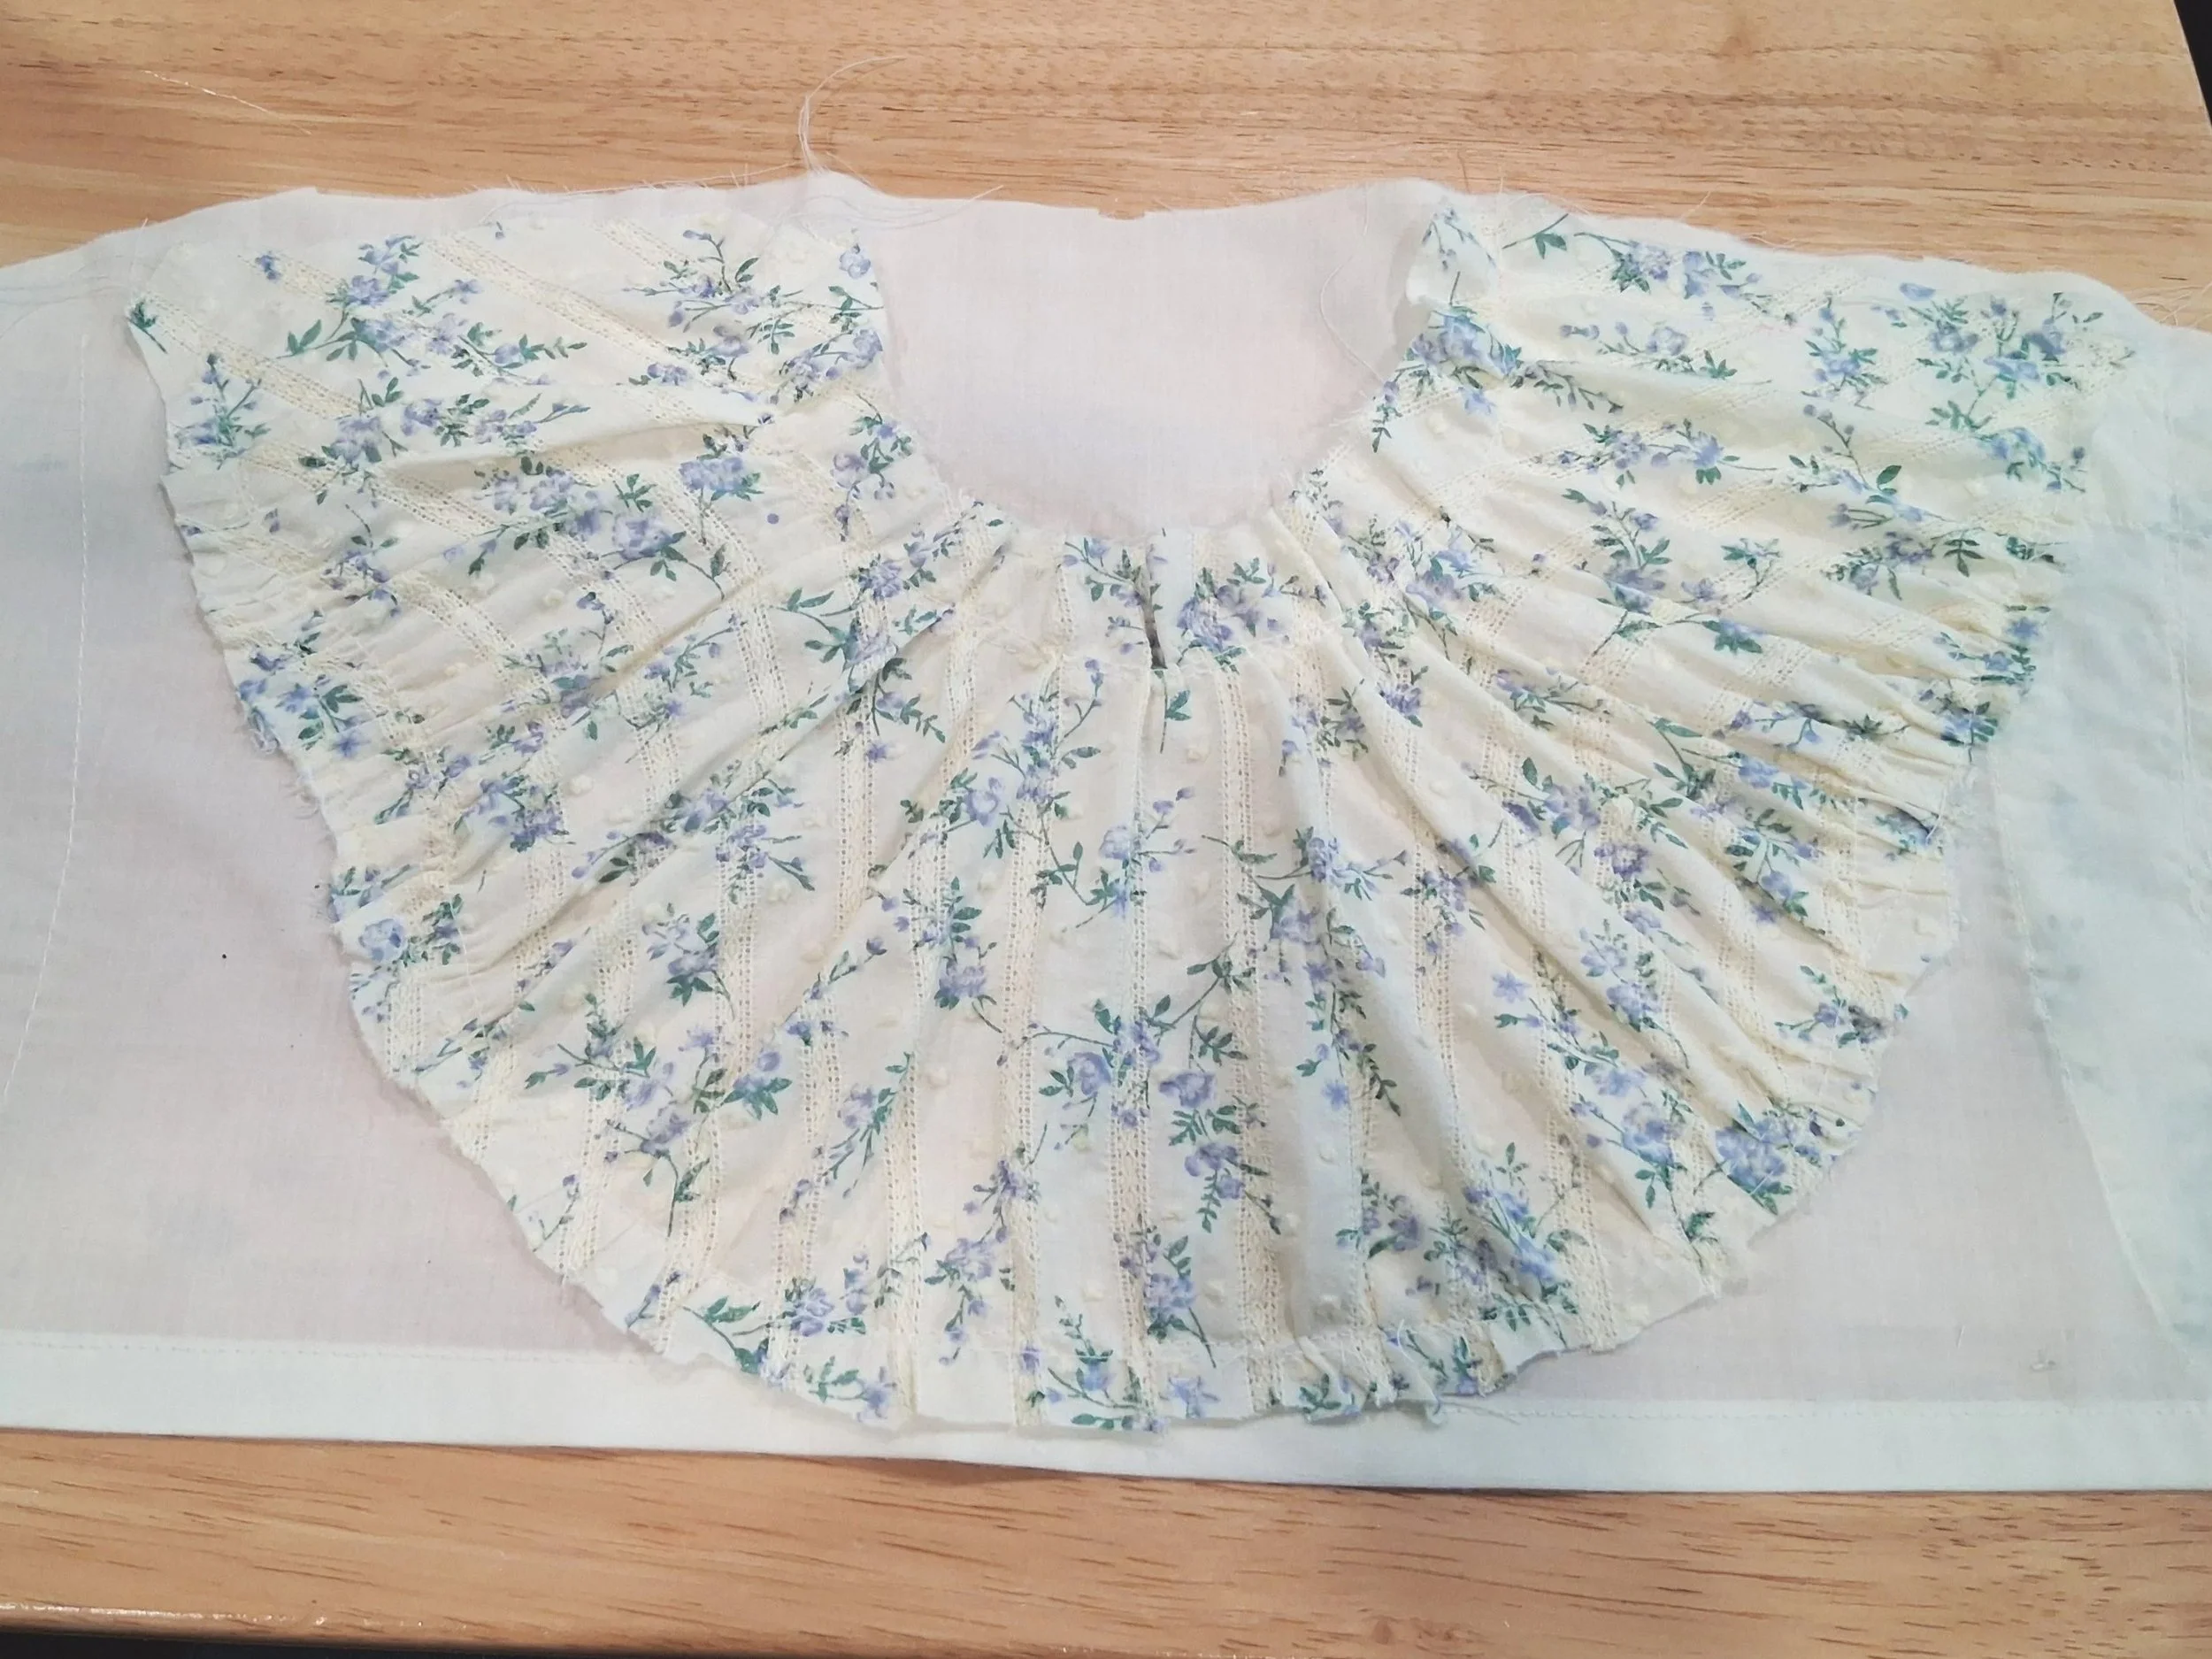
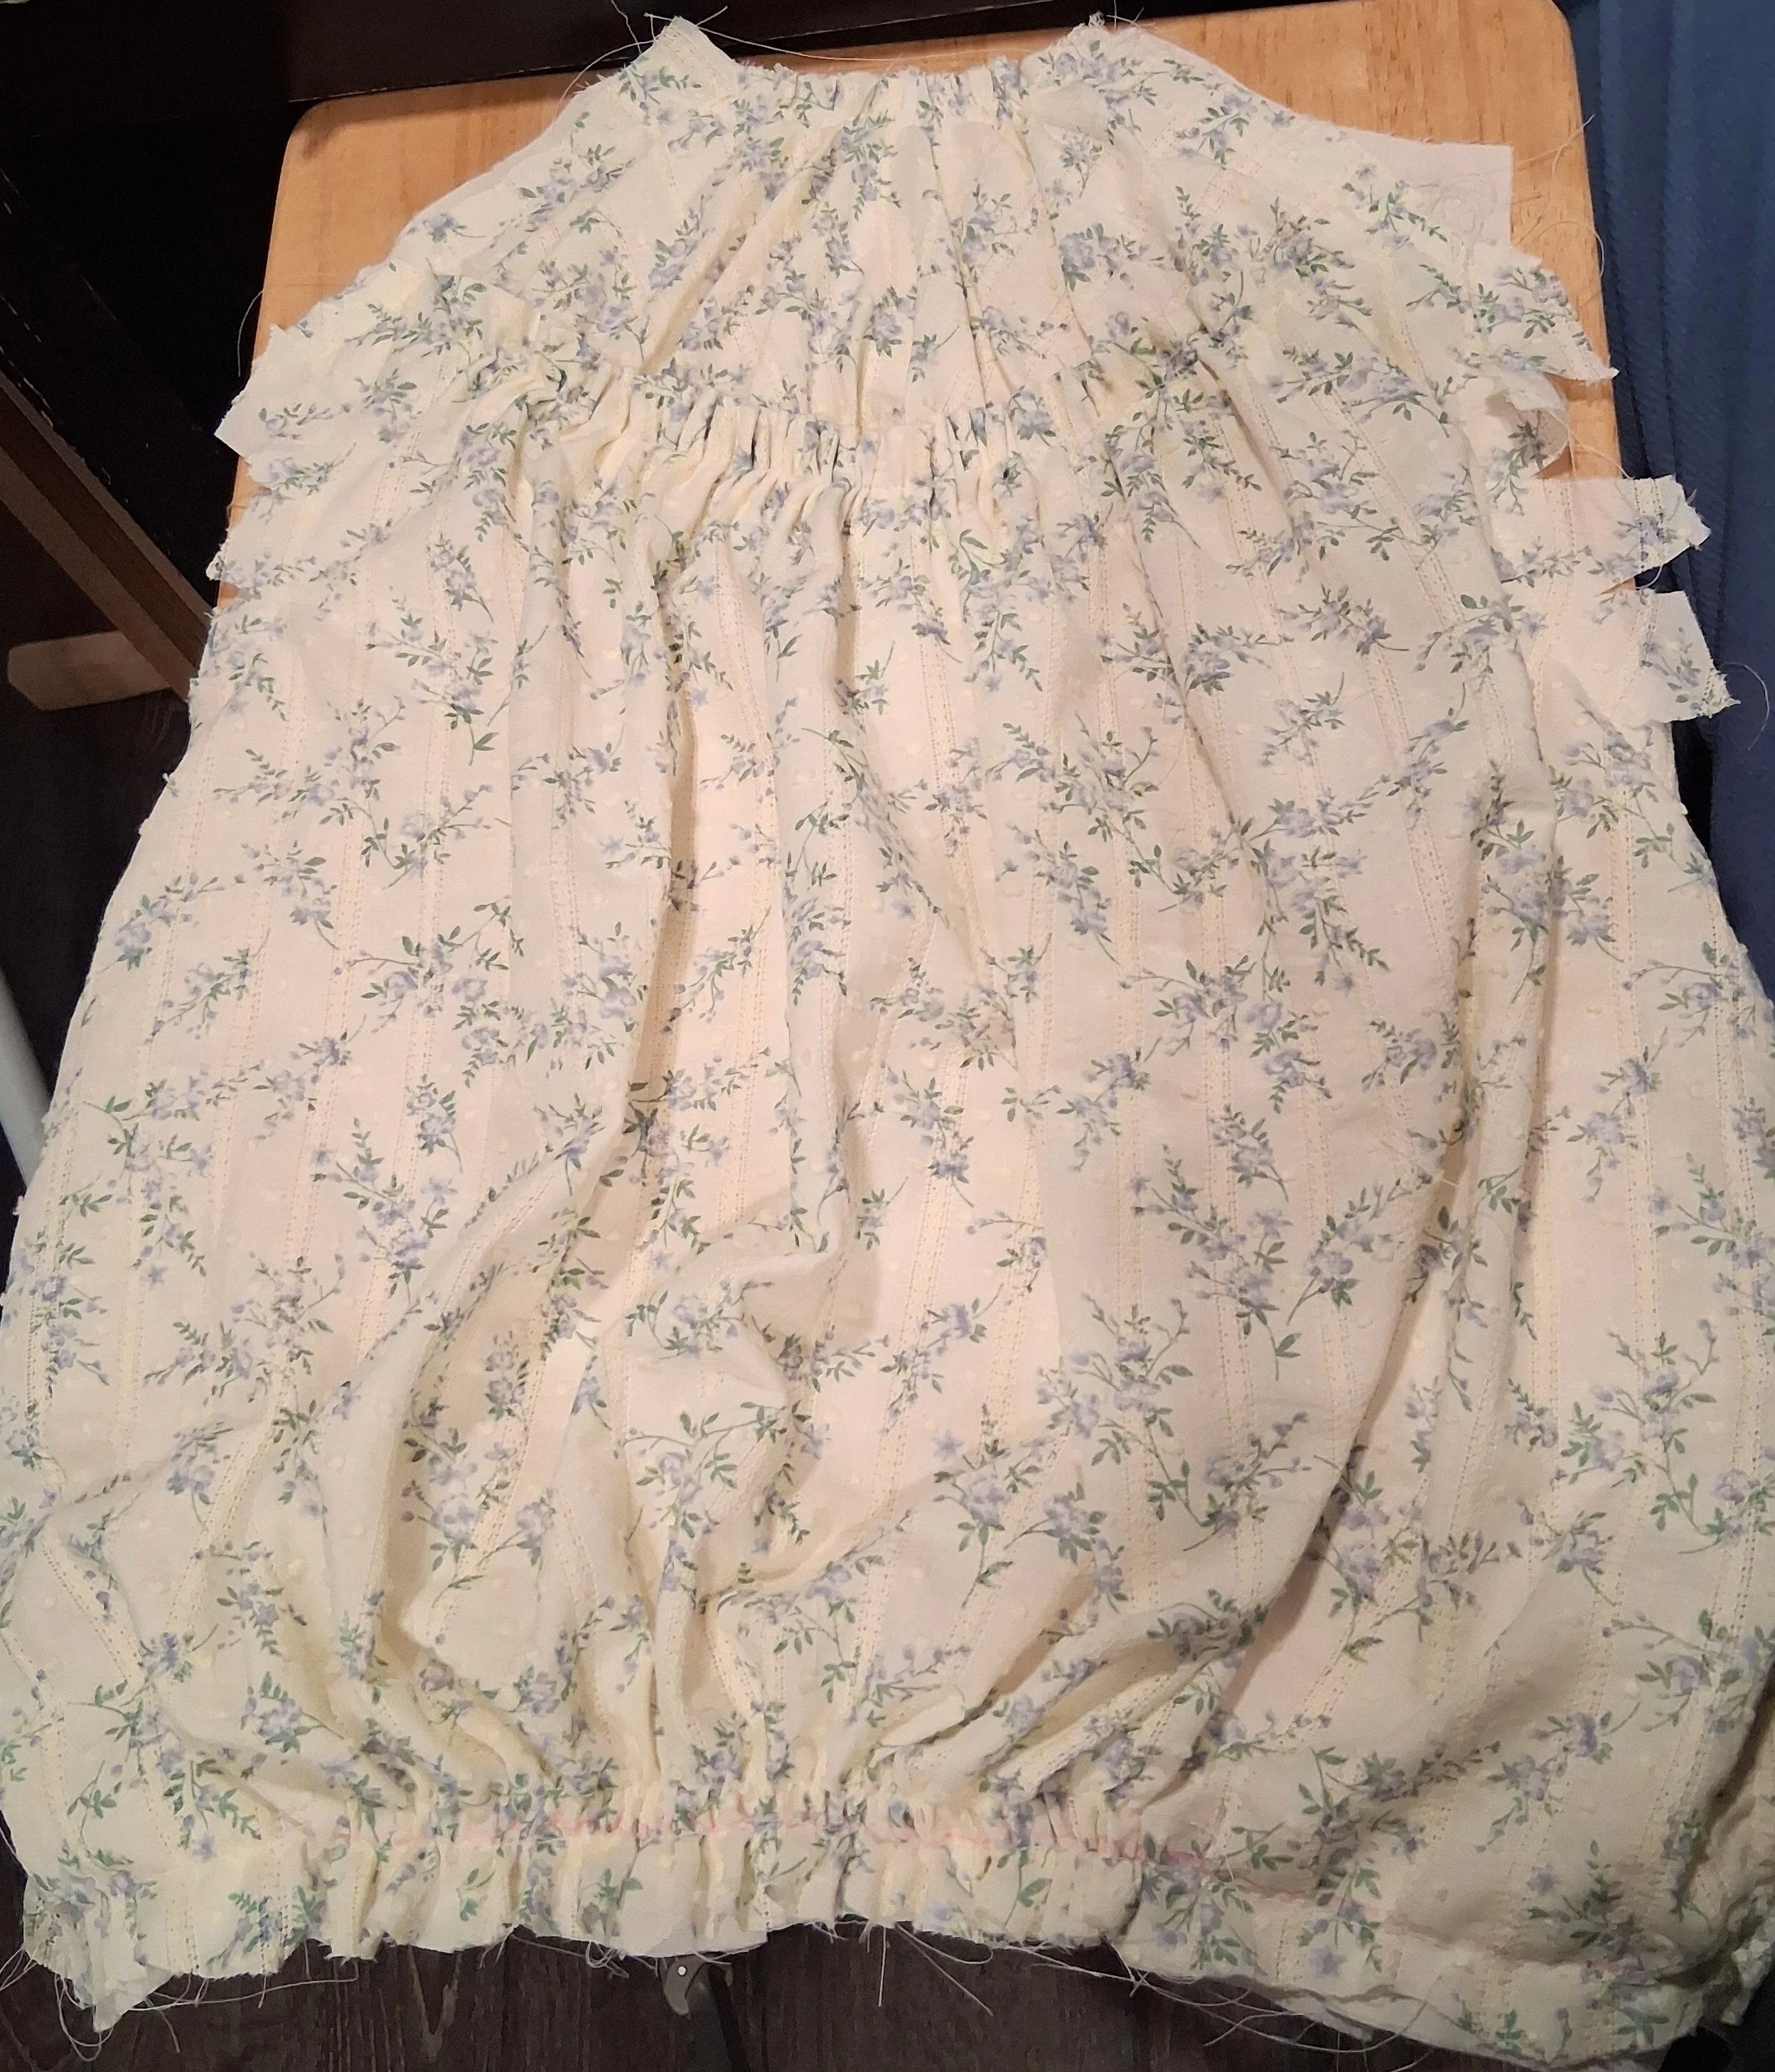
Step 9: Back Bodice
Now, we do similar steps for the back bodice. We need to end up with a finished edge 5/8” wide to allow for the ruffle. Turn and press to create this edge. Run a gathering thread 5/8” from this pressed edge to both hold the ruffle closed and prepare to gather the bodice.
Flatline the shoulders to the back bodice lining.
Now, arrange the gathers on the top of the bodice piece. The sections nearest the shoulders should have a little bit of gathering, but not as much as in the center.
Mark 4-5” on either side of the bottom of the bodice piece, coming in from the underarm seams. These parts are only the tiniest bit gathered, with nearly all of the gathering at the center back.
Gather the bottom of the back bodice to the lining.
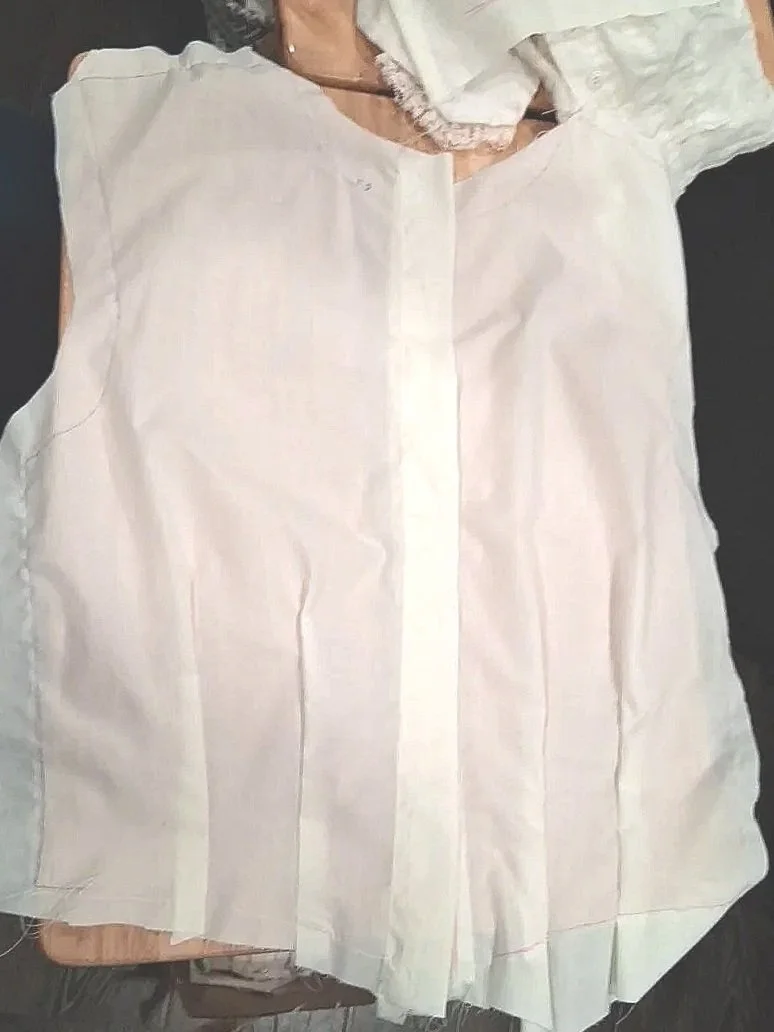
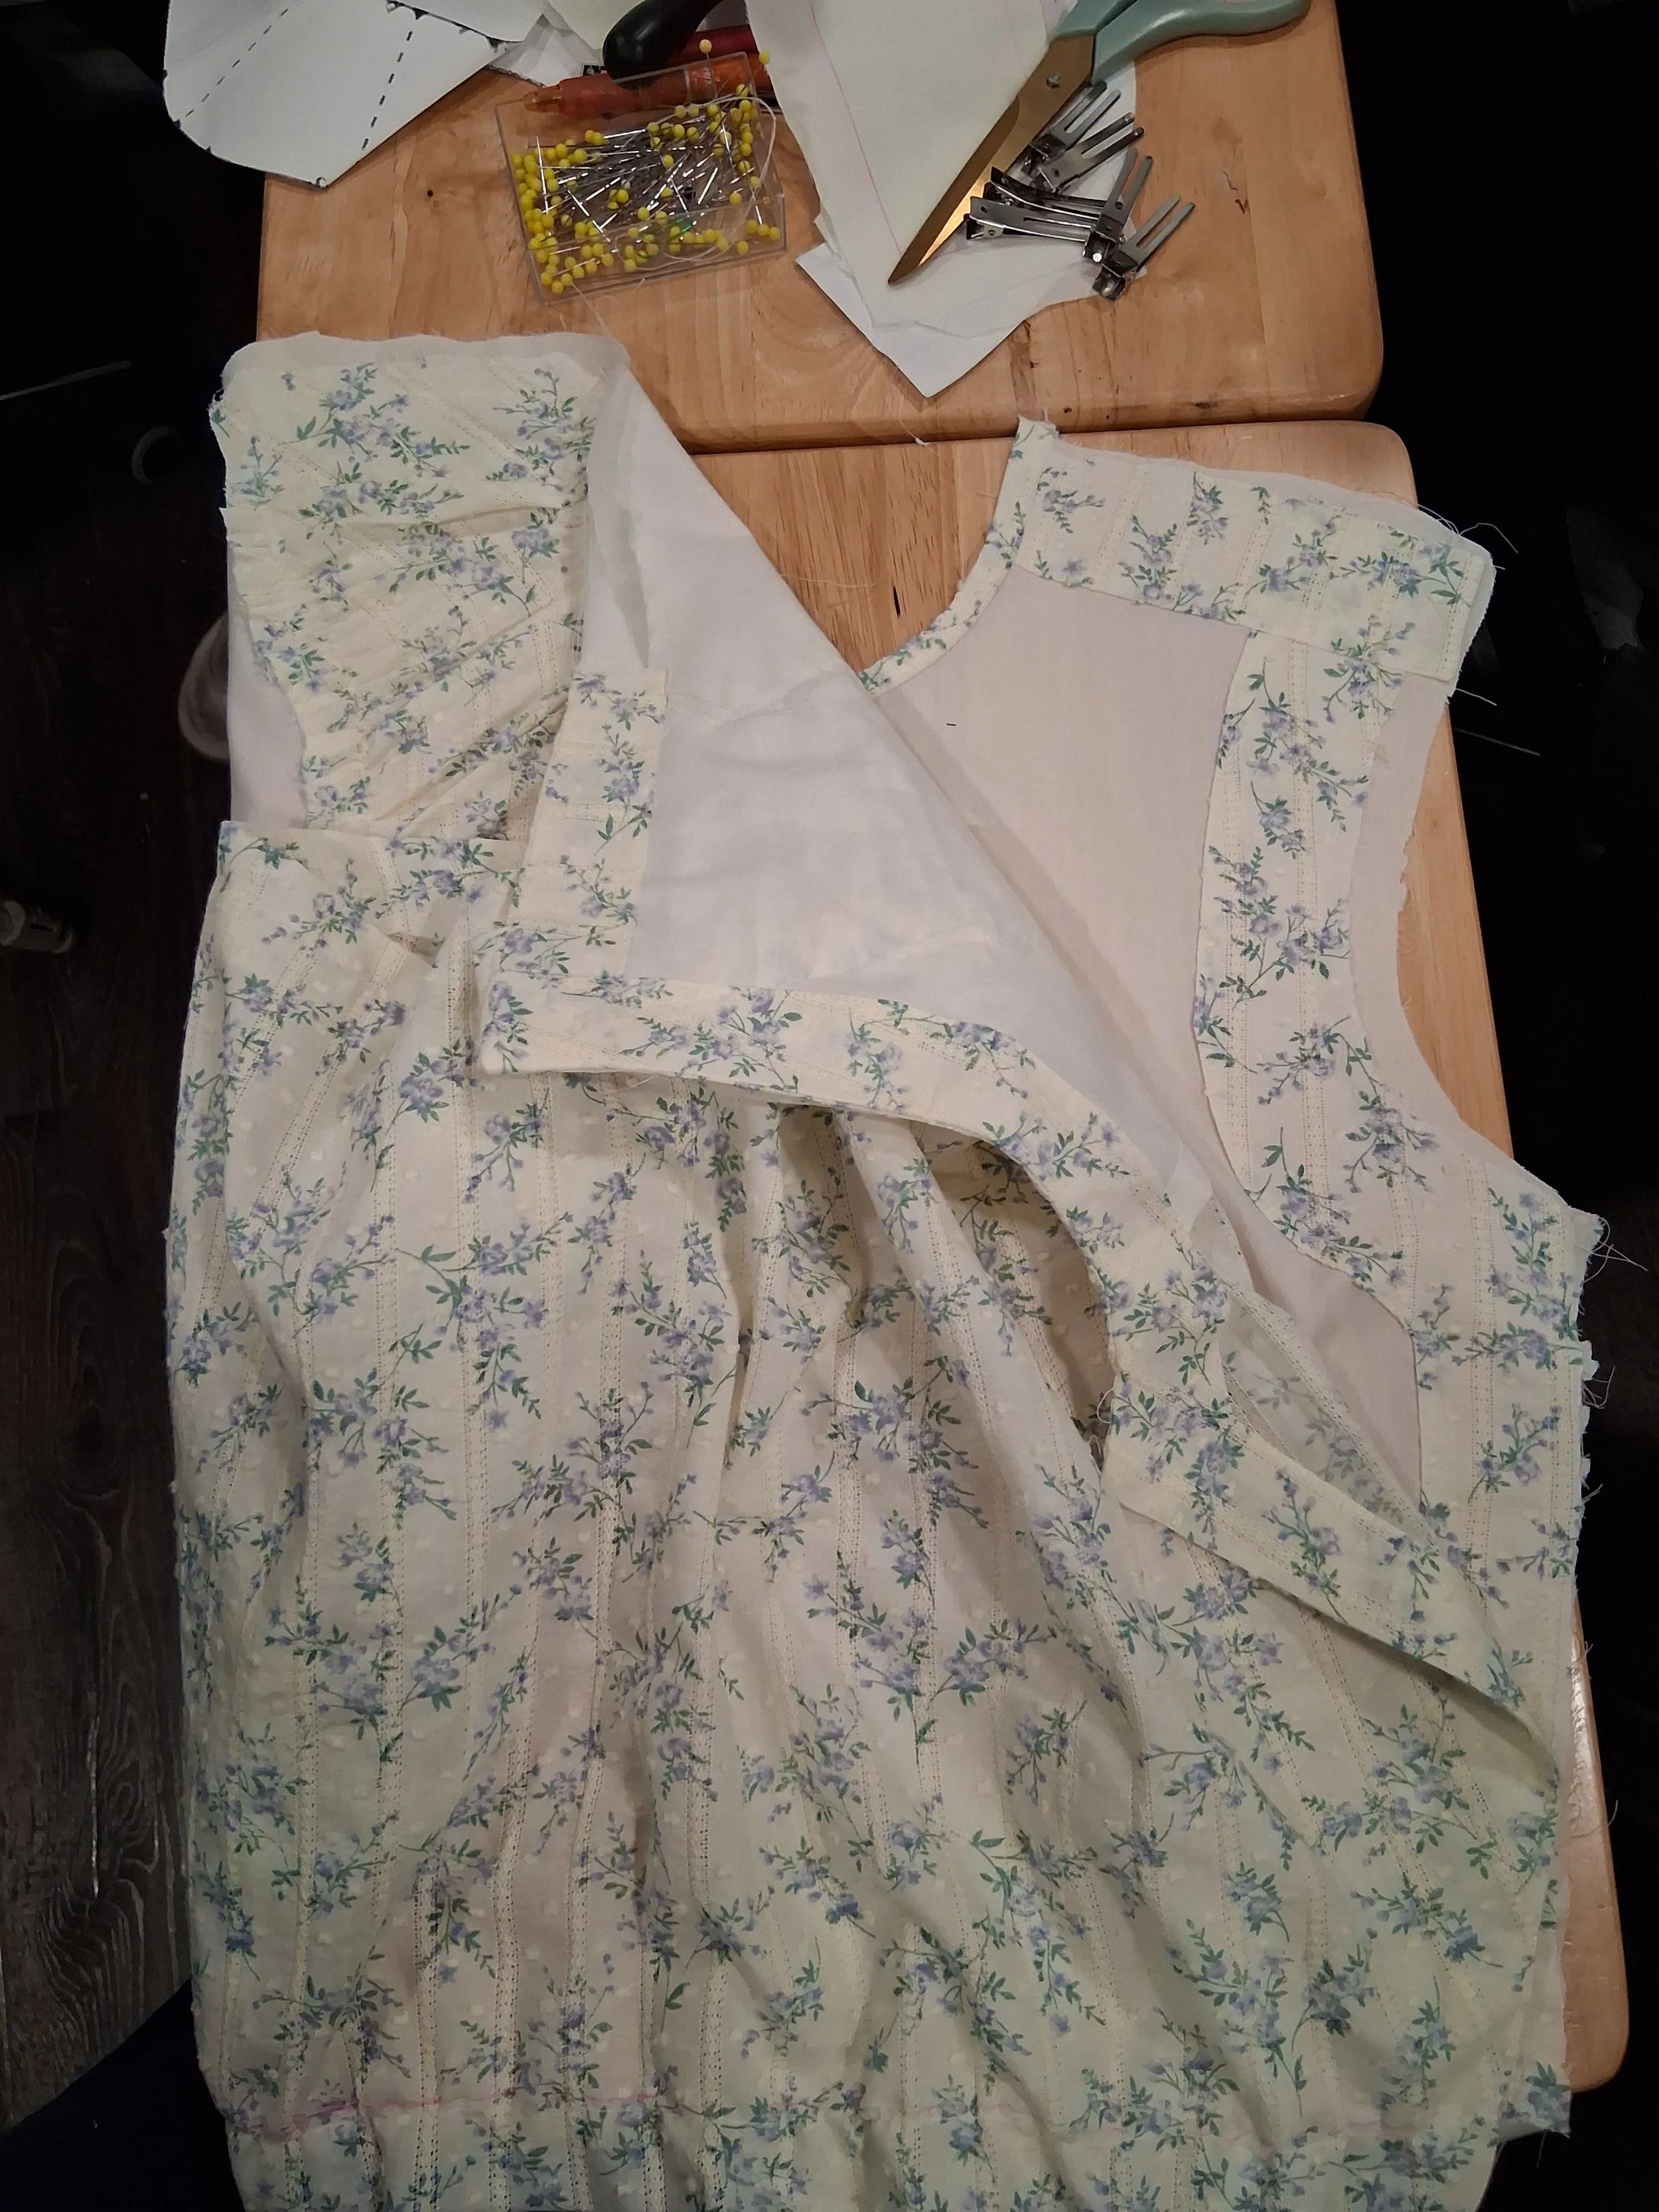
Step 10: Connecting the back to the front
Sew the left Front Lining piece with all the facing to the back bodice, right sides together, along the shoulder and side seams.
Press the seams towards the back, to help set the front lining a little lower.
Flat line the front bodice with all the gathered outer sections to the other Front Lining piece, along the neckline, shoulder, armscye, and side seam.
Sew the whole front bodice section to the back bodice, along the shoulder and side seams.
Press these seams open.
Now is a good time to try this bodice on and double check the fit, especially the lower edge. For me, the lower edge of the lined up with the lower edge waistband of the skirt, but I decided to give it an extra ½” for comfort.
Add the button holes to the lining. They’re closer together at the bottom than they are at the top. You can subtly follow the curved center front line, though make sure you don’t get too close to the edge.
Take the buttonhole placket, sew along the long edge and one short edge, right sides together
Clip corners, turn right side out, press, top stitch or hand sew closed.
Top stitch along the edge of the button hole area, covering the lower button holes up to just beyond where the Front Inner Yoke begins, to hide the buttons from view through the front outer bodice.

Step 11: Sleeves
On the original, the lining and outer fabric are flat lined and treated as a single piece. So, first step is to take all four pairs of sleeve pieces and flat line them together.
Stitch the pairs together along the long seam, right sides together. Trim seam allowance and press open.
On the Sleeve Facing pieces, fold and press in the inner edge (not at the wrist).
Stitch the Sleeve Facing to its matching sleeve, along the wrist (not the sides), right sides together. If you wanted to sew the cuff lace into the sleeve, this is where you’d place it. However, the original had the lace tacked into the inside of the wrist, probably so it could be easily removed for washing or for reuse.
Unfold Facing open, pressing the seam upwards towards the facing. You don’t have to press everything open, just the raw edges. The edge of the facing will be at an angle from the edge of the sleeve.
Sew along the short seam of the sleeve right sides together, continuing through the facing. This keeps the raw edge of the facing hidden under it.
Fold facing down to the inside, and tack down the edge by hand.

Step 11b: Adding the Puffs
Stitch sleeve puffs, right sides together, along the short seams, press open.
Run a gathering thread around both the upper and lower edges of each puff. The lower edge is the simpler, more exaggerated curve, and the top has the concave sections.
To figure out the alignment, take the slim sleeve and line it up with the armhole. I’ve notice that the sleeve fits best when the long seam is lined up with the seam between the Back and Side-Back bodice lining pieces. Mark where the shoulder seam and the seam between Side and Front are.
From the mark of the side seam, travel down the sleeve about 1” and mark. This is where the lower edge of the puff will sit at the seam of the puff.
At the shoulder seam mark, the puff will fold back on itself about 3”. Measure the width of the puff at the widest point and subtract 6”. Then take that distance on the slim sleeve from the shoulder seam mark.
Draw a smooth line around the slim sleeve meeting at both these points.
Gather the lower edge of the puff to the slim sleeve along this line, right sides together. The puff is mostly evenly gathered here, except for about 2” either side of the side seam, where it’s only gathered a little. Sew this down.
Next, gather the upper edge of the puff. This edge will be flat lined.
Next, ease the sleeve into the arm hole, lining up the long seam of the slim sleeve with the seam between the back and side back. These raw edges are visible on the inside of the garment. Press the seam allowance towards the sleeve.
Step 12: Adding the Collar
The outer collar is definitely the piece I am least sure about. So, feel free to modify it a little, especially if your fabric is a bit heavier. Thinner fabrics will probably look closer to the original. If you know of a pattern from the late 1800s with a similar collar, please fill out the form to the side! →
Flat line the collar interfacing to the collar lining.
Run a gathering thread along the outer collar along both the inside and outside.
First, gather the inner line of collar to the top edge of collar lining. Line up the shoulders, the front and back. You may have to compromise a little, and stretch the lining a bit.
Press closed, then trim seam allowance to 1/4”. Also, make sure the seam allowance of the lining is really short as well.
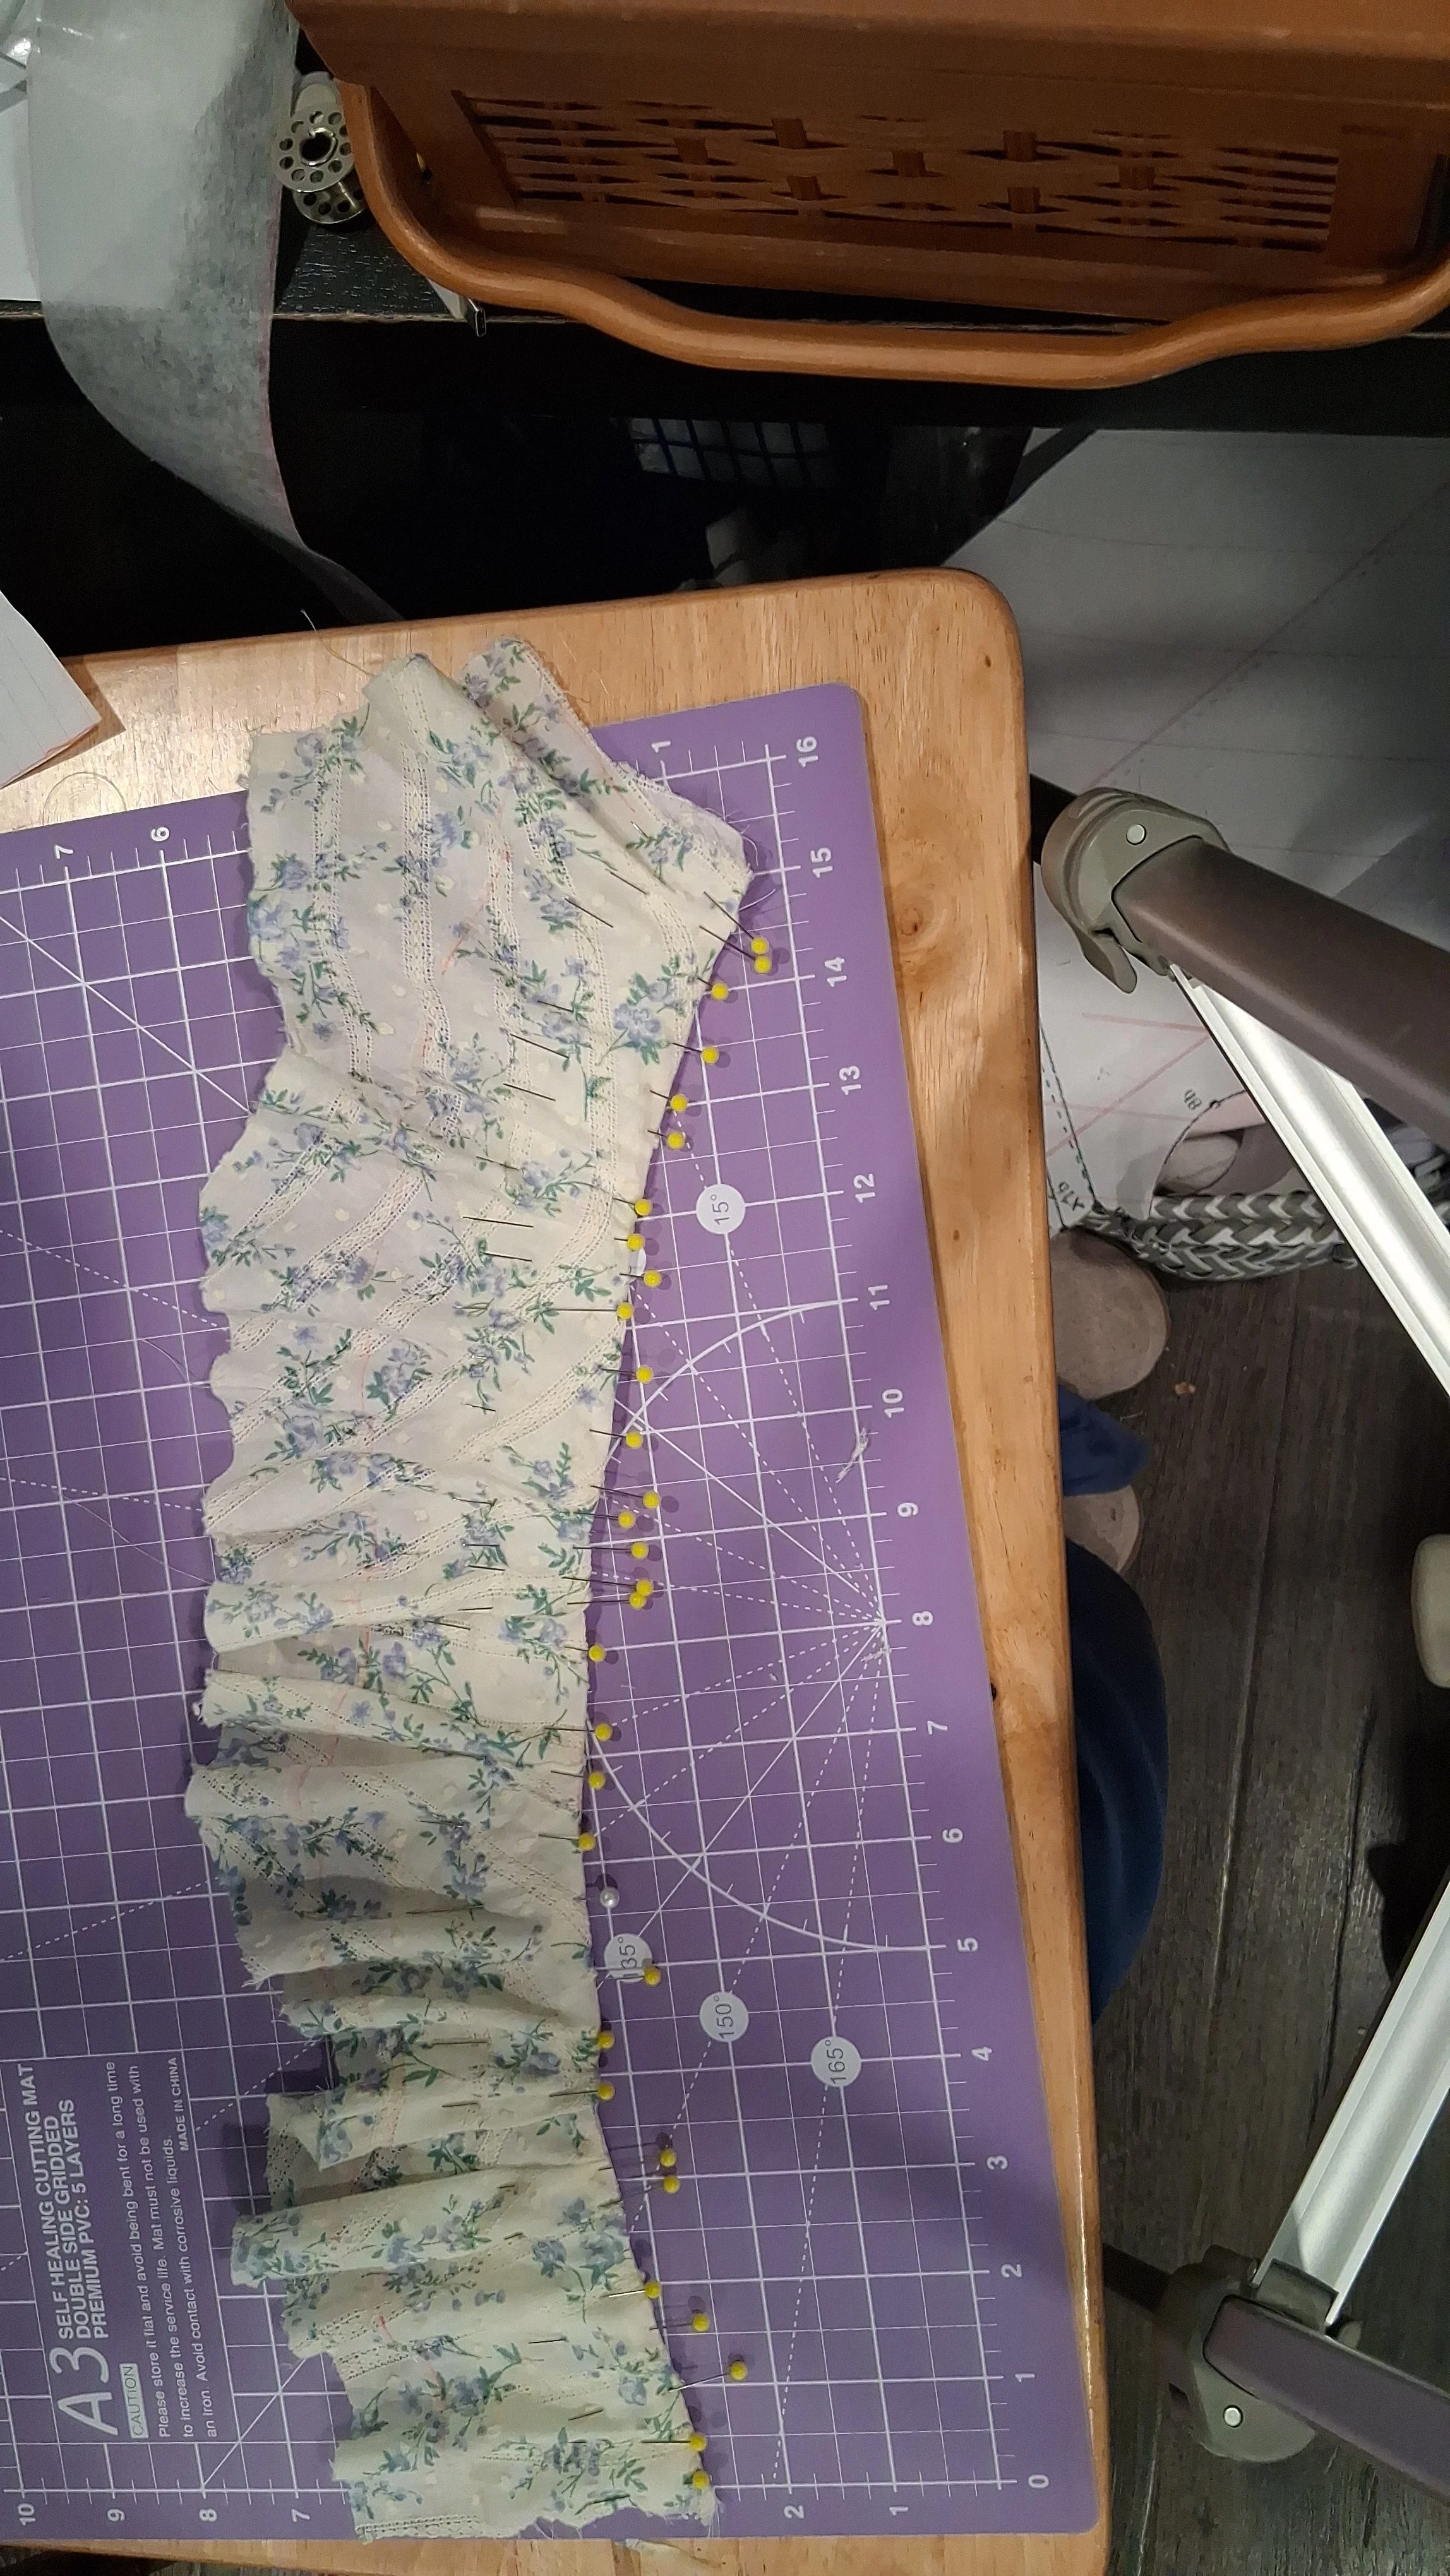
Lay out the collar on a surface. Stretch outer collar over the lining, and pin it in place so it’s even before we try gathering. This is to prevent the folds from twisting or bunching in the wrong place. Later, it will be softly gathered up to meet the bottom of the lining, but for now stretch it out as needed.
Place some temporary pad stitching, or use a very wide and long zig-zag stitch to hold these starting gathers in place along the collar lining.
Carefully pin the outer collar to the bodice. Ideally, the bottom of the collar should match up to the bottom of the Neckline Finish tape.
Sew the lower edge of the collar to the bodice.
Remove the pad stitching.
Sew down the inner edge of the collar to the bodice.
Collar Pattern Reference
Step 13: Finishing steps
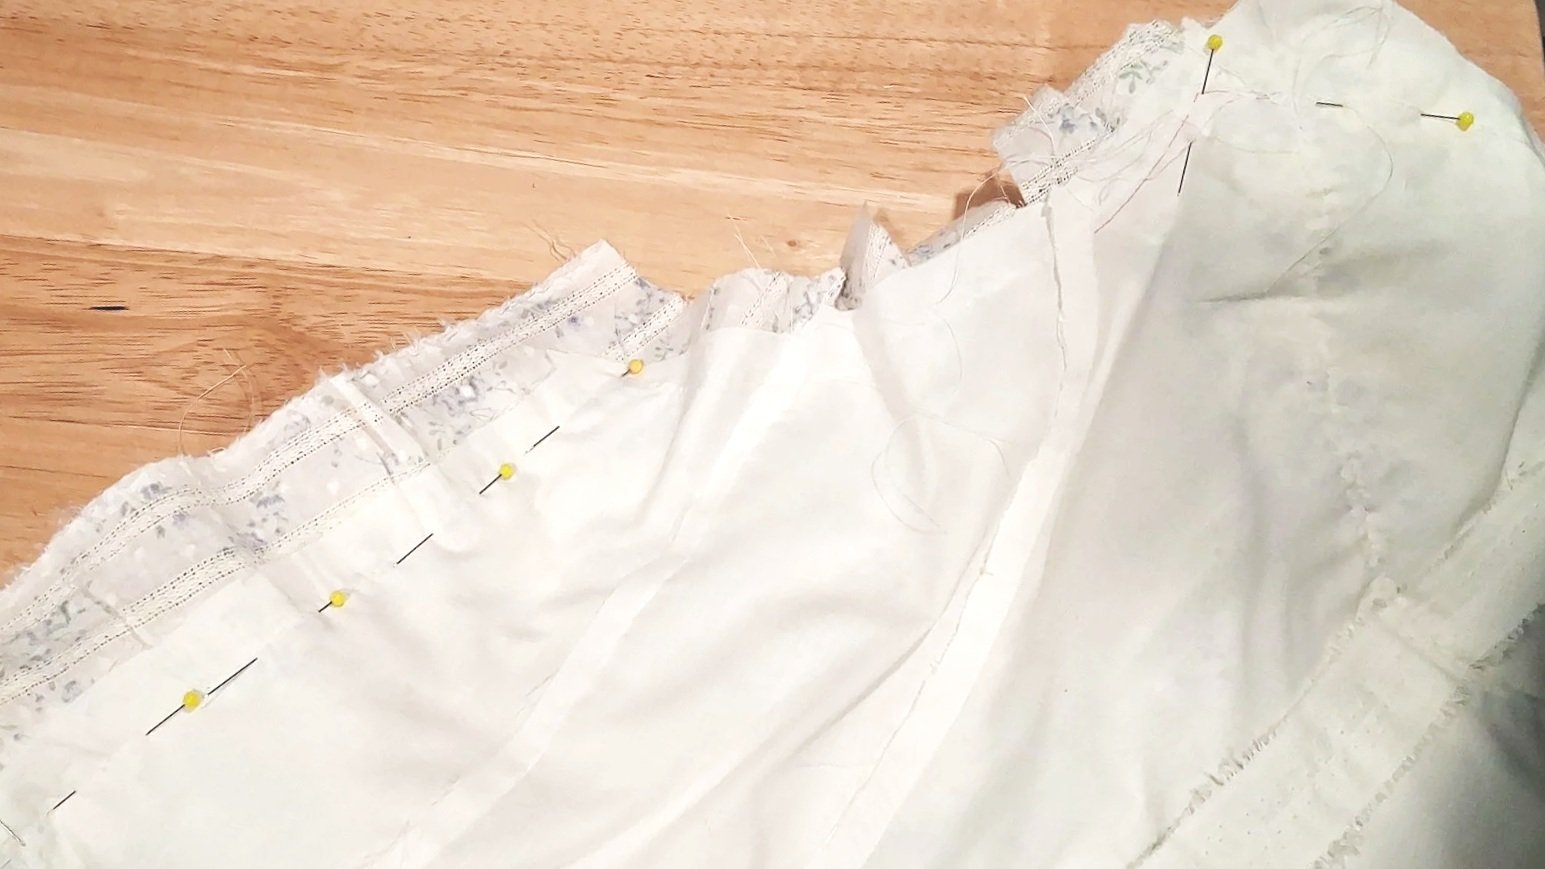
Add the waistband, making sure the gathers at the bottom of the bodice pieces are primarily in the centers marked earlier.
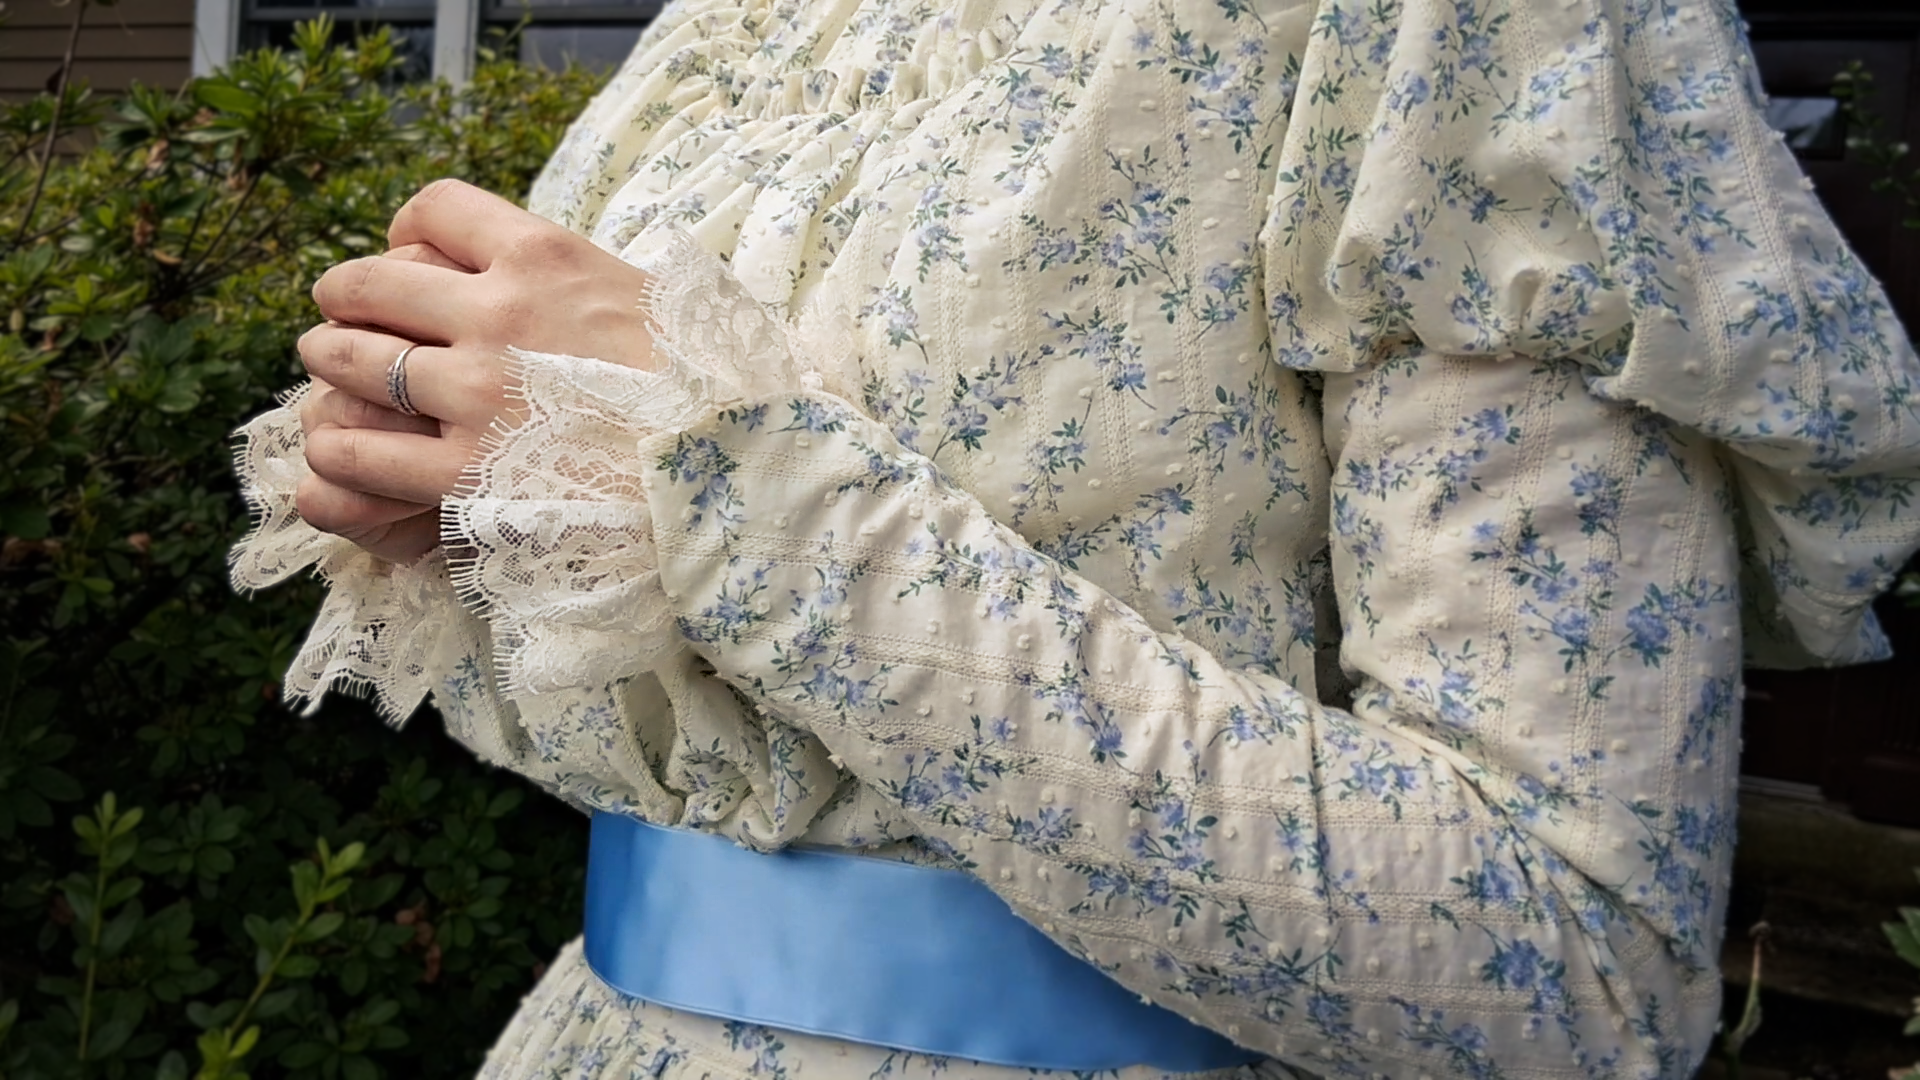
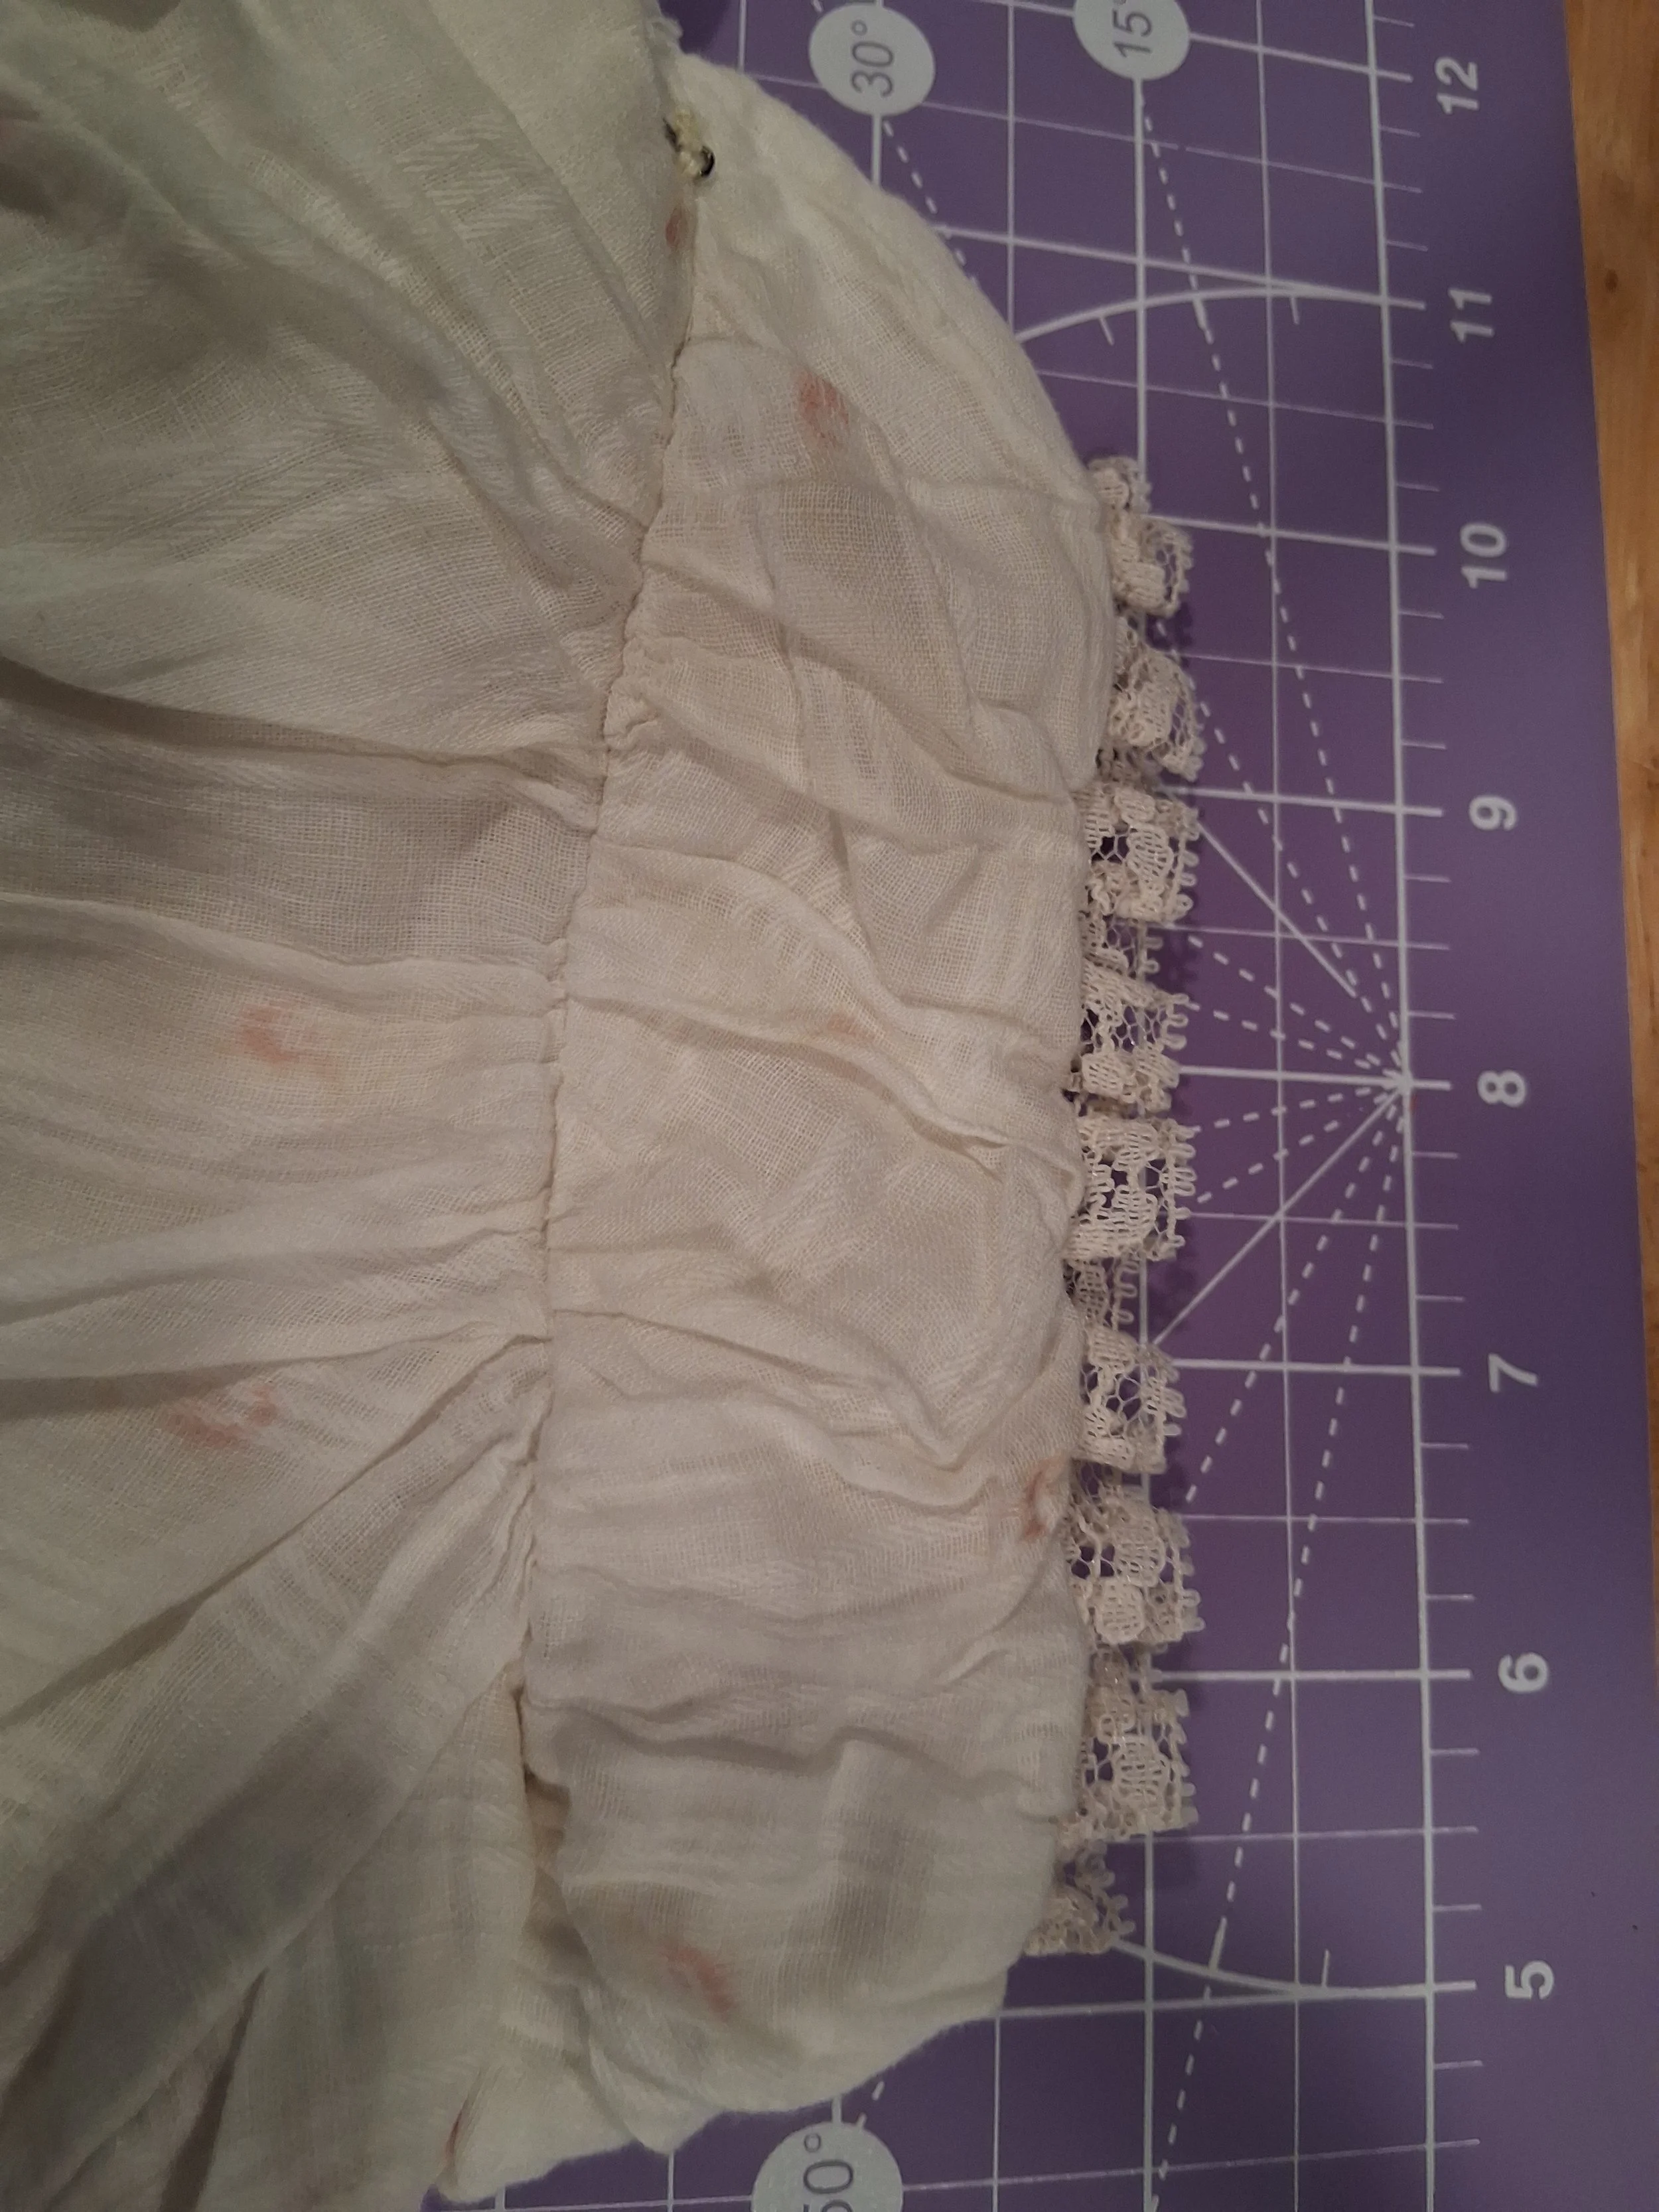
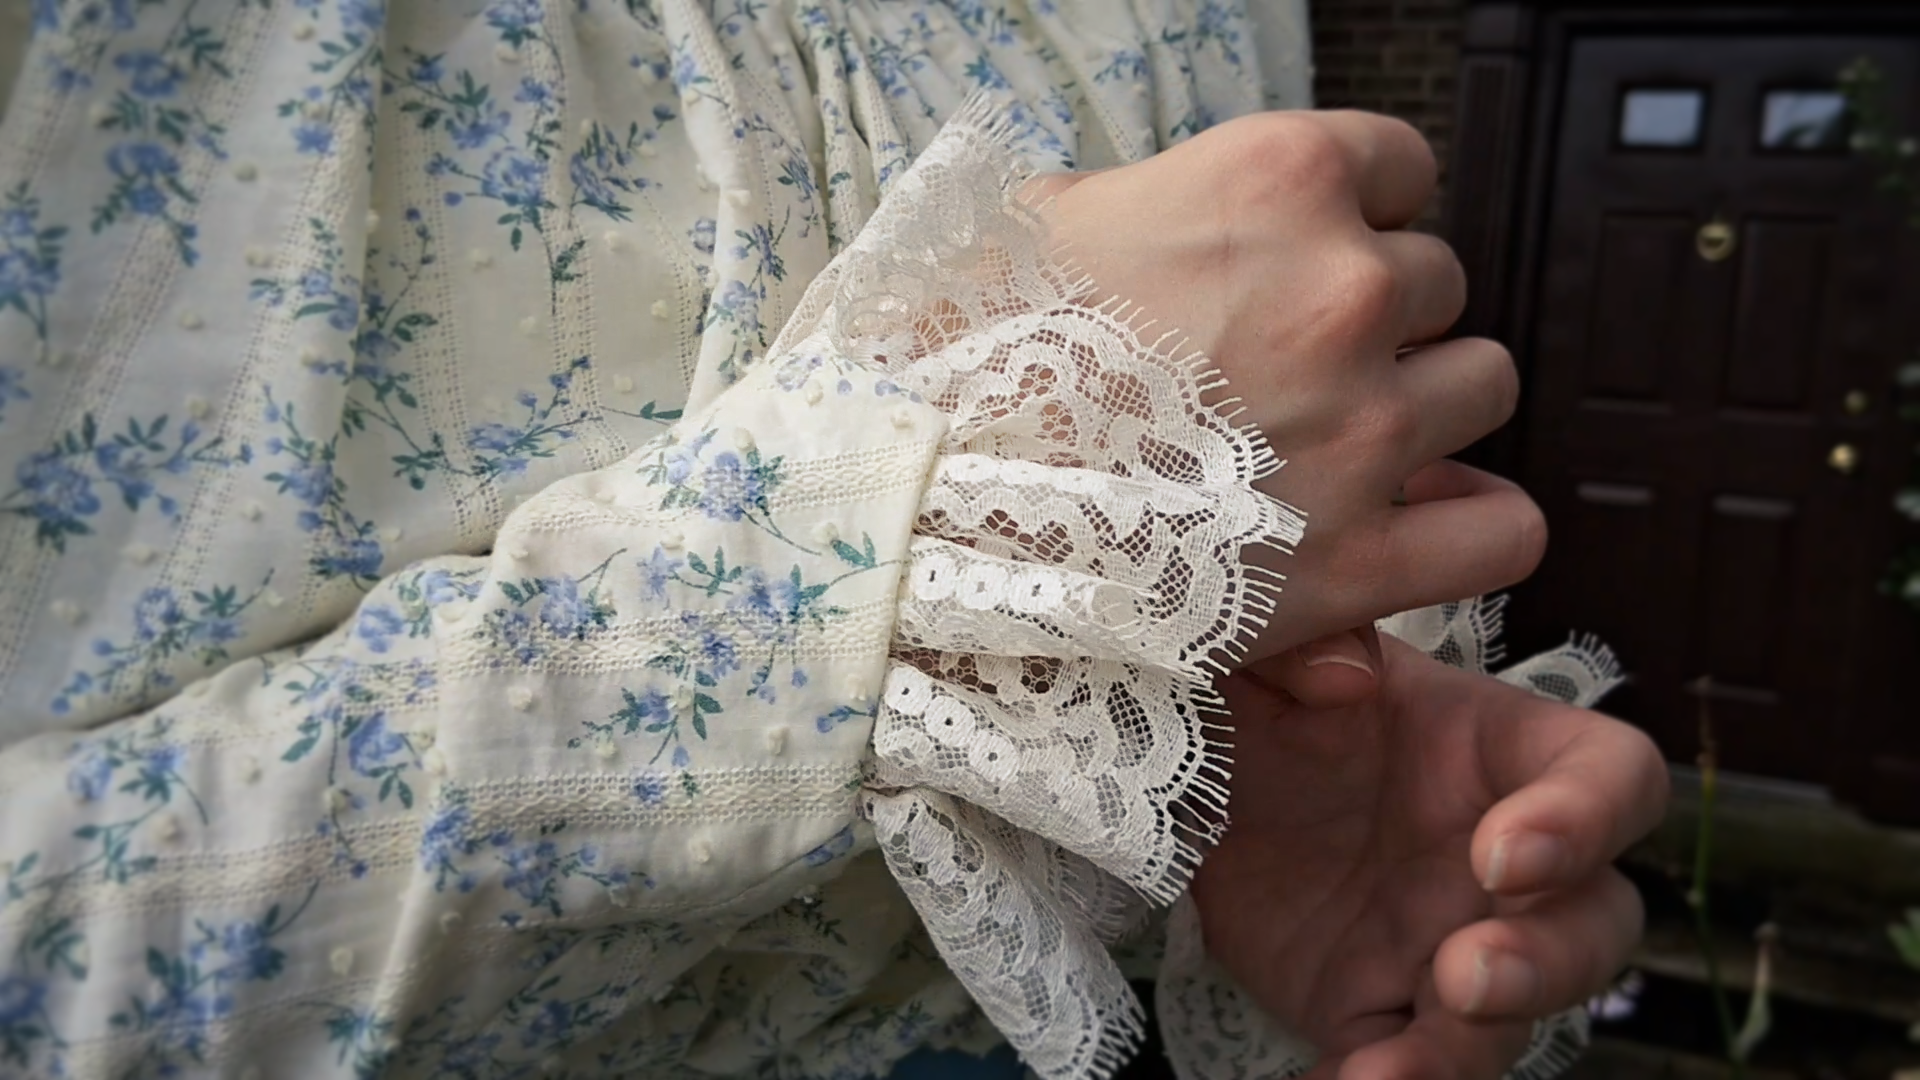
Gather lace at least twice circumference for the wrists and collar
Stitch it down by hand along the inside of the wrists and collar. I used a long back stitch to make sure both that it was secure and it would be decently easy to remove if needed.
Add hook and bar closures along the closure: one on the collar, three on the shoulder, and two under the arm along the side sleeve.
On the original, there were four buttons on the waistband of the bodice, with matching button holes on the skirt. I decided not to do this on mine, mainly because of the extensive damage on both original waistbands. Instead, I added an extra hook and bar closure at the side of the bodice and two hook and bars on the center back of the skirt.
Add buttons to the bodice lining.
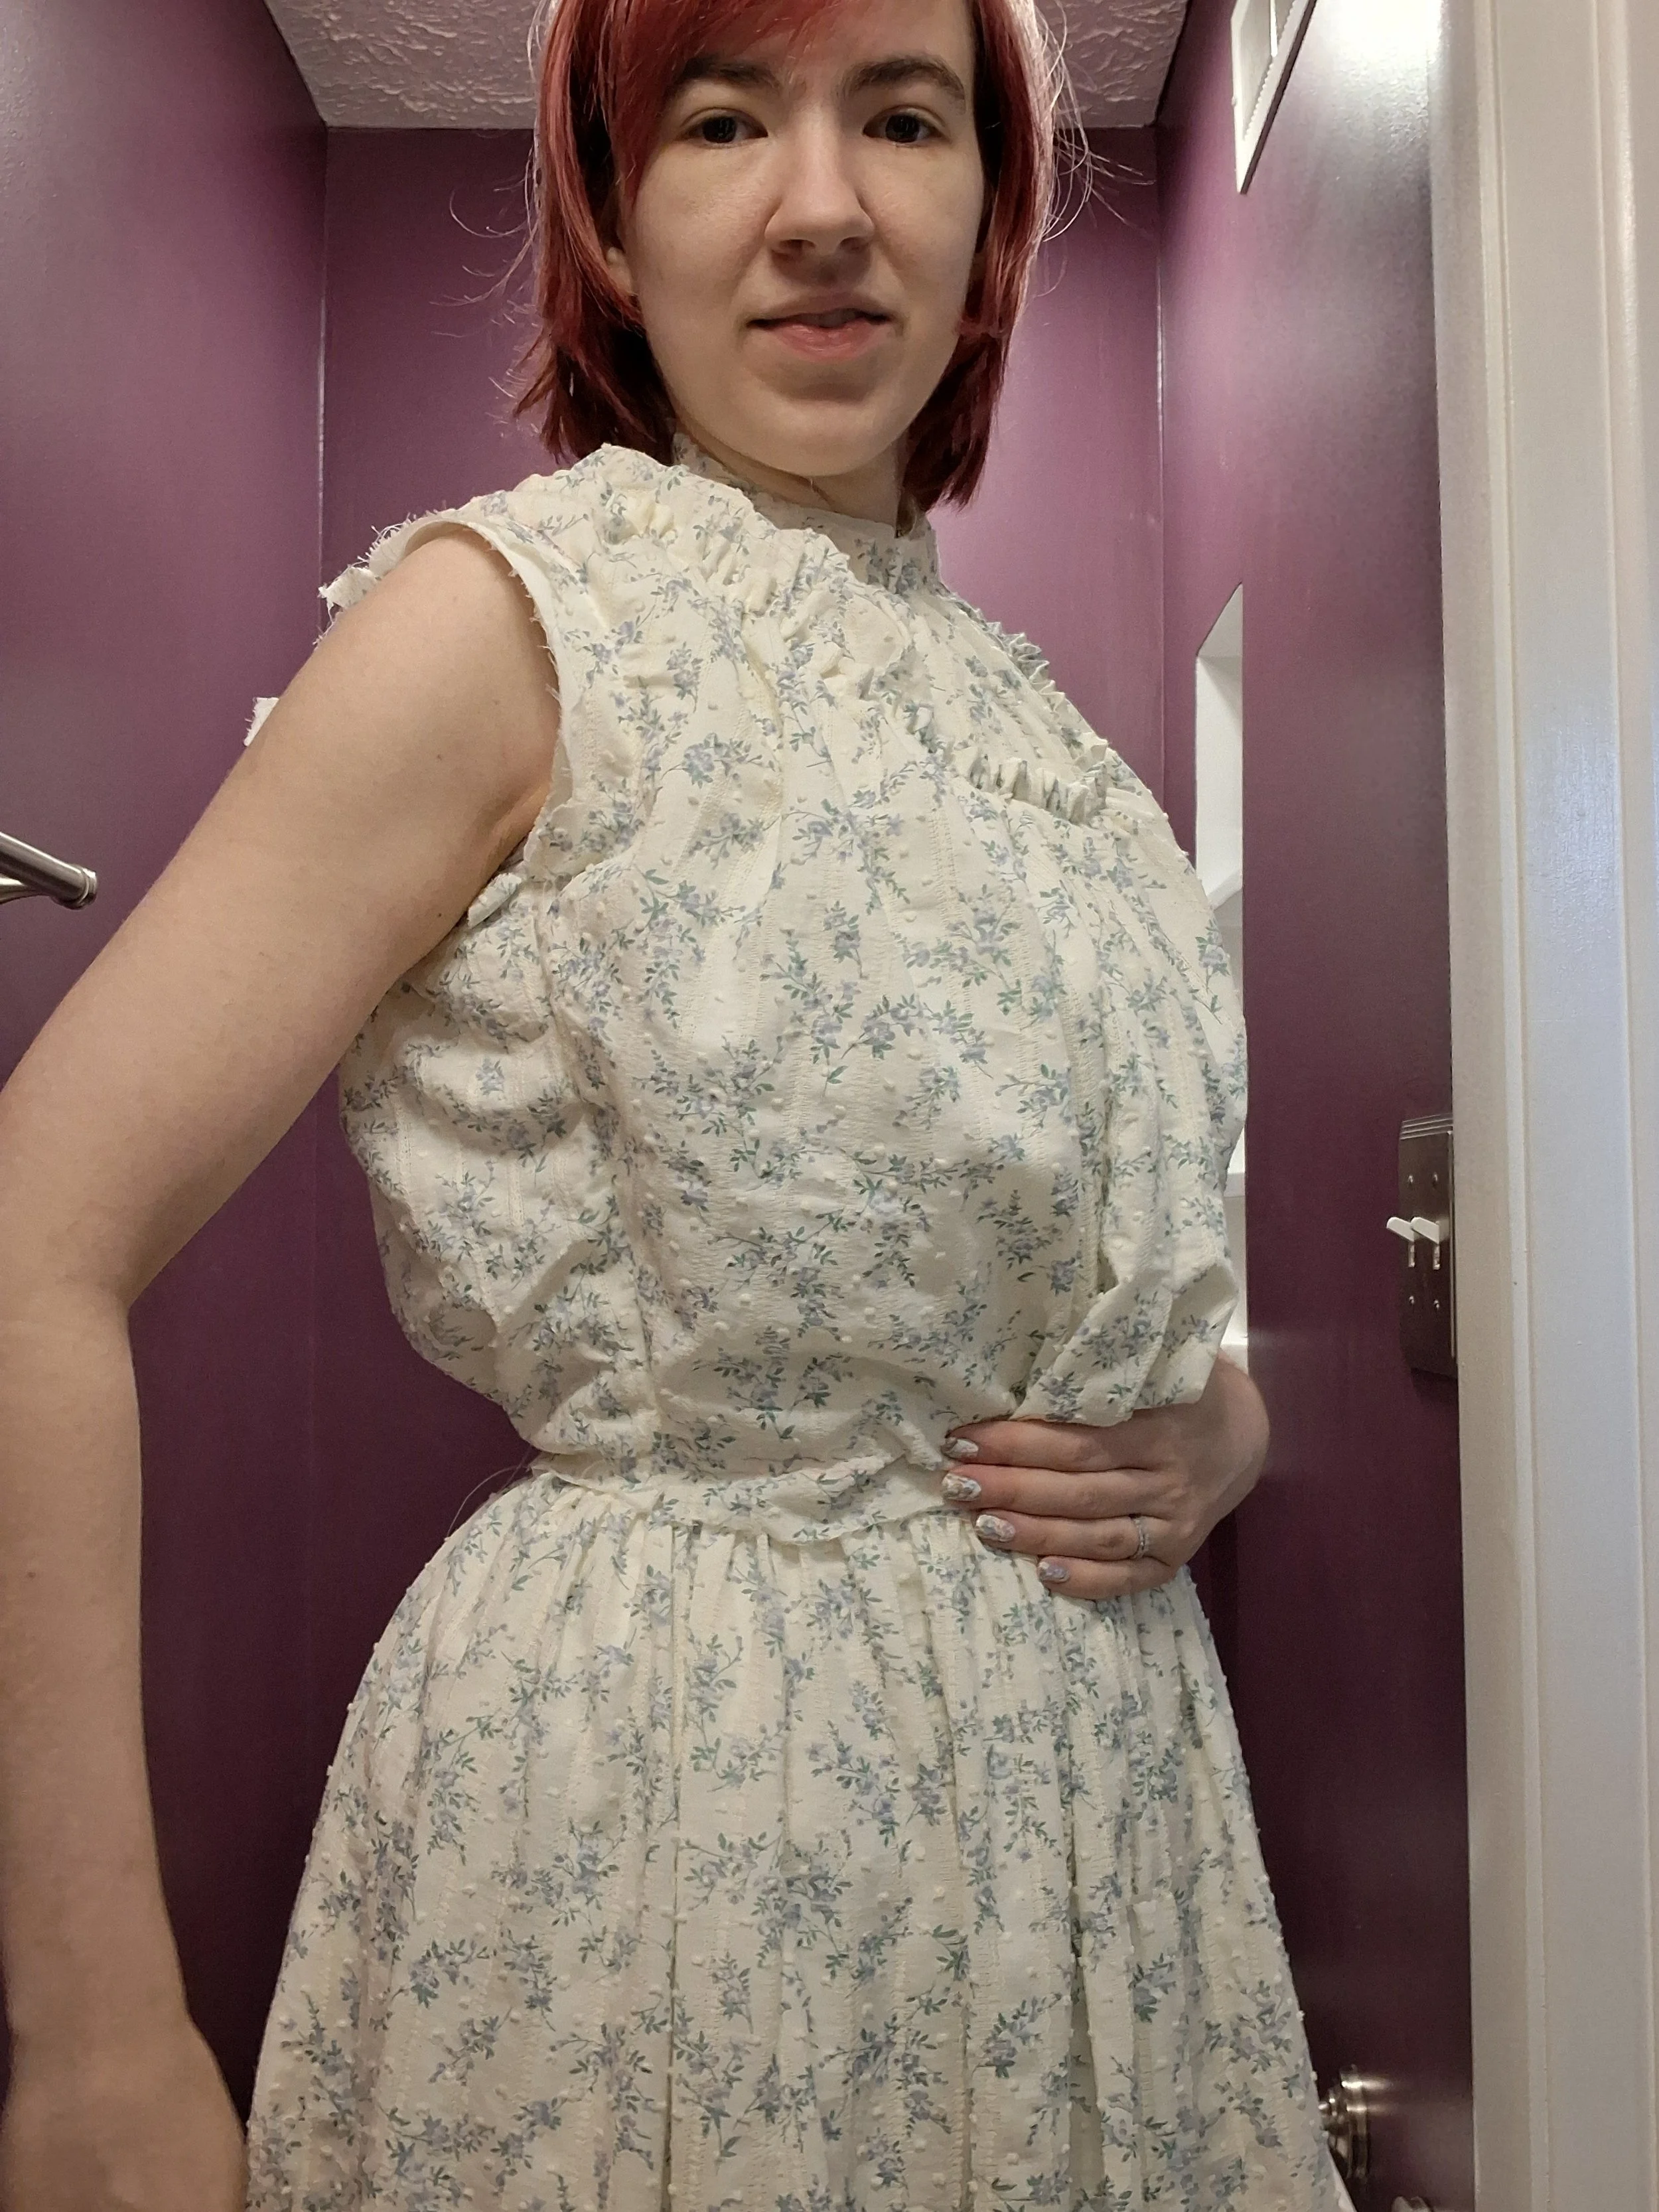
Done!
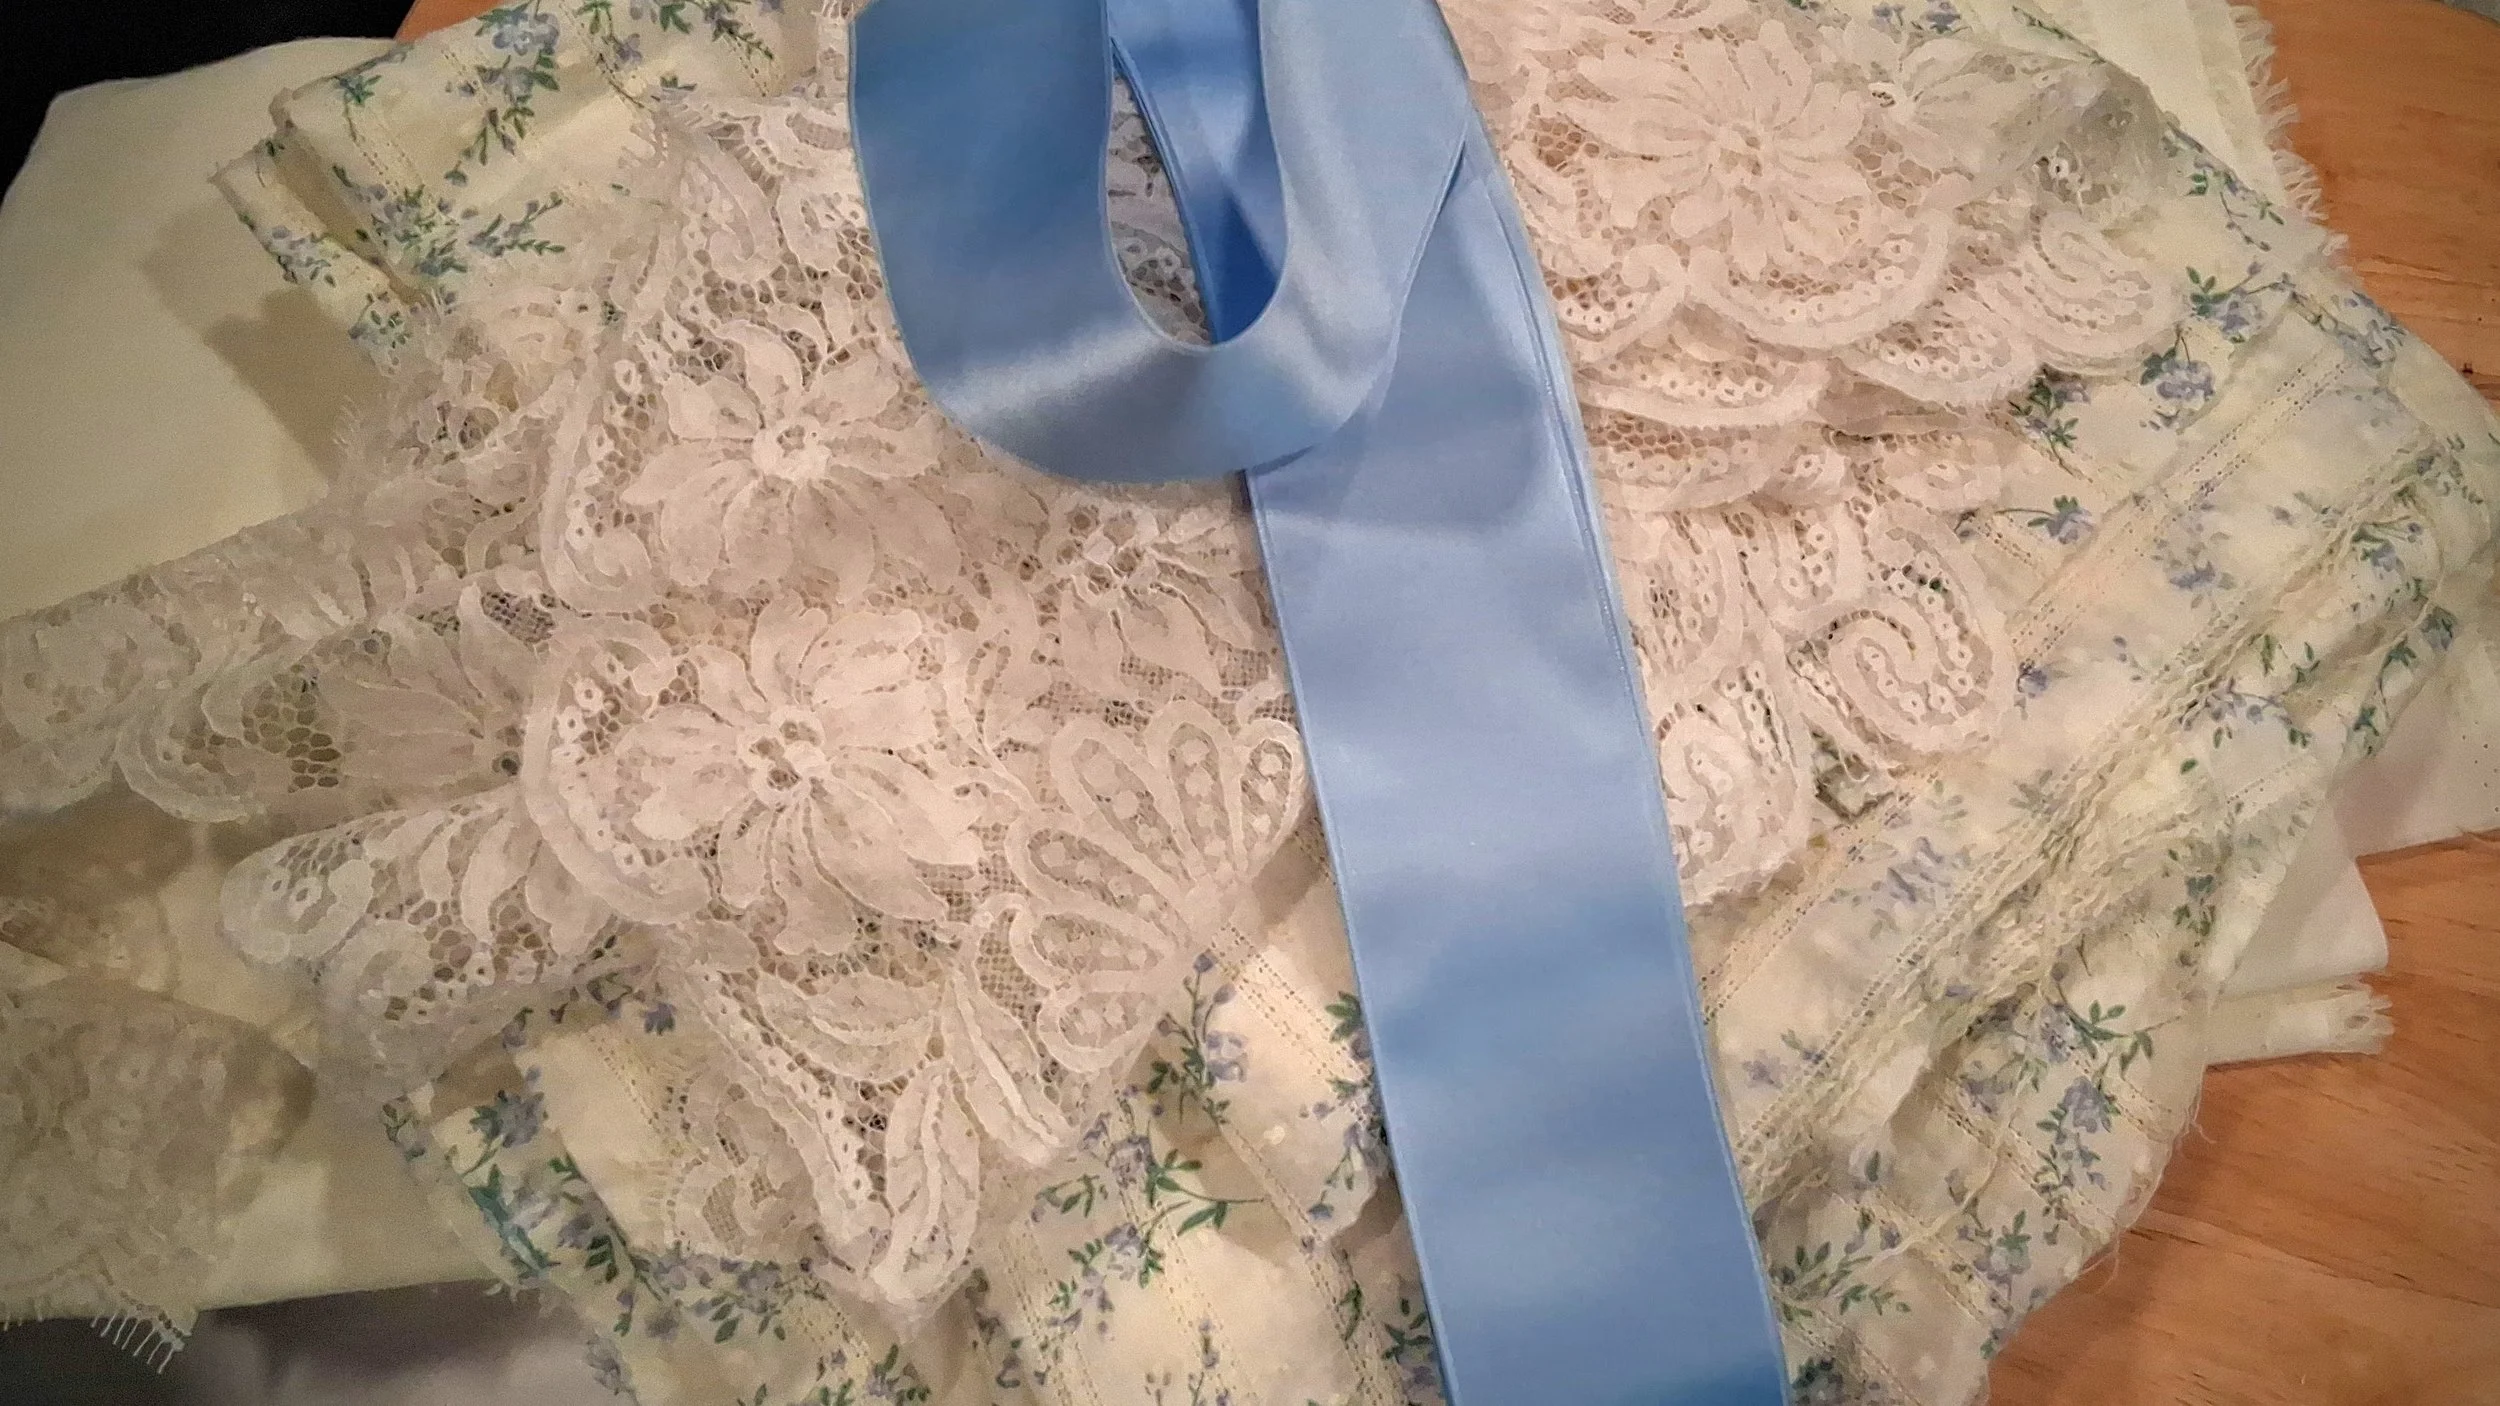
I’m so excited with how this dress turned out! While it isn’t quite as soft and cloud-like as the original, the soft cream cotton with blue flowers is absolutely beautiful.
If you make one of these dress, please tag me so I can see it! I’m very excited to share the pattern and instructions so more of us can enjoy wearing this lovely 1890s gown.